Welcome to the unique world of the Creative Fixer! Here you will discover tons of individual examples of one-of-a-kind creative problem solving solutions.
Below are current examples of some of things I work on!
My clients range from residential to commercial and I can complete your "fix" on time and within budget.
If you don’t see what you’re looking for please reach out to me.
Below are current examples of some of things I work on!
My clients range from residential to commercial and I can complete your "fix" on time and within budget.
If you don’t see what you’re looking for please reach out to me.
CHECK OUT THE MOST RECENT 'FIXES'
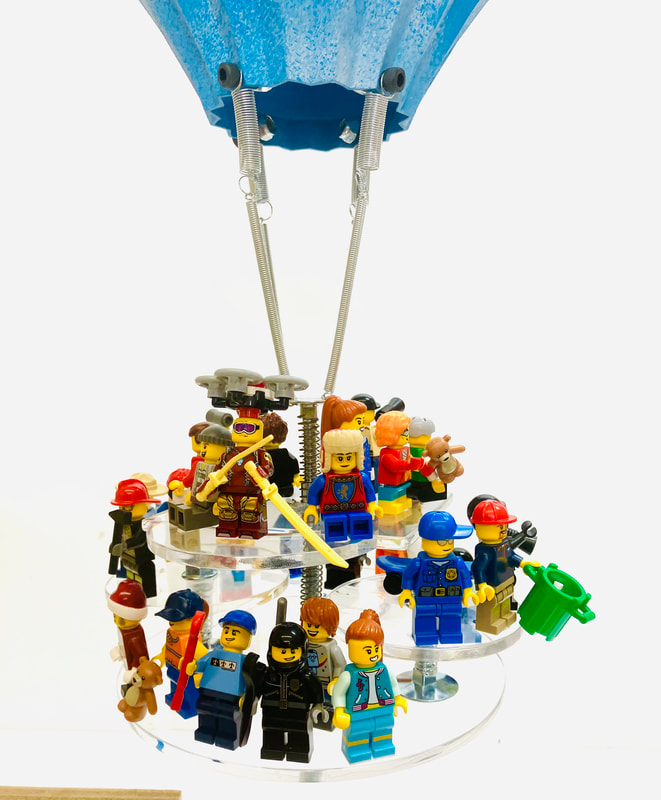
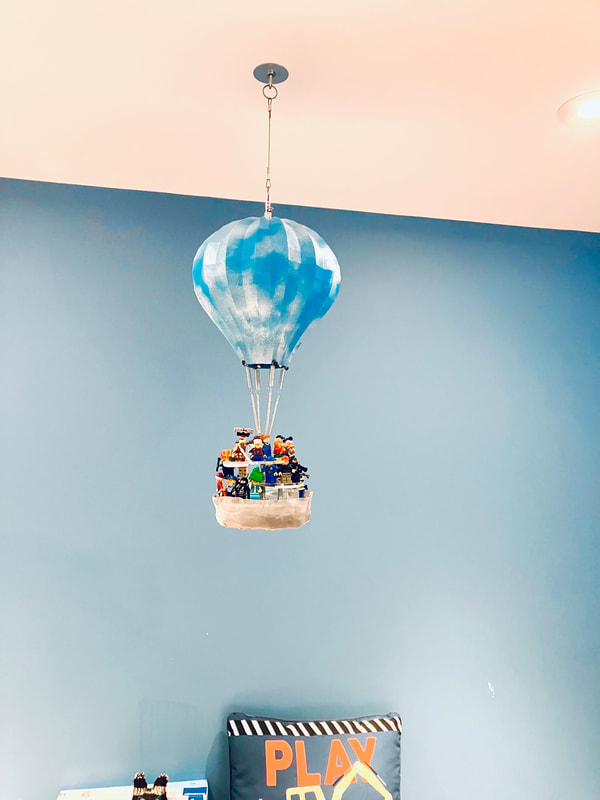
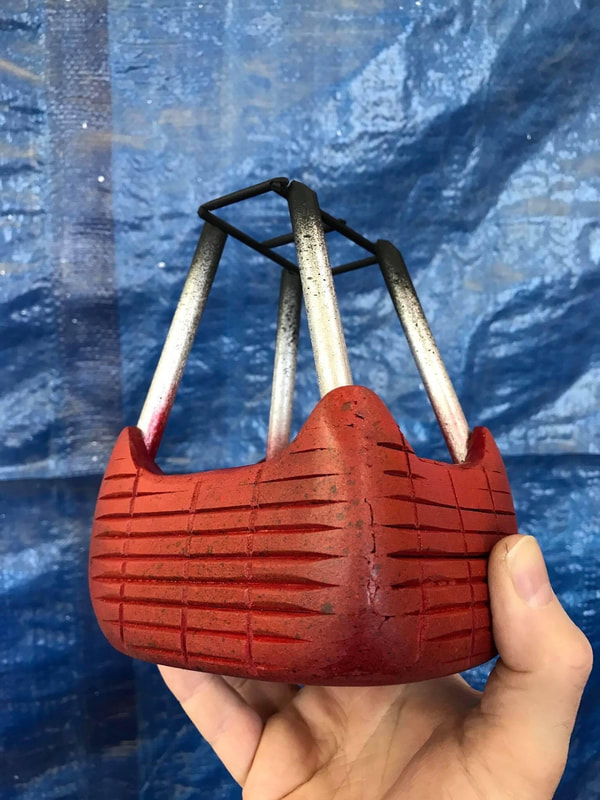
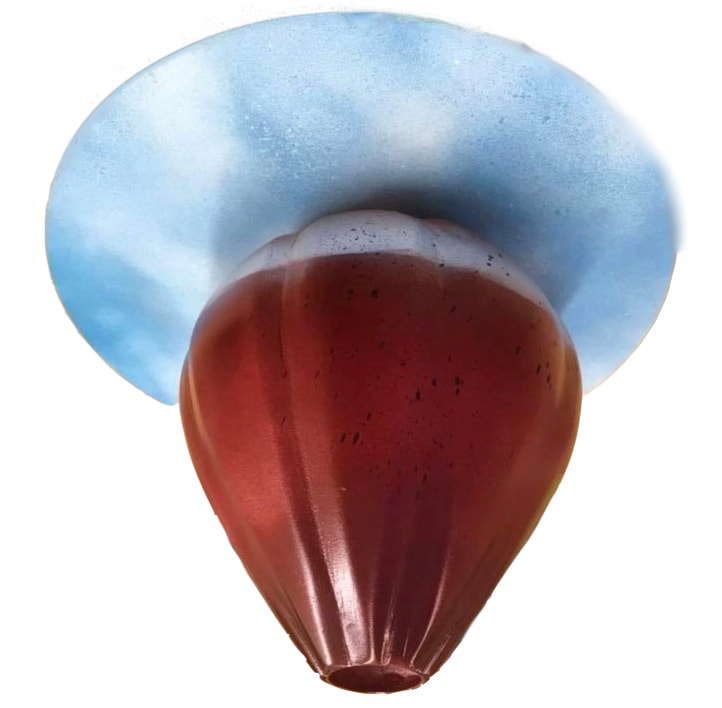
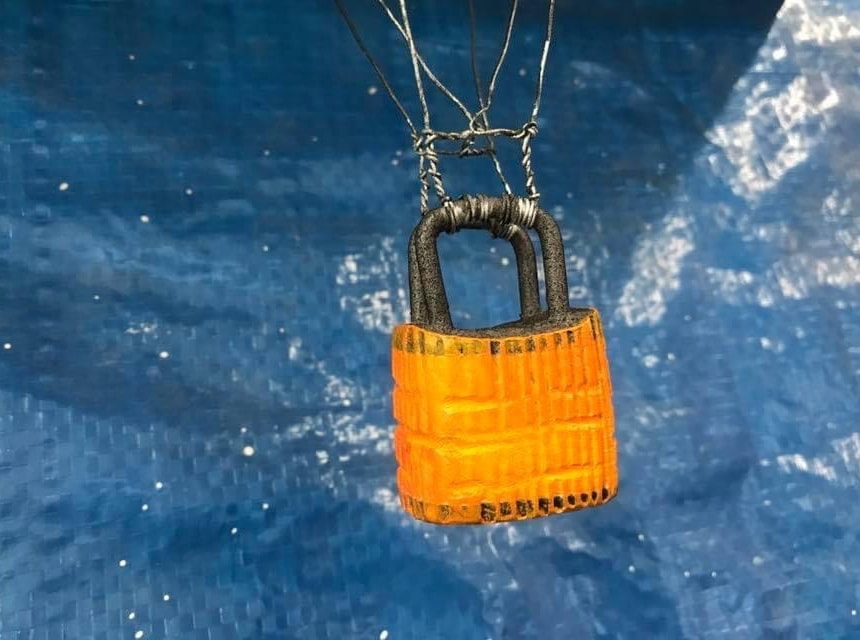
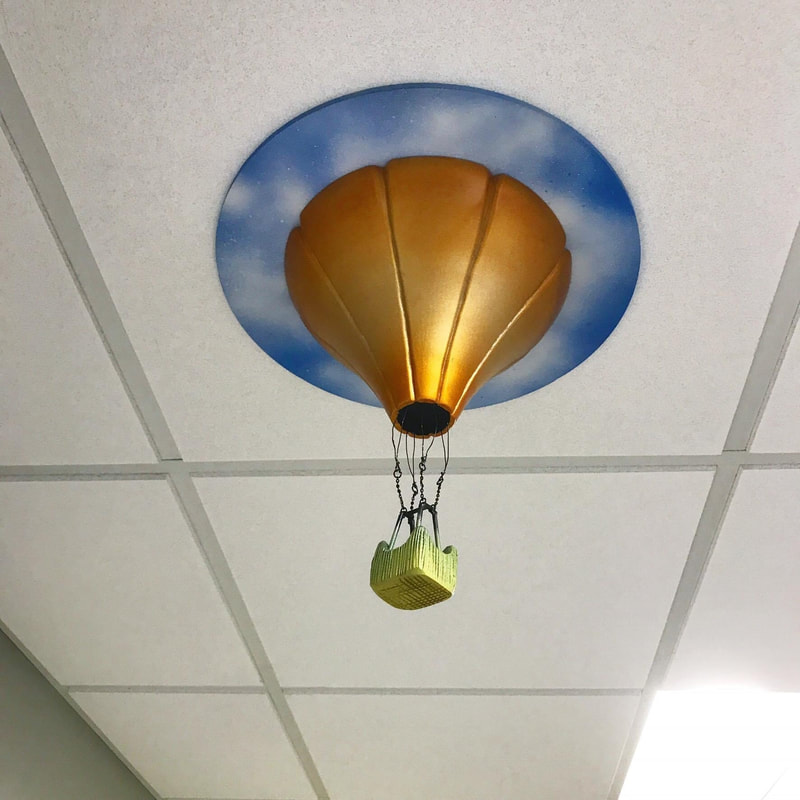
Lego Balloon Model
I was asked by a client to create a unique birthday gift for his son's 5 year old birthday. The parameter was to implement his favourite Lego characters.
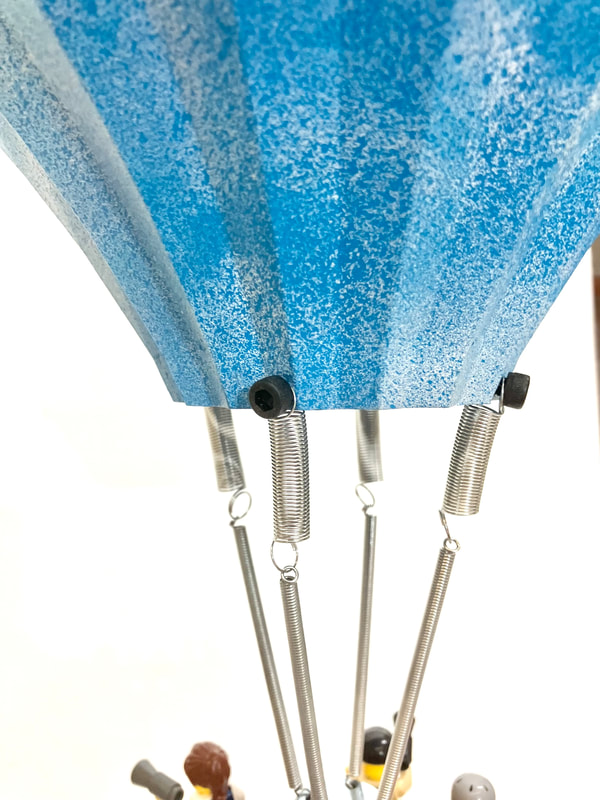
The correct choice was to create from scratch a hot air balloon that I mounted to his ceiling. An added touch was to use glow powder in the liquid resin on various levels of the basket so that he would be able to see it 'light up' at night as he fell asleep. Lots of industrial fasteners and clear ledges allow all the figures to be seen from all angles. This was installed while he was at school and was a huge success!
The correct choice was to create from scratch a hot air balloon that I mounted to his ceiling. An added touch was to use glow powder in the liquid resin on various levels of the basket so that he would be able to see it 'light up' at night as he fell asleep. Lots of industrial fasteners and clear ledges allow all the figures to be seen from all angles. This was installed while he was at school and was a huge success!
Soapstone Carving Restore
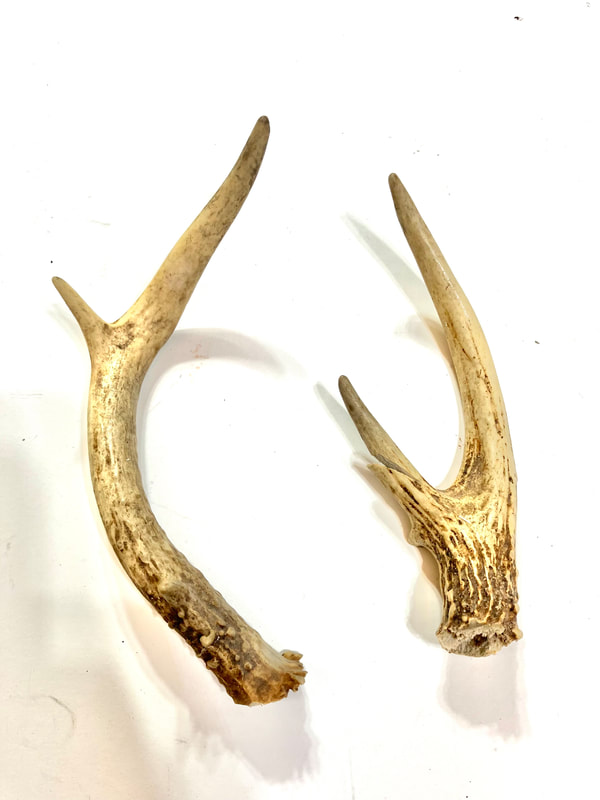
I have been rejuvenating these carvings for years now, giving them a full body spa treatment, replacing missing ivory pieces with new synthetic ivory or the use of repurposed antlers.
Soapstone is a beautiful stone to work with but having a soft density makes it susceptible to chips, scratches and in some cases broken off pieces.
With the case of these three;
All were missing the ivory components and required a complete body refinish.
Before photos show the Narwhal was broken prior to me receiving it, which required delicate wet sanding to remove the excess glue and fillers to fill prior fracture lines that was a result of someone not lining up the parts before gluing them back together.
Before I start on the ivory components, I do research to make sure I get the scale as correct as possible.
Lastly, to give the body a proper protective coat of pure beeswax and a small open flame.
Lots of hand buffing follows.
Large Vase Repair
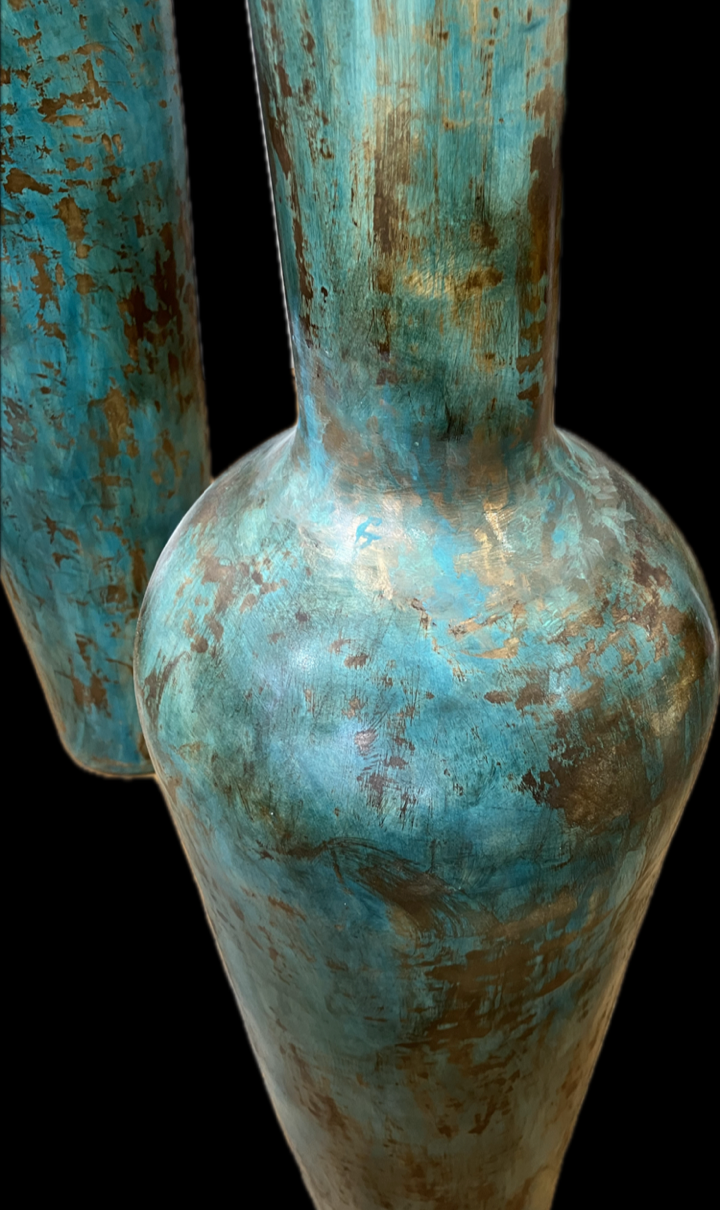
Out of the three vases, one had the neck completely broken off. The others had deep scratches.
Although the break was pretty clean, just glueing it back on was not going to prevent it from potentially breaking off again if knocked.
This is because it was kiln fired originally and once fractured the vase wall integrity is gone.
So to keep the two sections together permanently I came up with a unique solution.
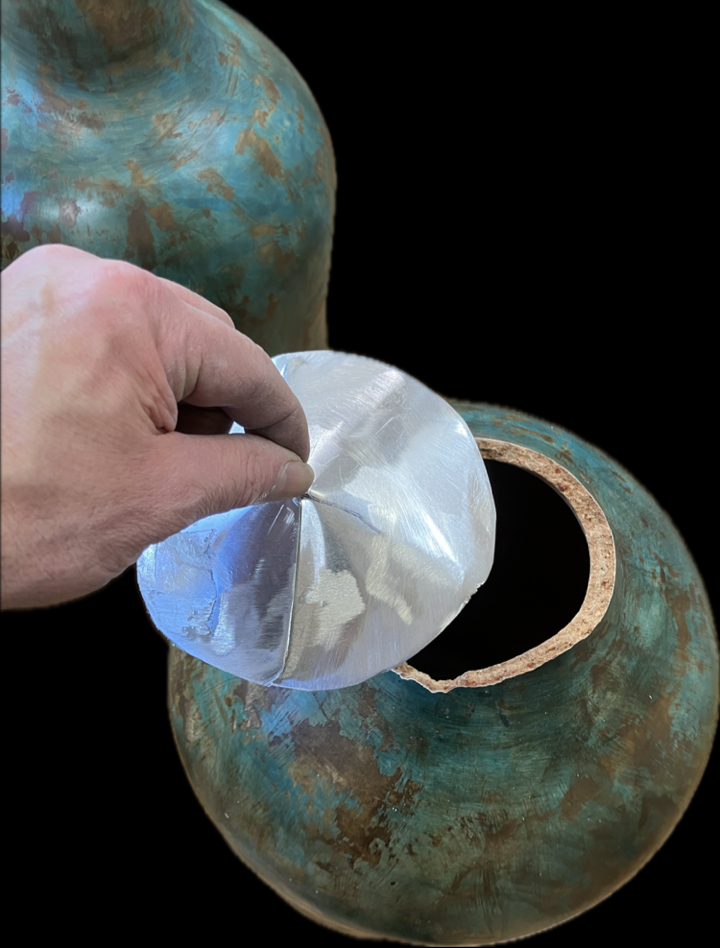
Firstly, create a radius ‘aluminum cone’ that could collapse to fit
inside the opening, then be able to pull it up so that the angle matches tight against the slope of the interior vase walls.
Once the special adhesive held it in position, I then proceeded to affix the top section with another type of adhesive.
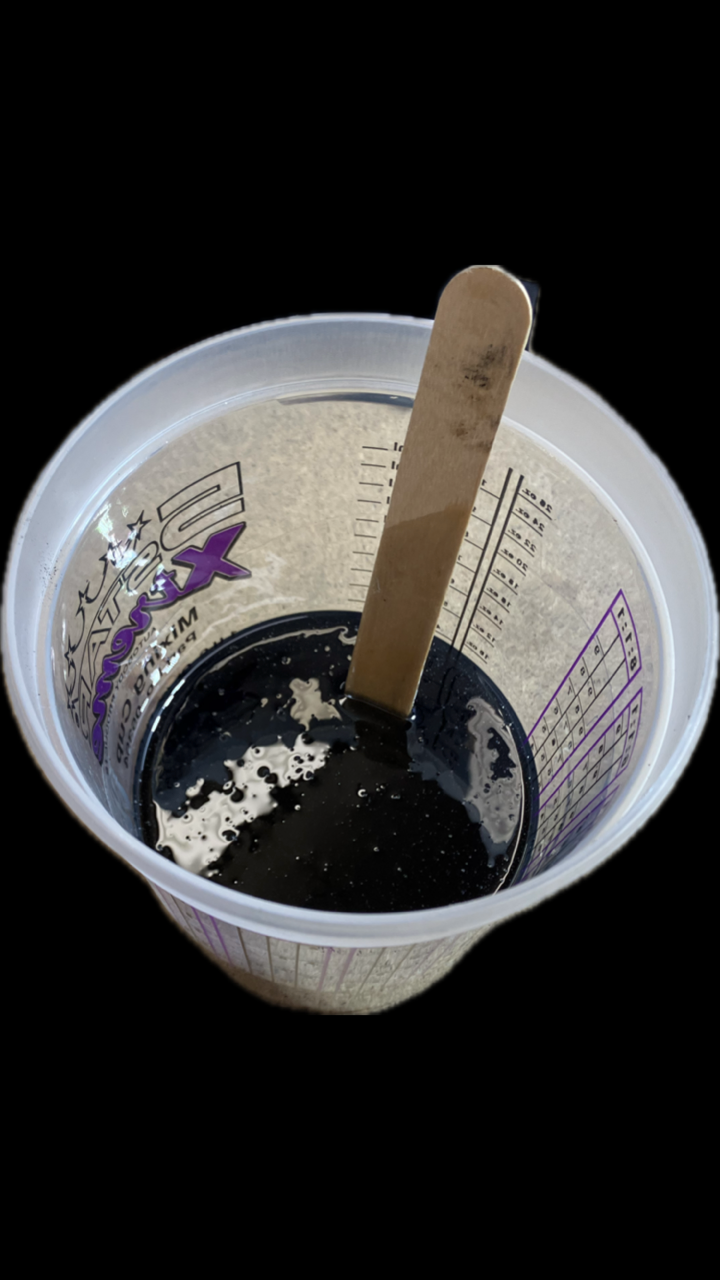
After everything set up, I poured tinted fibreglass resin to form a ‘solid block’ totally fusing the two sections together.
Using black dye makes it harder to see the repair.
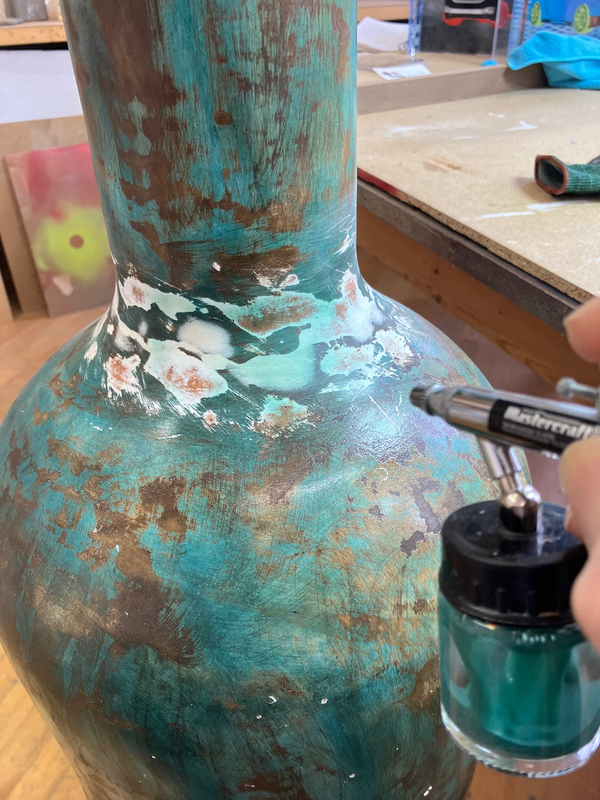
Lastly, I added fillers and replicated the pattern with a matching top coat.
WW2 Ceramic Tile repair.
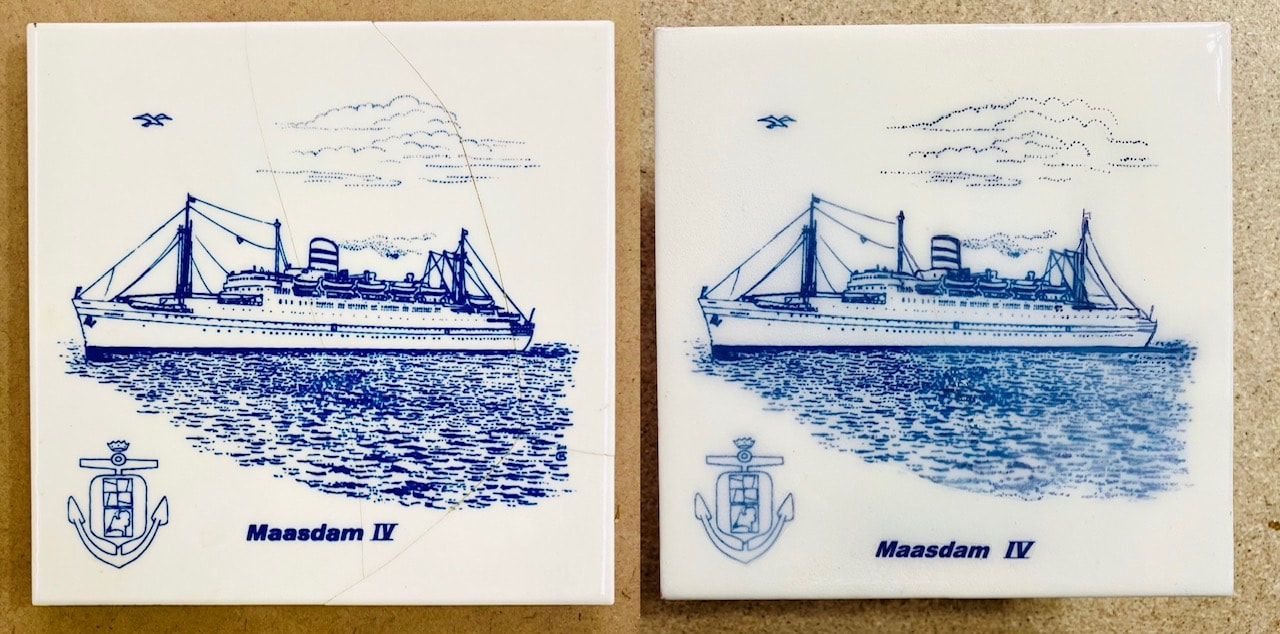
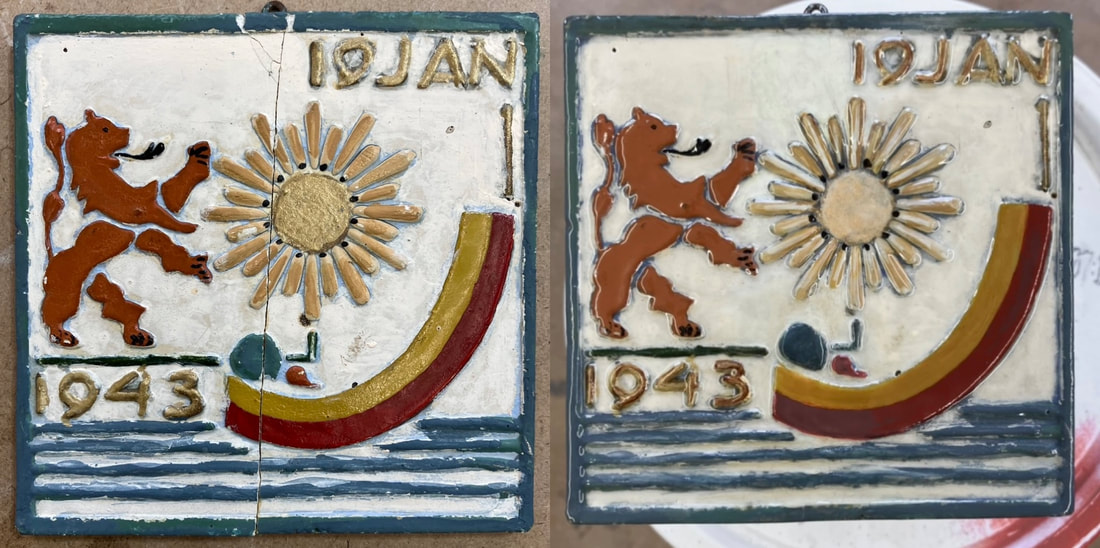
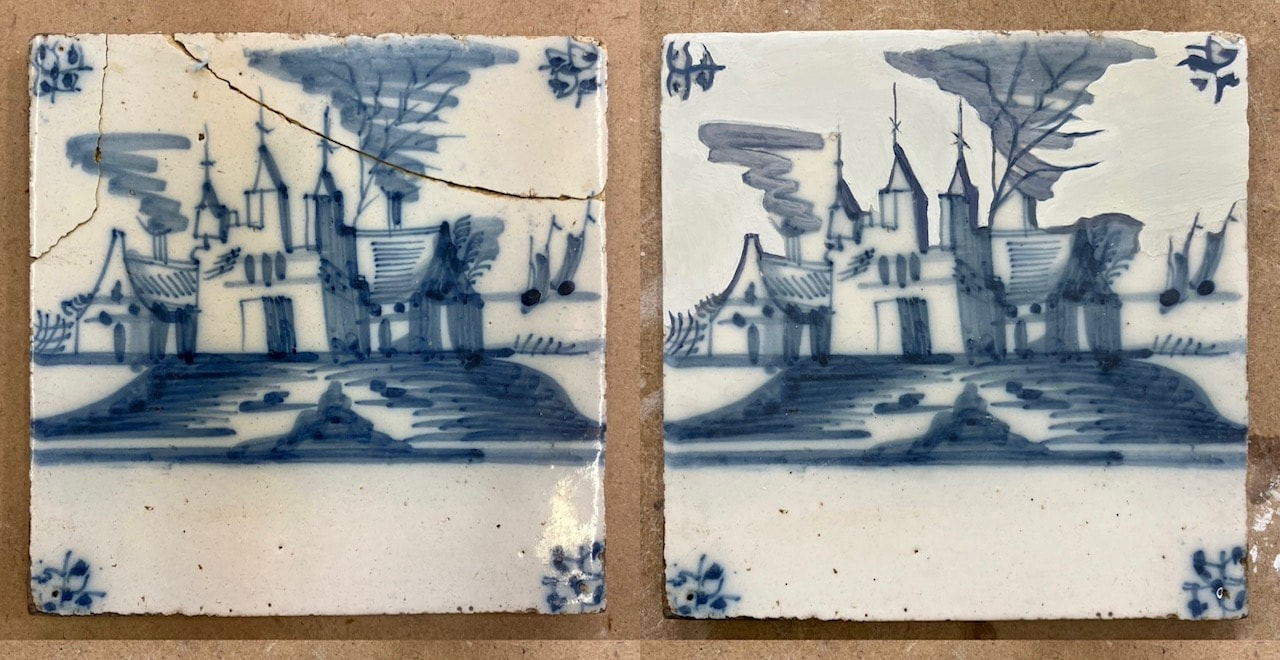
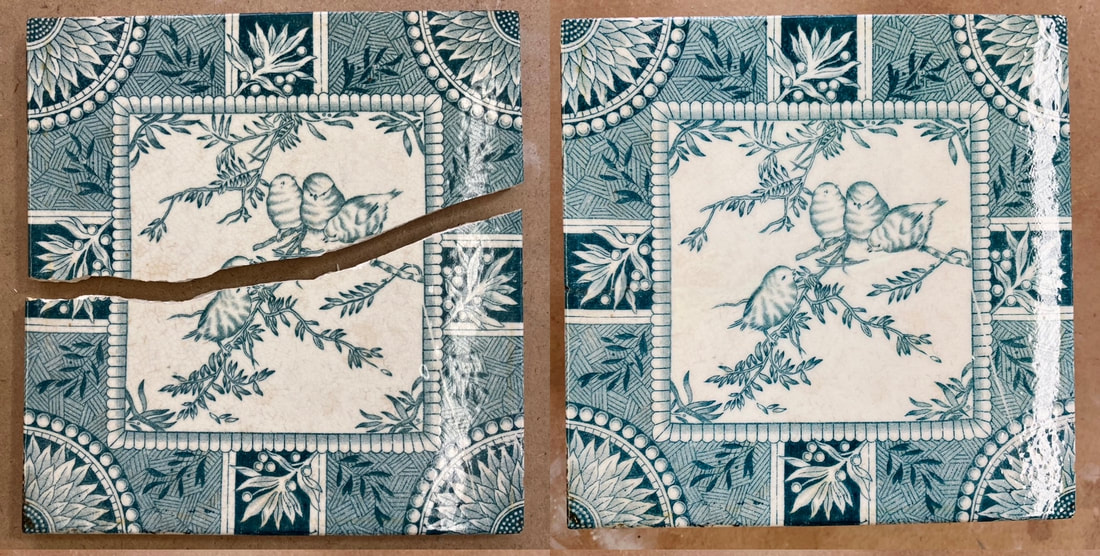
This challenging repair of WW2 ceramic tiles took me on quite the journey.
Many were made just after the war, to honour the Dutch resistance for helping to liberate the country and smuggled out of the country.
So, I was entrusted with these delicate and fragile keepsakes to essentially make them appear the way they did almost 80 years ago.
Specialty putty, glazes used to blend out the cracked sections, then came time to replicate with paint the actual artwork itself.
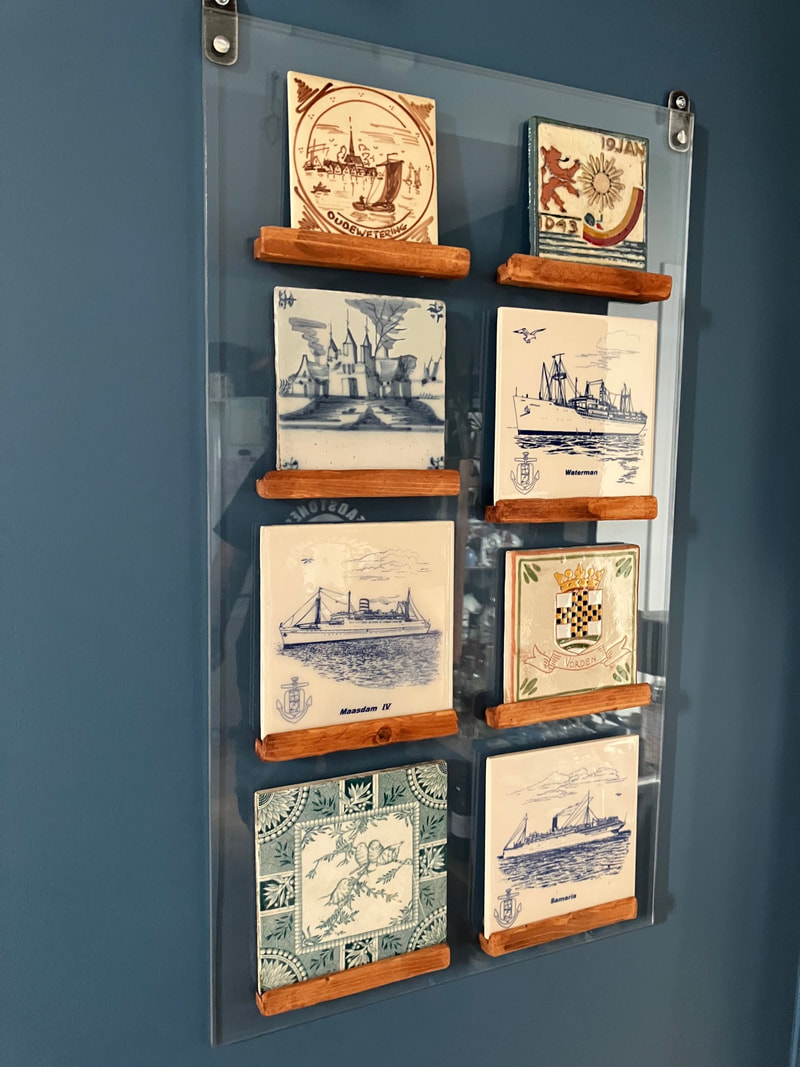
Once the tiles were complete, I felt displaying them should not be framed under glass but rather allow them to be displayed more along the lines of being in a museum. I created weathered and worn looking shelves from solid wood to bring a warmth and character to the finished look mounted to an acrylic panel.
This way someone could actually ‘touch’ the tiles as did his ancestors had done generations ago.
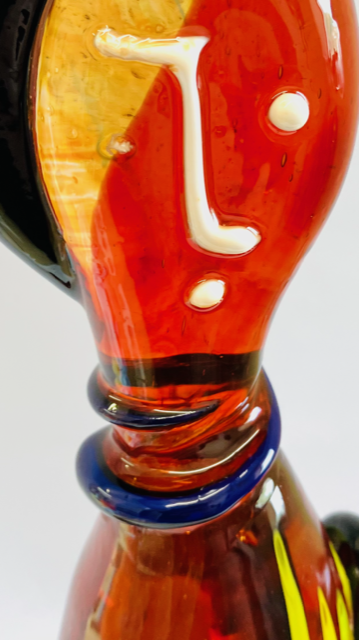
Glass Sculpture repair.
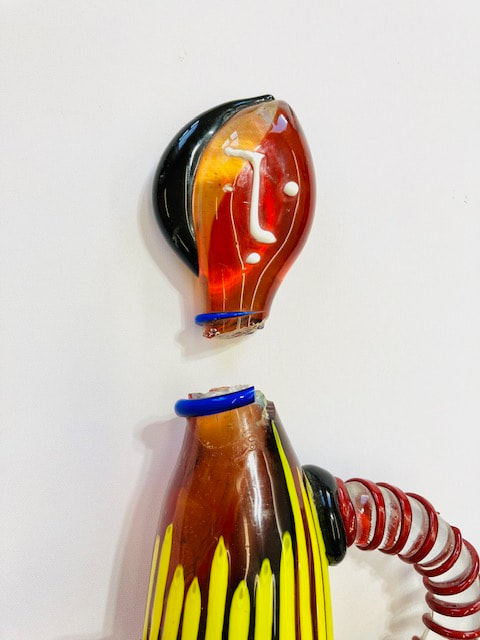
This sculpture had a large section missing which made it impossible to just glue back the two sections like most repairs. I used an industrial resin with a saturated dye to carefully match the existing colour, then filled in the cavity. Once cured, I was left with a chunk of hardened resin that needed to be shaped to match the contours of its surroundings.
Carefully shaping and sanding until it resembled the original area. This followed by polishing to a gloss finish.Lastly, added the missing eye.
Carefully shaping and sanding until it resembled the original area. This followed by polishing to a gloss finish.Lastly, added the missing eye.
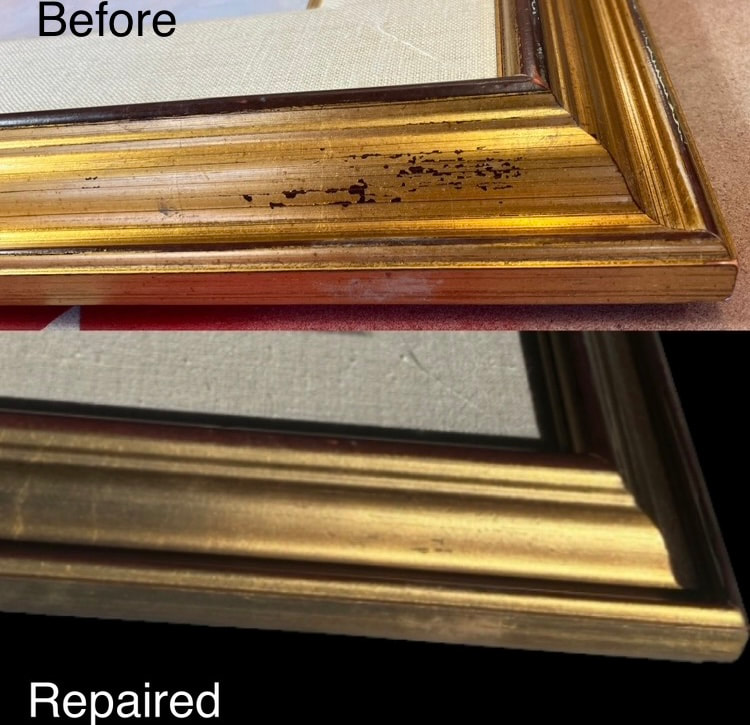
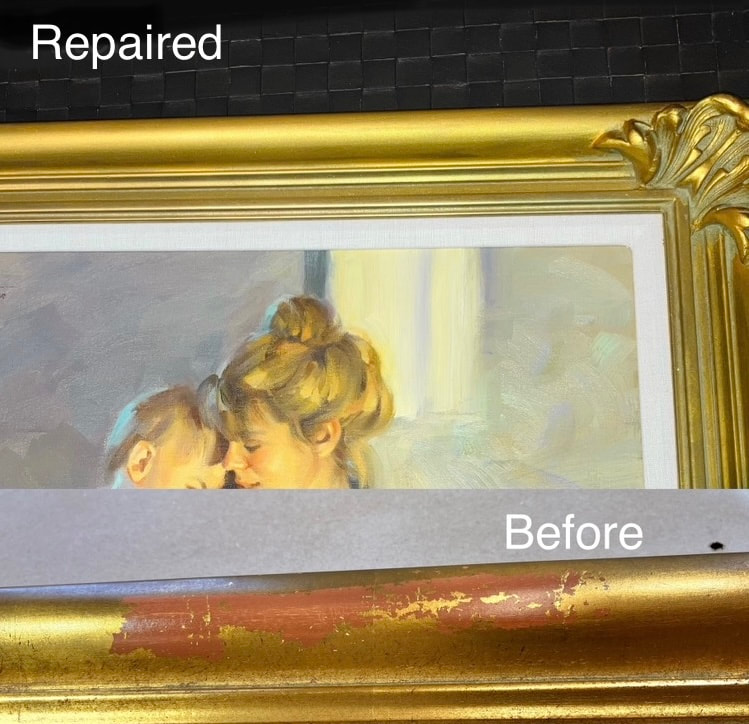
From time to time I get called to touch up and repair picture frames.
Thankfully working with frames and their finishes is how it all started for me 30 years ago.
Shooting forward, a client had called me wanting to have her vintage gold leaf picture frames repaired due to damage from a recent move.
Should you have favourite picture frames that have seen better days, contact me to see how your frames can be touched up and look rejuvenated again versus the expense and hassle of reframing them.
I also offer a home visit consult and offer pick and delivery services too!
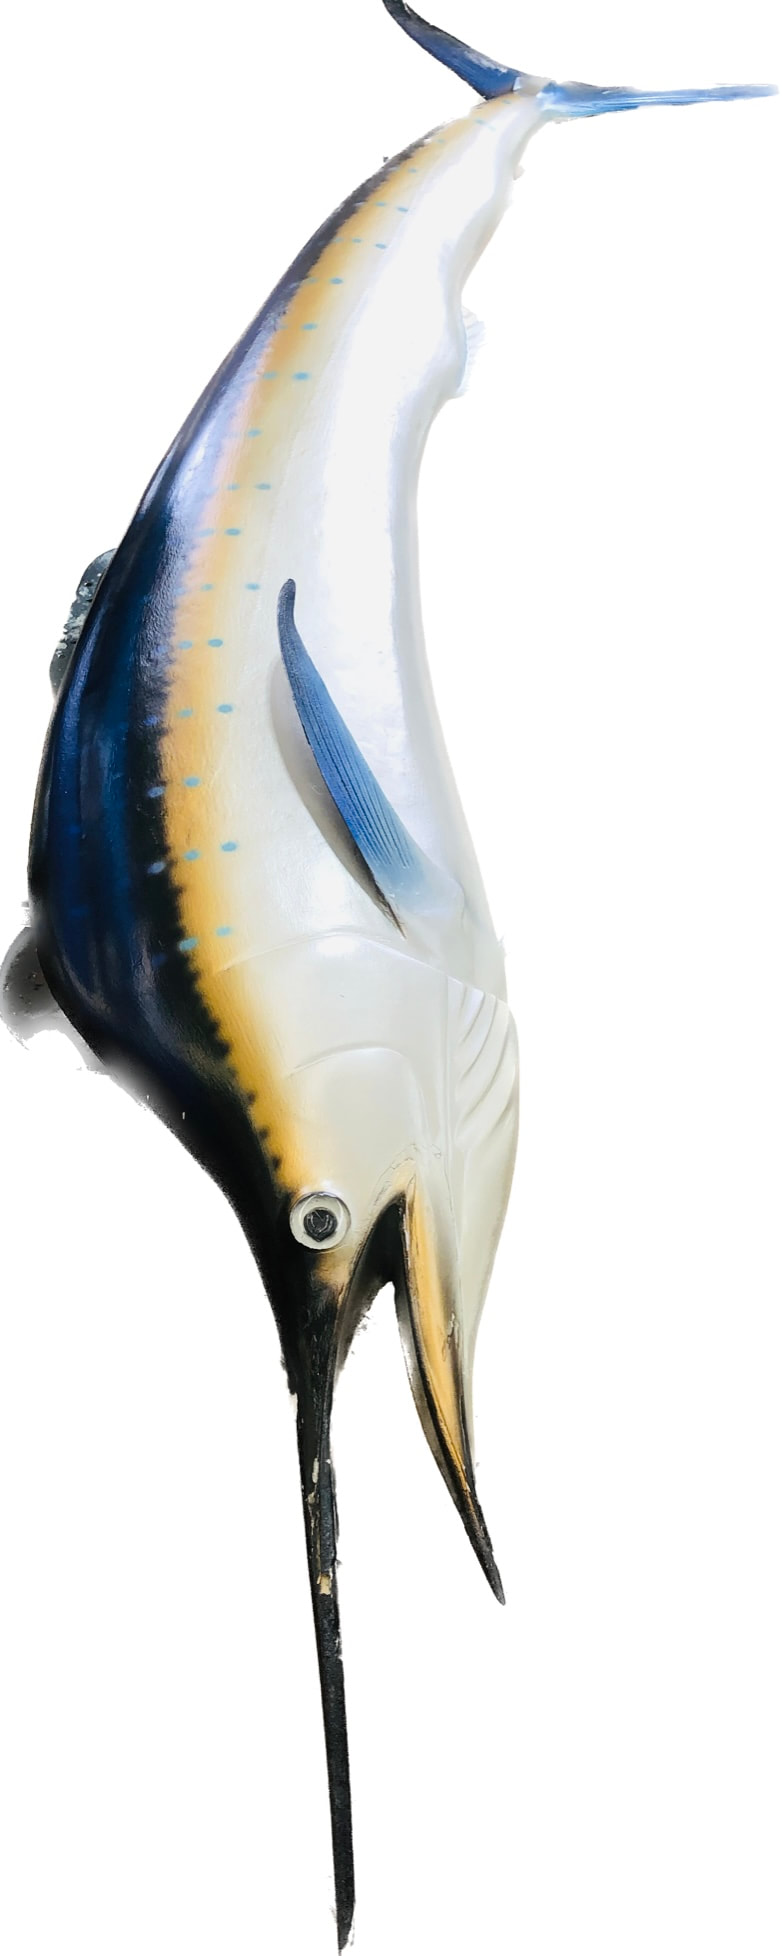
Vintage Marlin Repair & Restore.
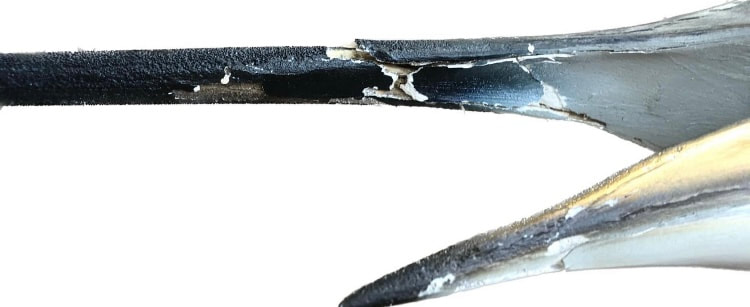
This 6’ Marlin was made in the 60s from fibreglass and had seen its share of damage over time.
Typically the tips of the fins which are pretty thin to begin with are the most susceptible to damage.
The other delicate area was the long snout. Part of the snout was missing and the rest of it that was attached to the mouth was quite damaged.
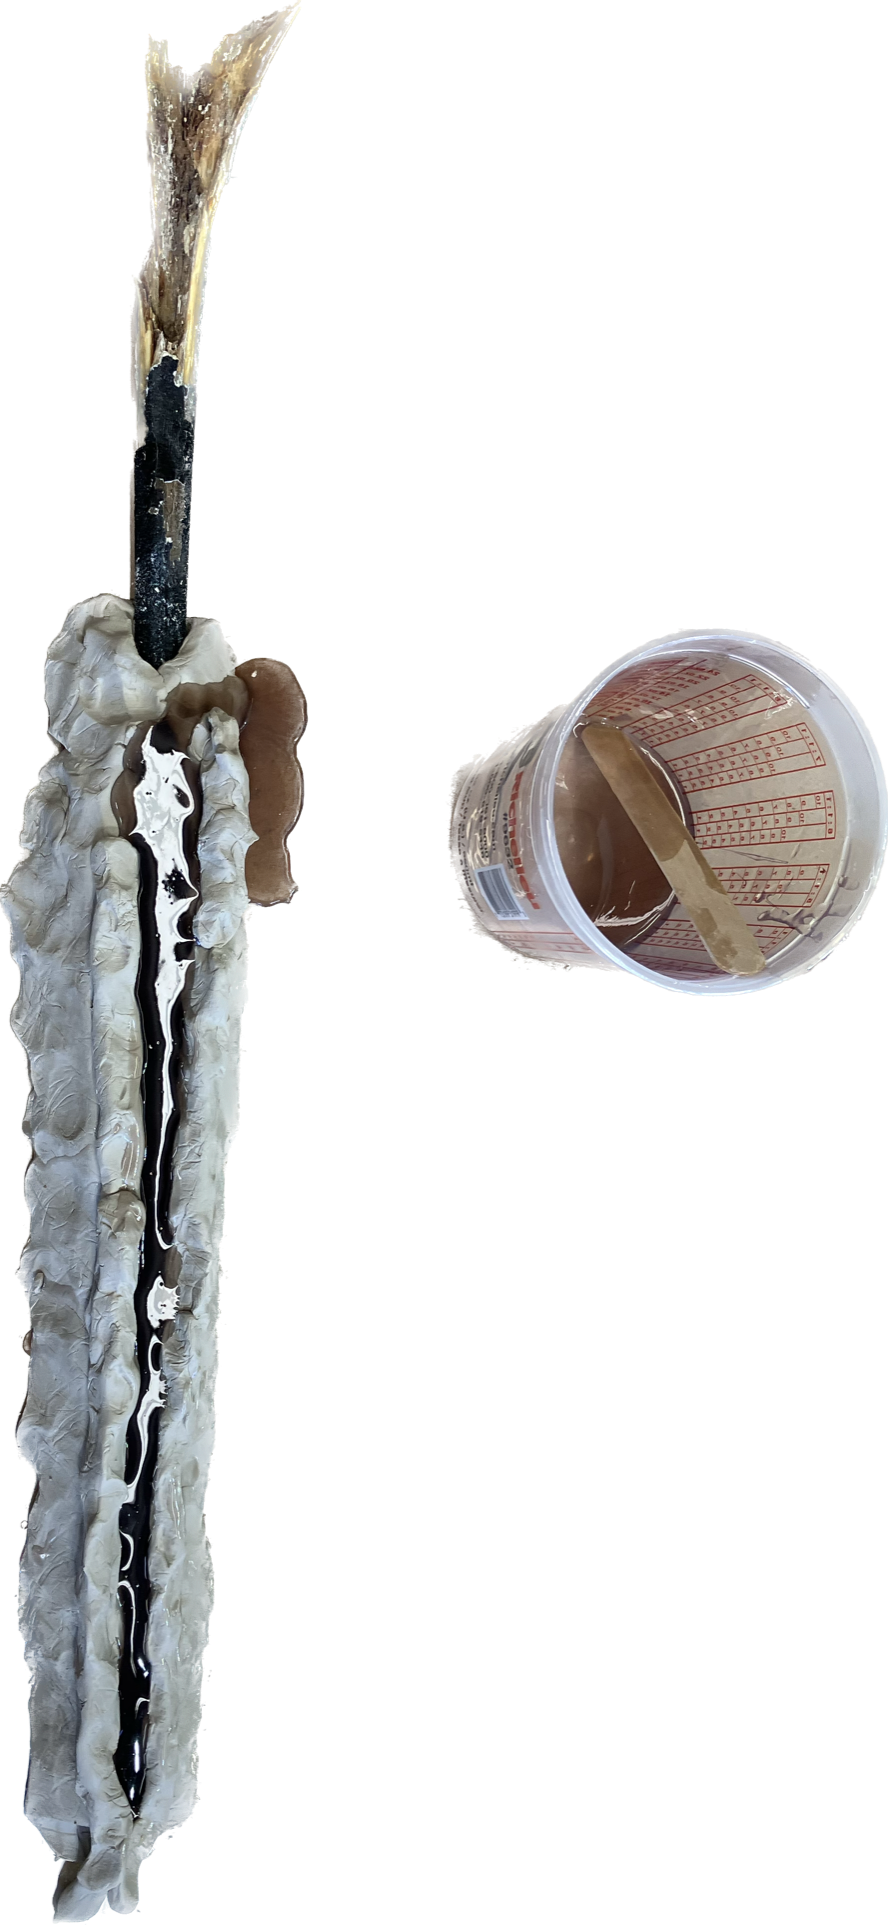
So, the first step was to rebuild the snout while relying on photos of actual Marlins for proper scale.
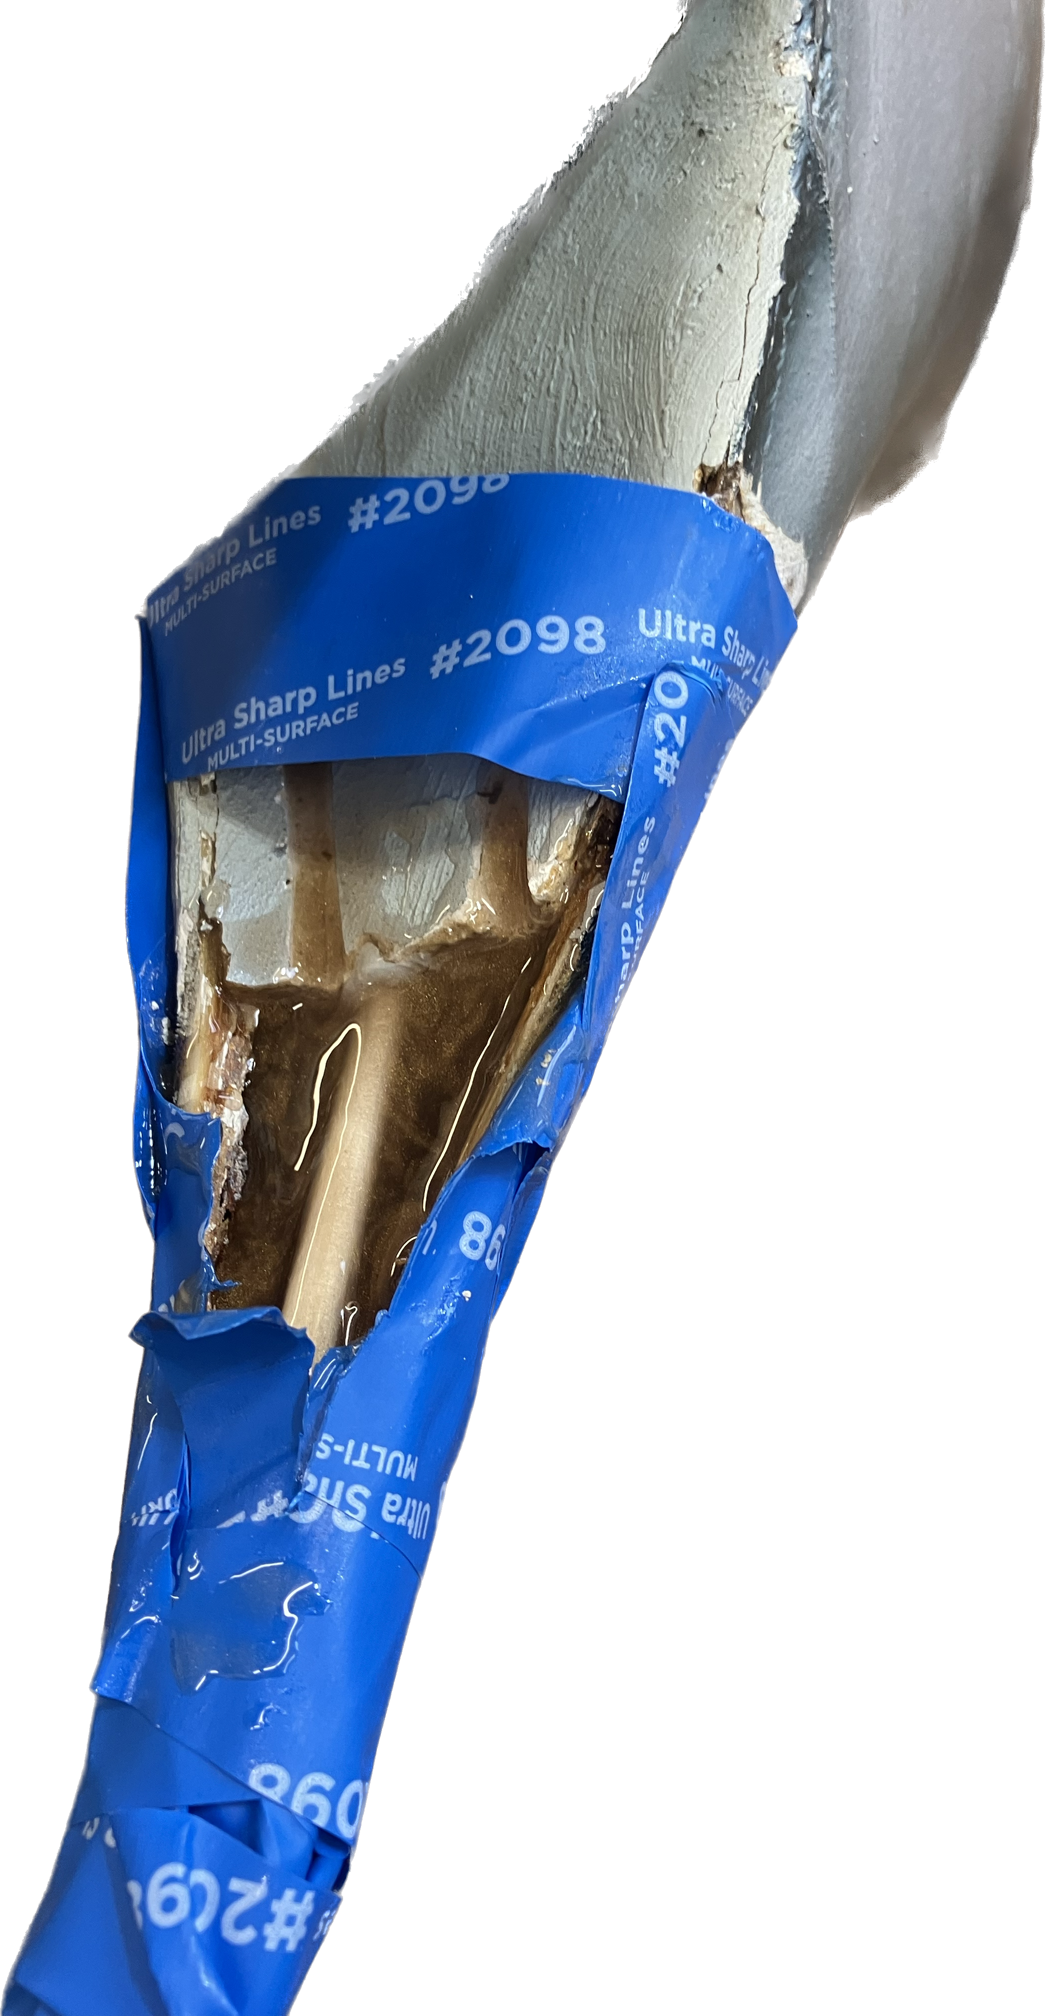
Next, mounting the newly shaped snout securely to make it whole again.
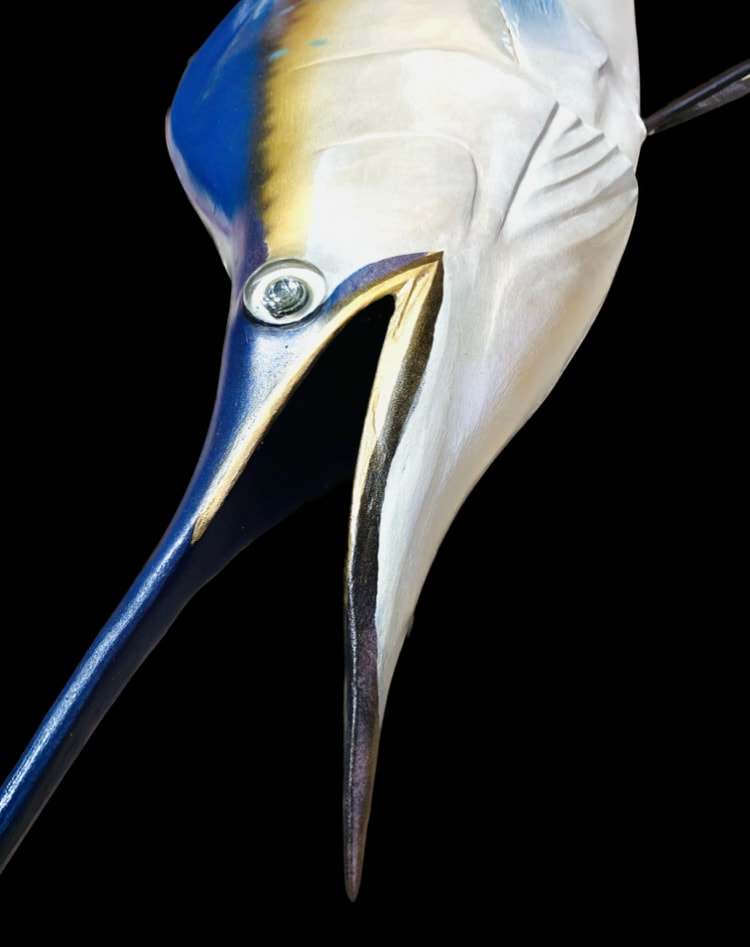
After layers of various applied resins and auto body supplies I was finally
able to add my artistic touch.
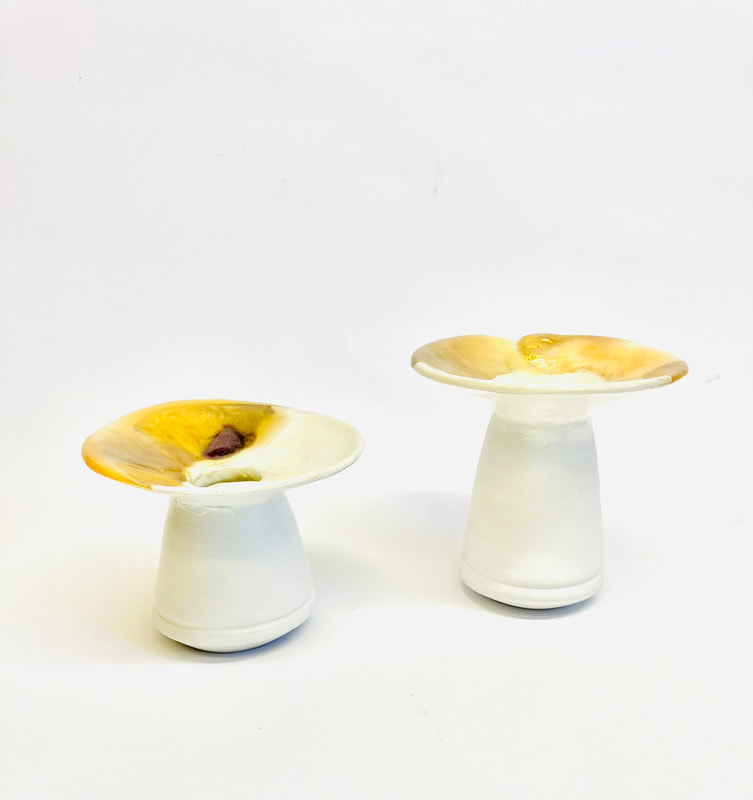
Ceramic Candle Holders
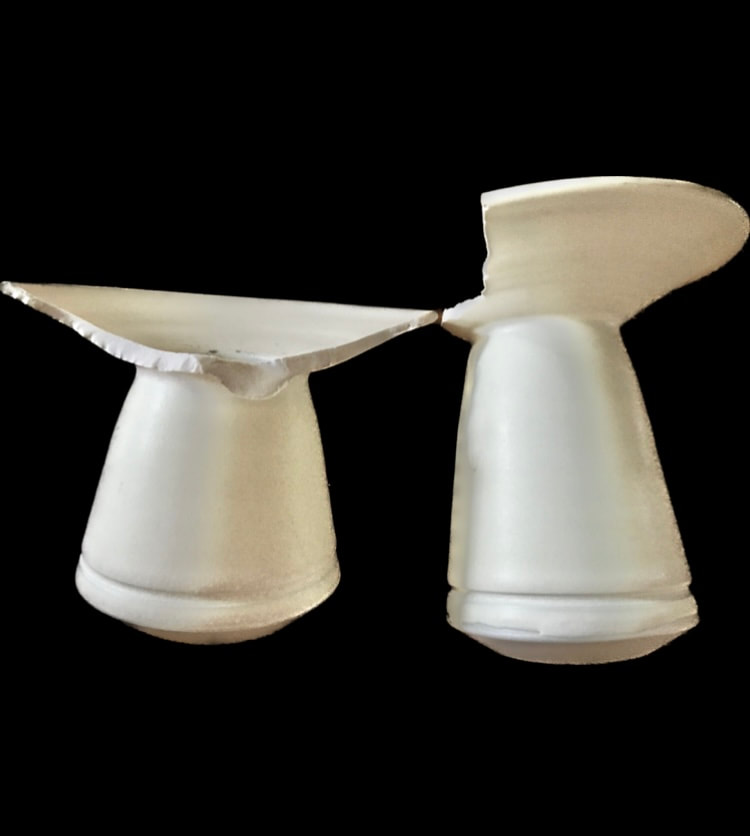
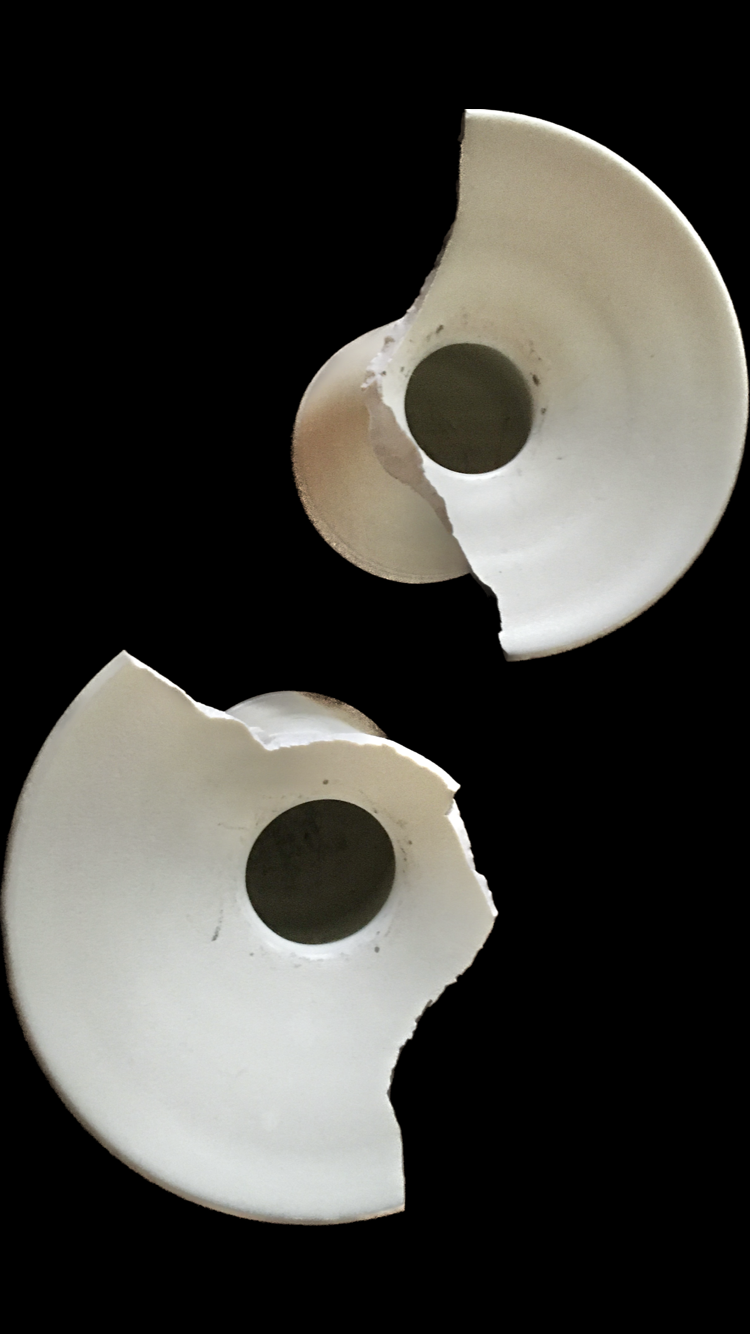
A client brought me these sentimental ceramic candle holders to see what I could do to make them whole again.
There are a few ways to achieve this.
Firstly, large sections of the brim was missing, which had to be replaced.
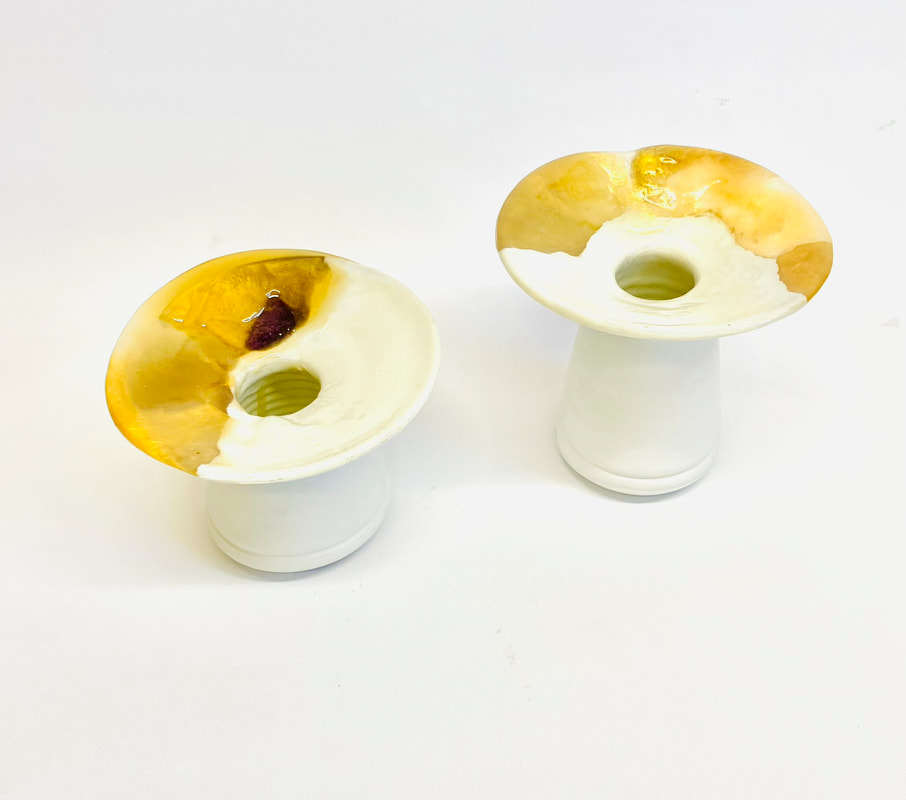
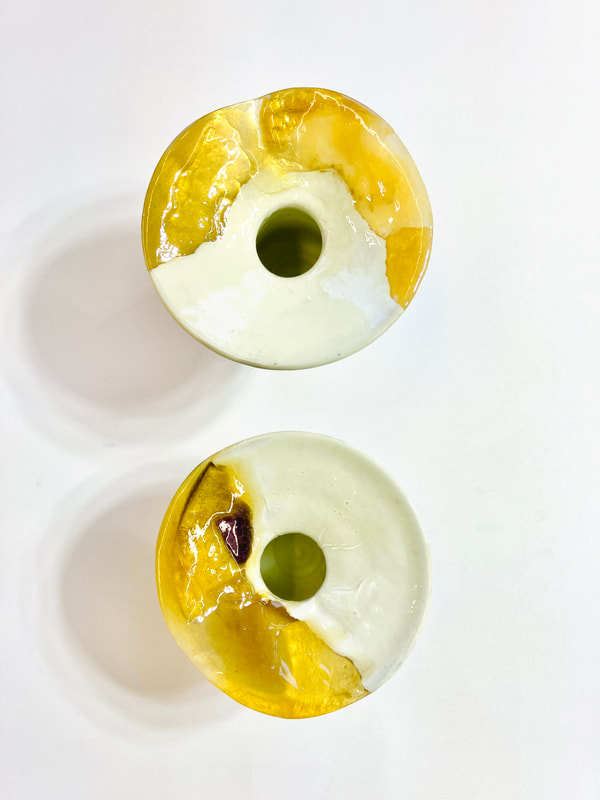
The finished replacement sections could then be finished to match the existing ceramic colour, or, we go with the option of highlighting the cracked sections by using various dyes and resins (in this case gold flake and amethyst dyes)
Fortunately, this gal was keen for me to go in a creative direction.
The end result is quite glossy and very gem like in appearance.
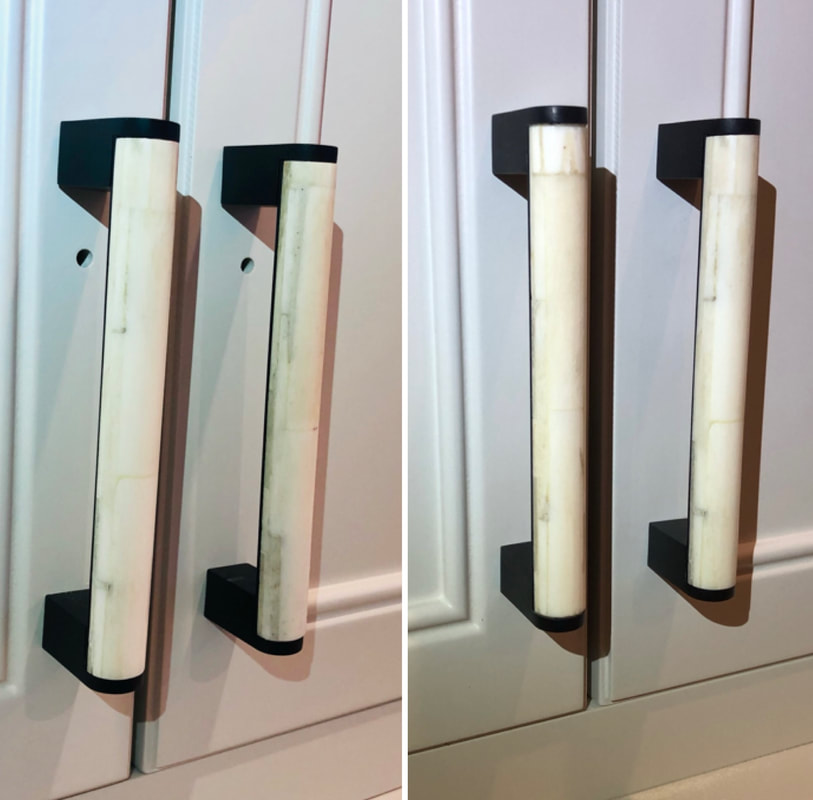
New Cabinets - Wrong Holes
Here is an example of a recent repair that is much more challenging than it appears.
Holes were drilled into 4 doors all in the wrong spot.
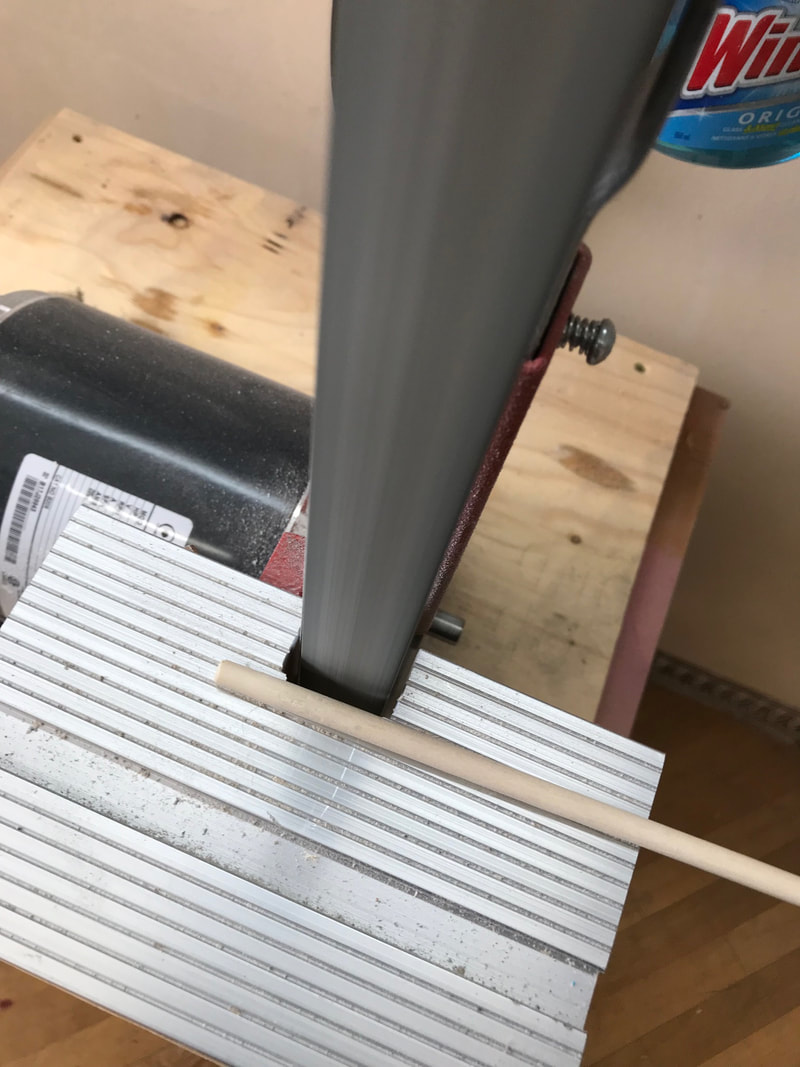
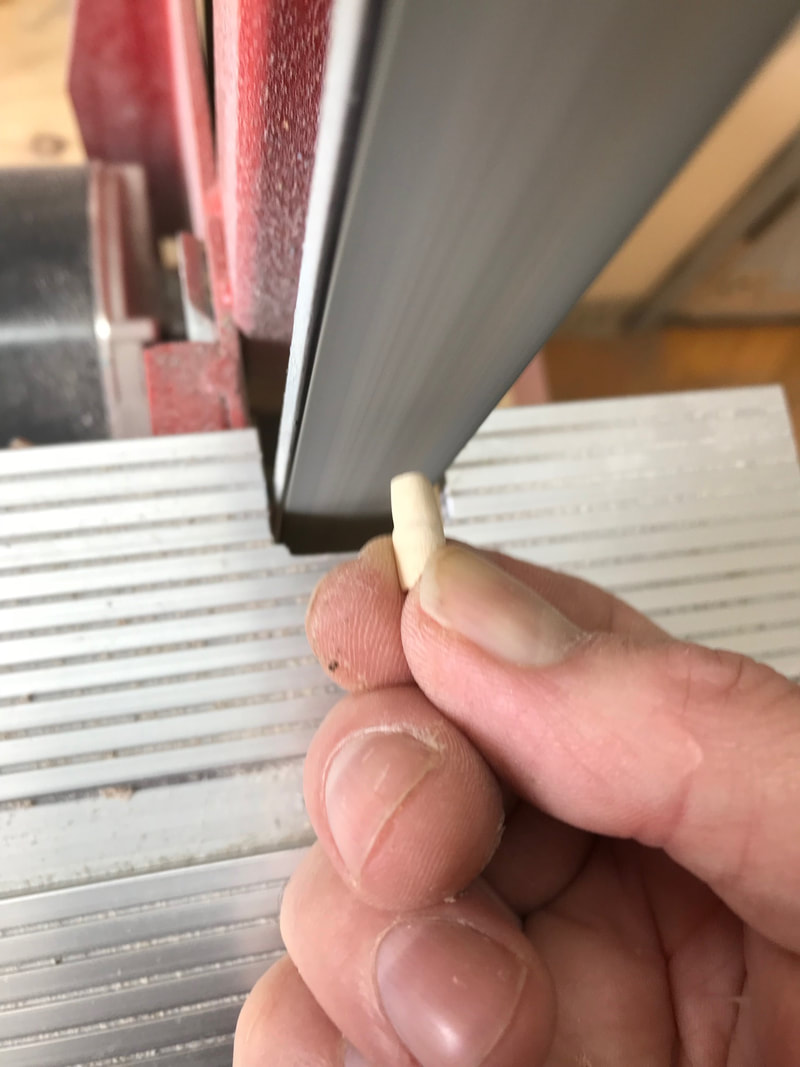
These cabinet doors were custom and finished with a custom colour. I use what I feel are proper techniques such as dowels with minimal filler.
Here is an example of a recent repair that is much more challenging than it appears.
Holes were drilled into 4 doors all in the wrong spot.
These cabinet doors were custom and finished with a custom colour. I use what I feel are proper techniques such as dowels with minimal filler.
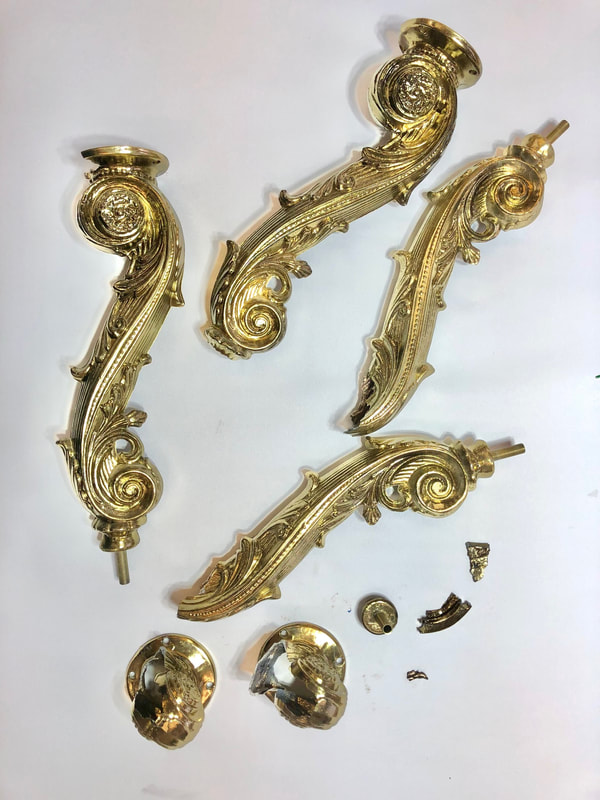
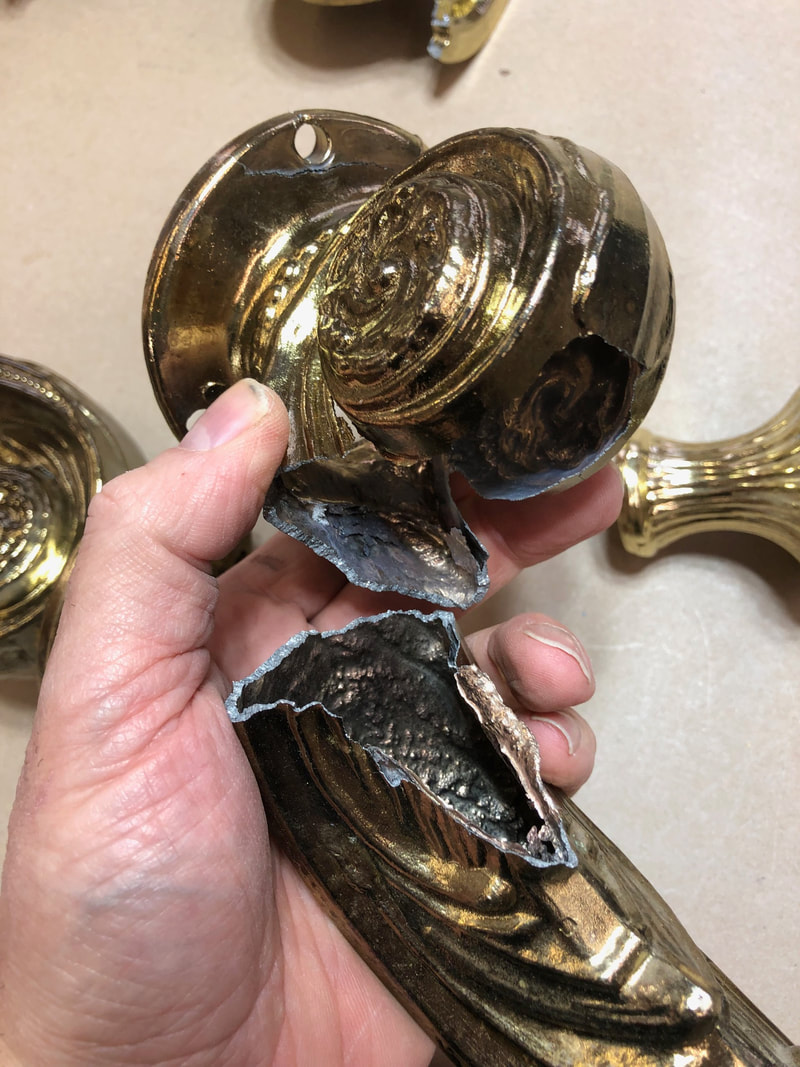
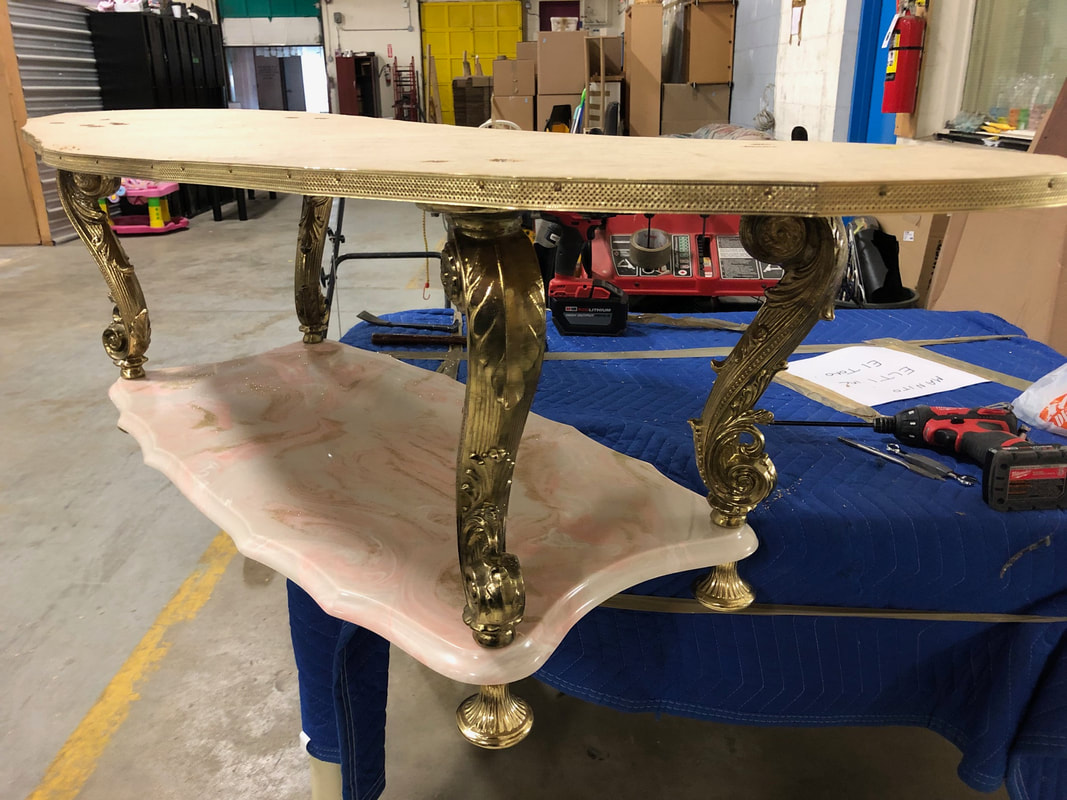
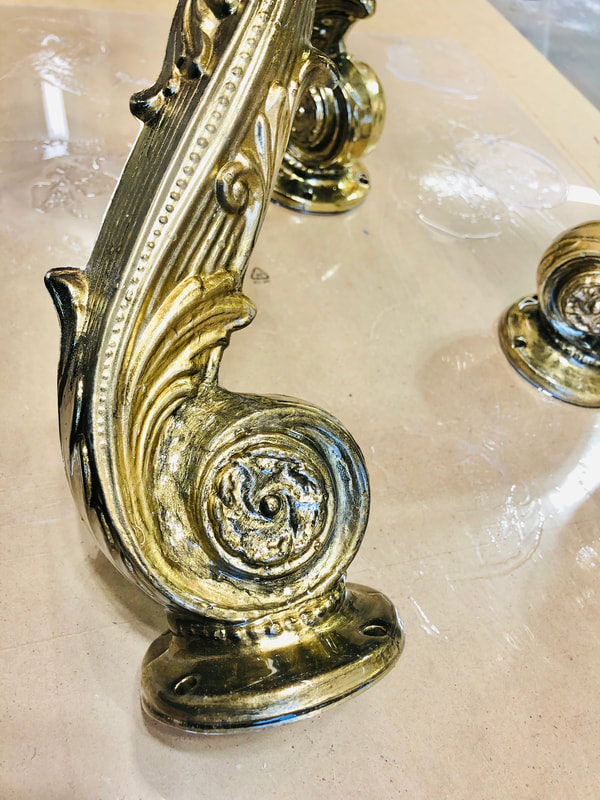
Broken Cast Zinc Coffee Table Legs.
I have to say, this repair is by far one of the most challenging to date!
When I showed up at the company to see what they had wanted fixed, my first reaction was ‘are you serious’
like what OR how on earth can I rebuild these cast metal furniture legs!? Especially the fact that all four legs were broken made it seem a lot worse.
So, I collected the pieces in a bag and thought, I’ll have it welded back together!
Reality; this type of metal cannot be welded!
Now what?!
Plan B-
Maybe I can replace the legs with something similar?!
That’s a no go as well-
Turns out, table is part of a set and the owner of the table is very particular.
Again, now what?!
The major issue is even if I rebuild the legs, the thickness of the leg wall would never
support the heavy marble top.
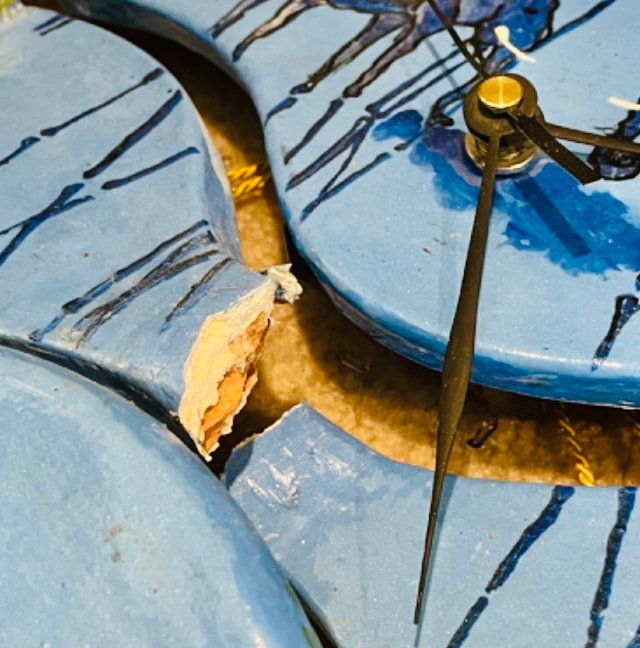
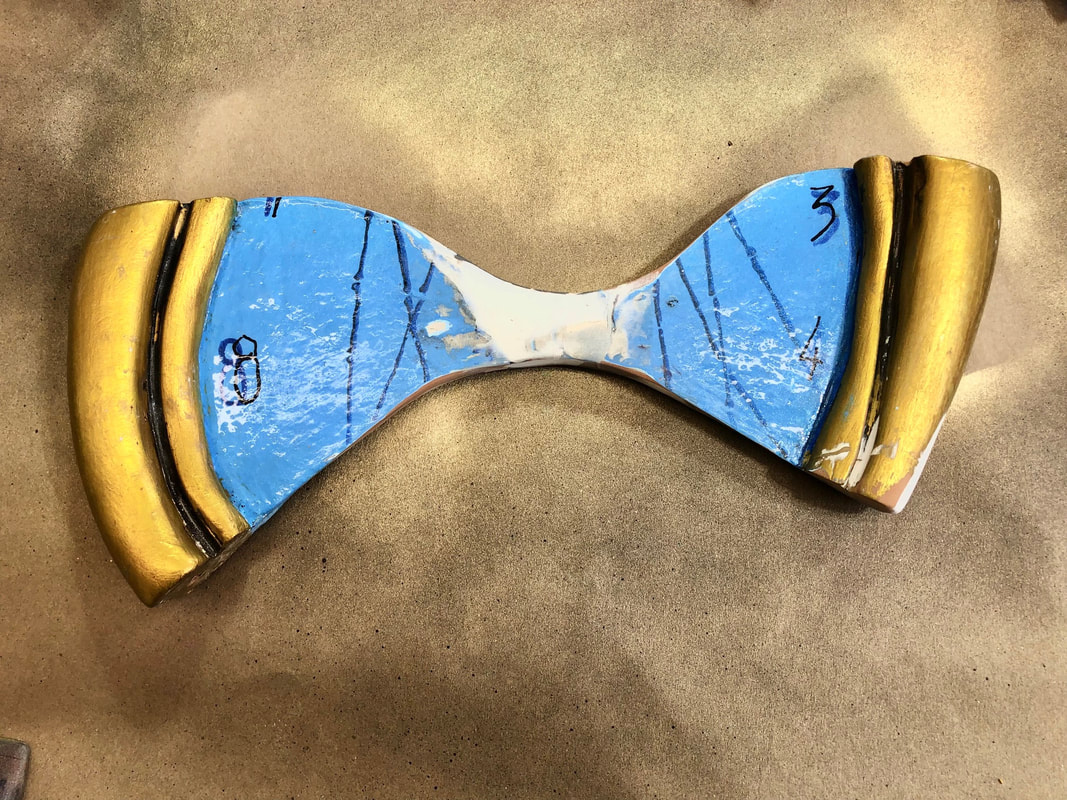
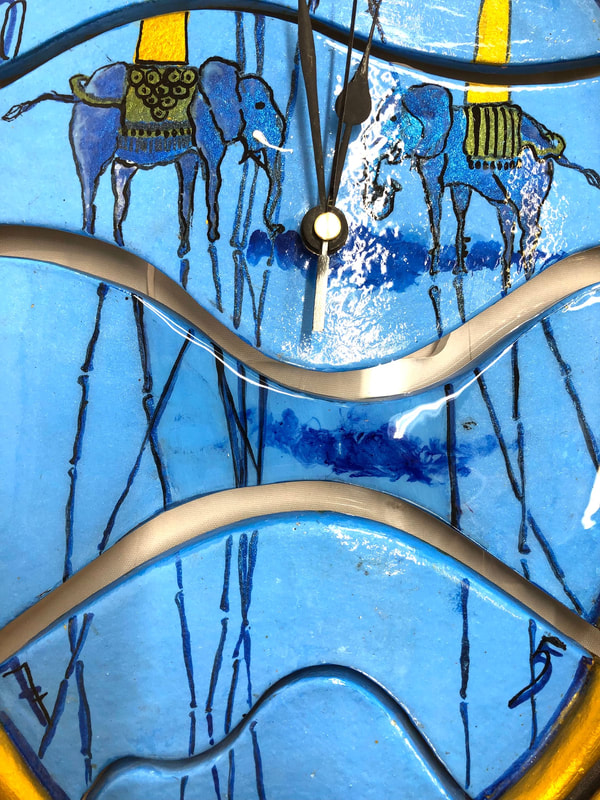
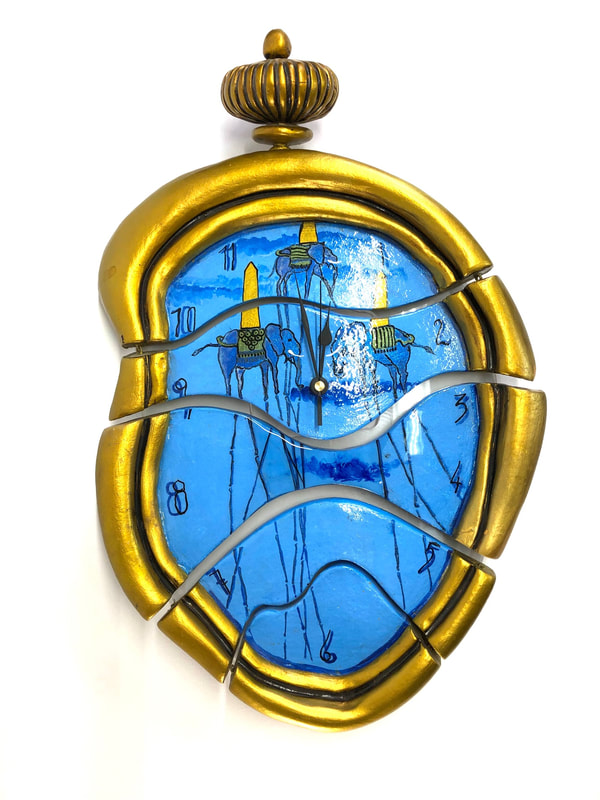
This Salvador Dali clock was purchased by the client in Spain.
When he originally got a hold of me and sent me photos, I felt that this repair should be somewhat straightforward compared to plenty of others that I have worked on.
Boy, this proved me wrong!
What I discovered was it is made from a terra cotta type clay and presumably kiln fired. Meaning, drilling into it would end up shattering it.
It must have been assembled before firing.
So two issues, first of course is the broken section, the other is the weight of each piece (collectively) being connected by only a thin wire wasn’t the most practical way to have the whole assembly stay in one piece.
After repairing the broken panel it ended up breaking not once but twice on me, not where I repaired it, but new fractures on either side.
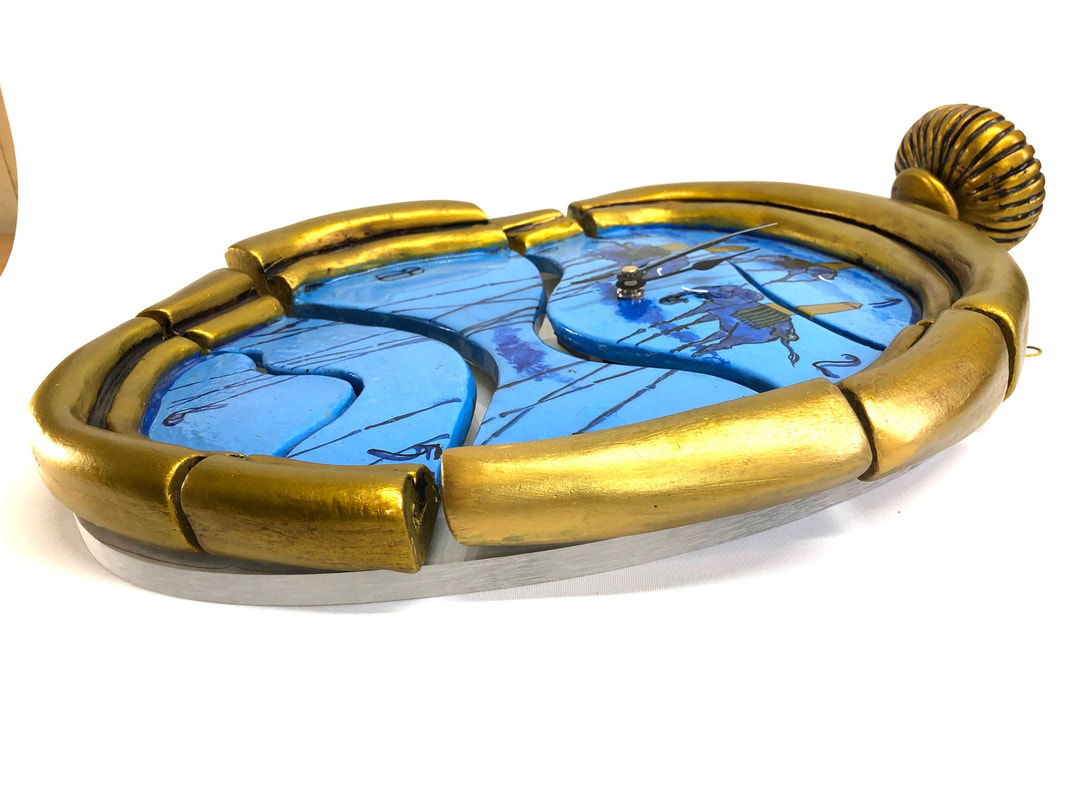
What I decided to do was machine a thick piece of clear acrylic into the shape of the piece then polished the edges.
I mounted the newly assembled clock to the acrylic base and made a custom bracket to easily mount to the wall and hang the clock on to.
Spiritual Sculpture Repair.
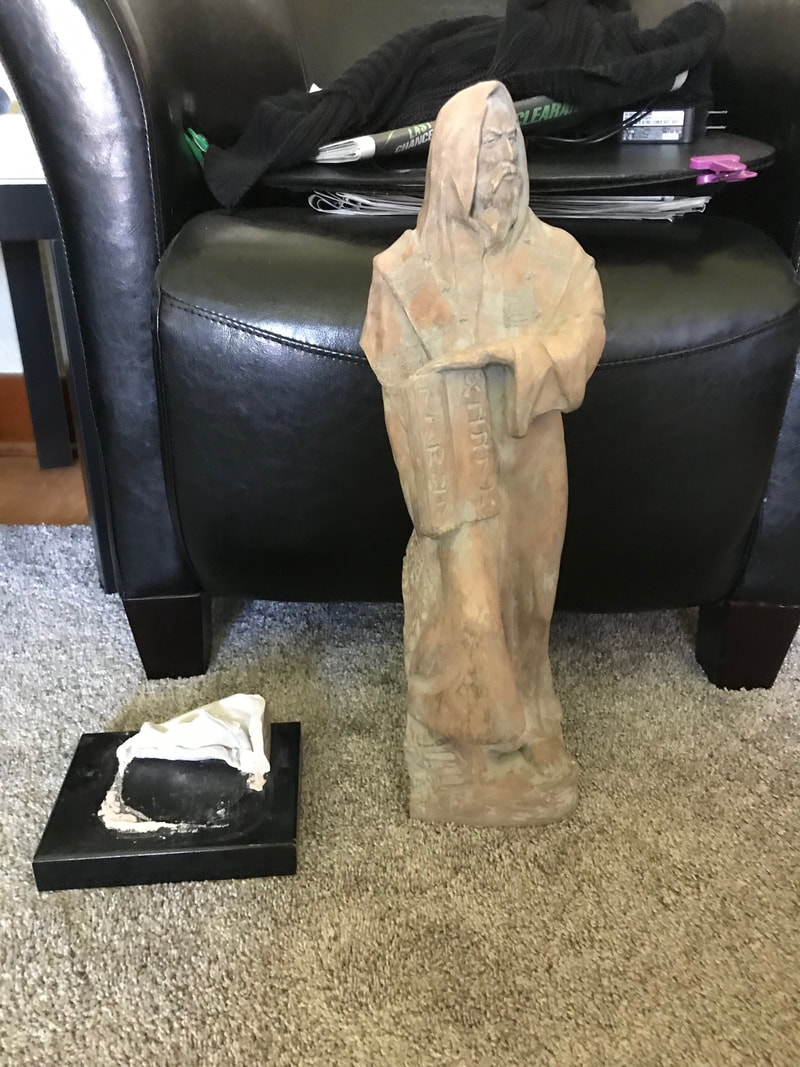
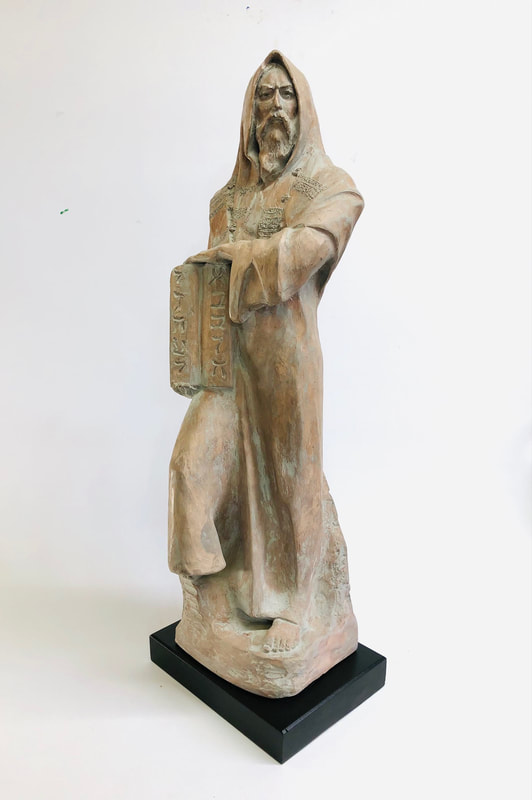
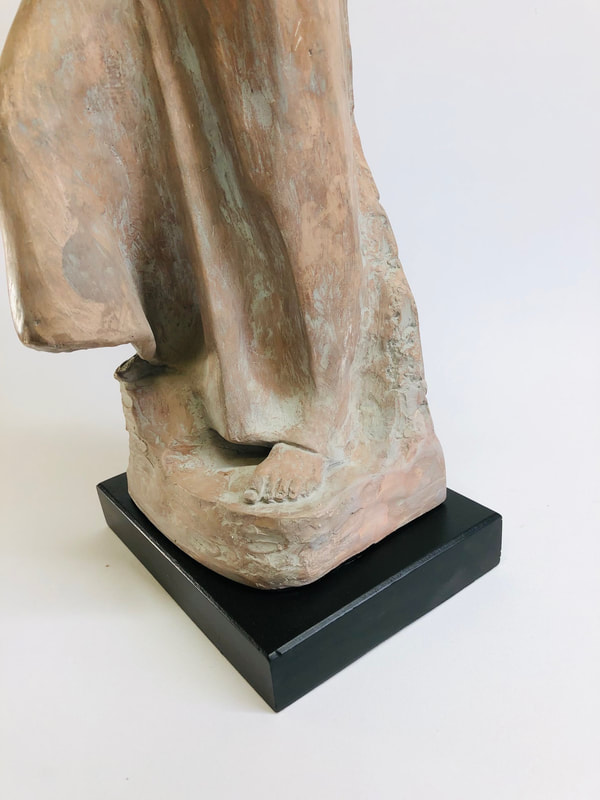
This spiritual statue was completely broken in a recent move. It wasn’t the most challenging repair but I was able to use some of my new dental tools!! I refinished the black base for that overall refreshed look.
This spiritual statue was completely broken in a recent move. It wasn’t the most challenging repair but I was able to use some of my new dental tools!! I refinished the black base for that overall refreshed look.
Ornate Frame repair and restore.
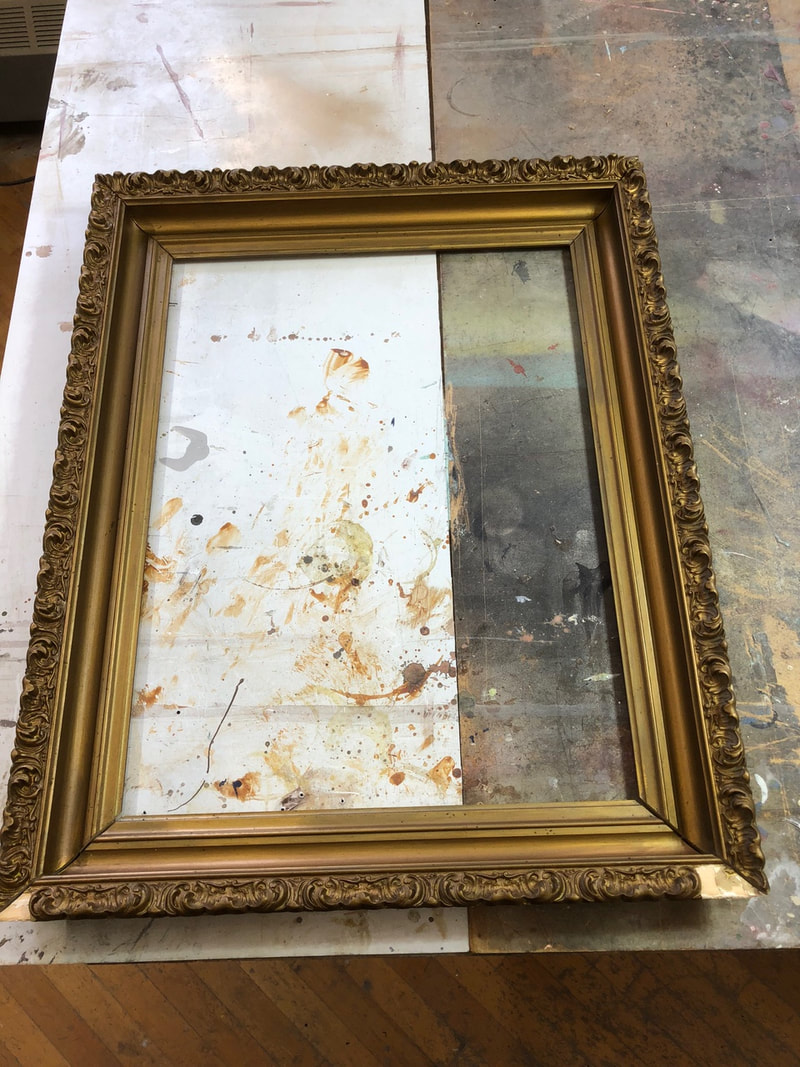
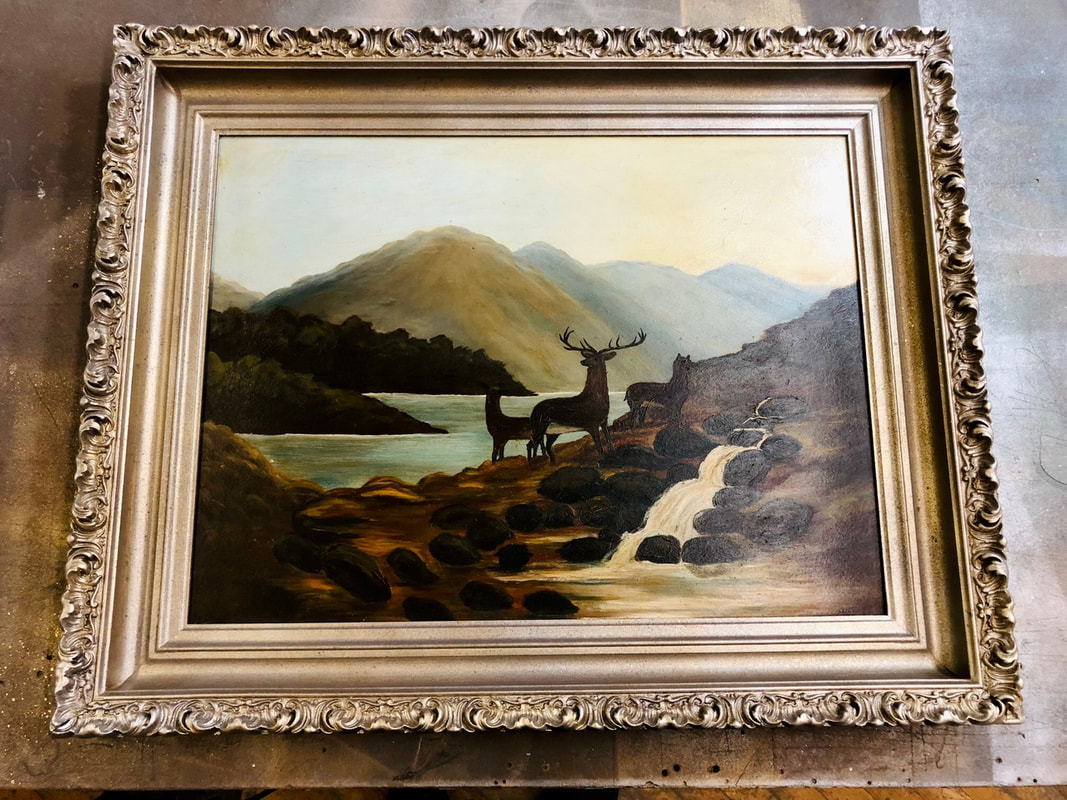
This sentimental piece of art was in need of a frame repair.
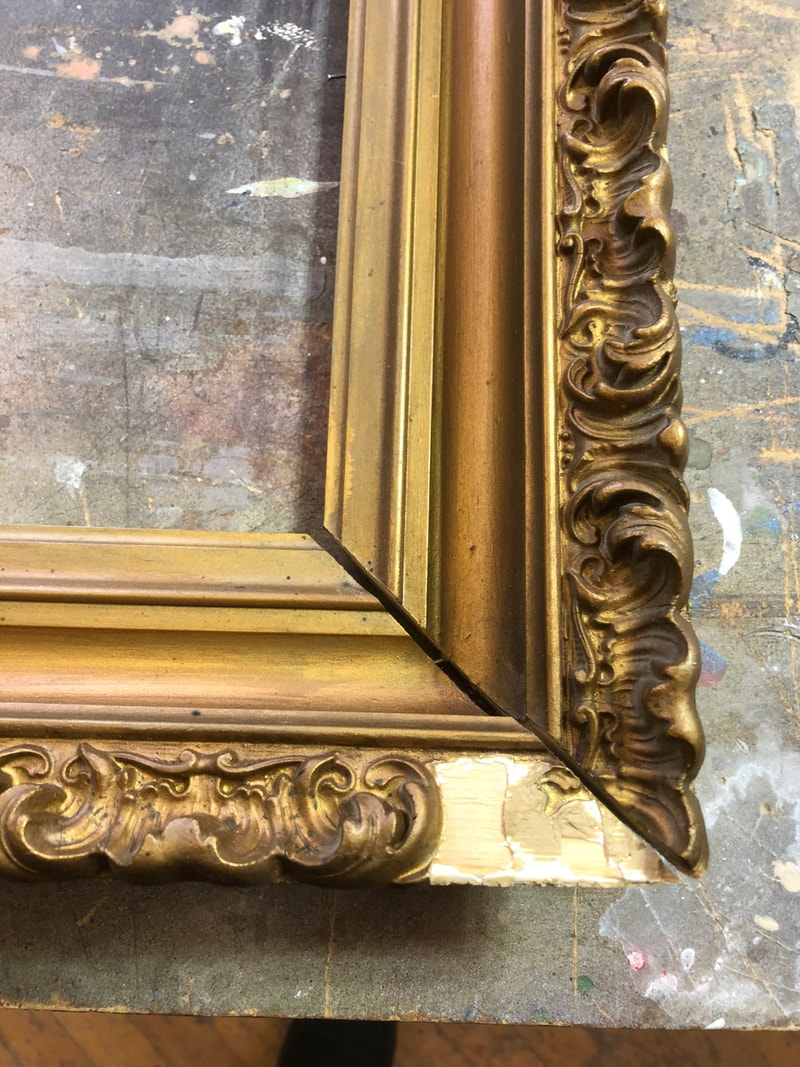
The main structure of the frame was in overall good shape except for some of the ornate pieces that were missing.
Once the frame was securely assembled back together it was then time to address the missing sections.
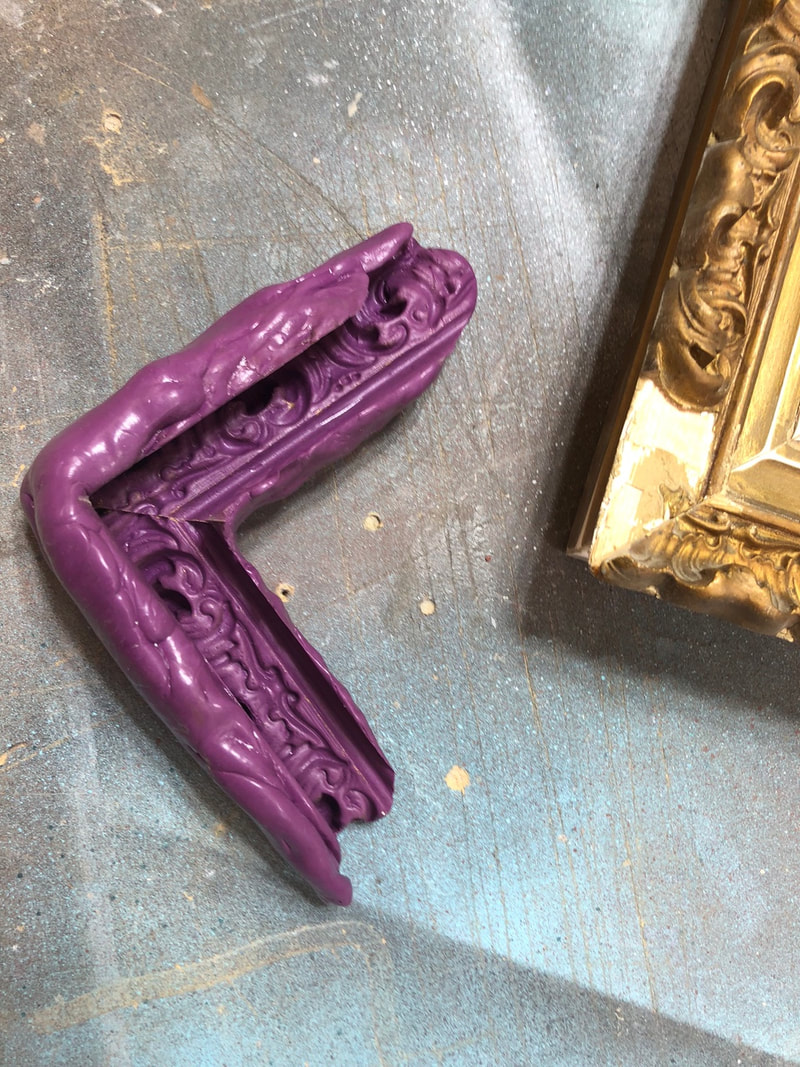
The most cost effective way to replicate was to make a silicone mold of a ‘good’ section, then meld the replacement pieces into place.
The client was kind enough to let me creatively run with the new finish, which I decided was to go with an oyster silver metallic finish versus the gold version it came with.
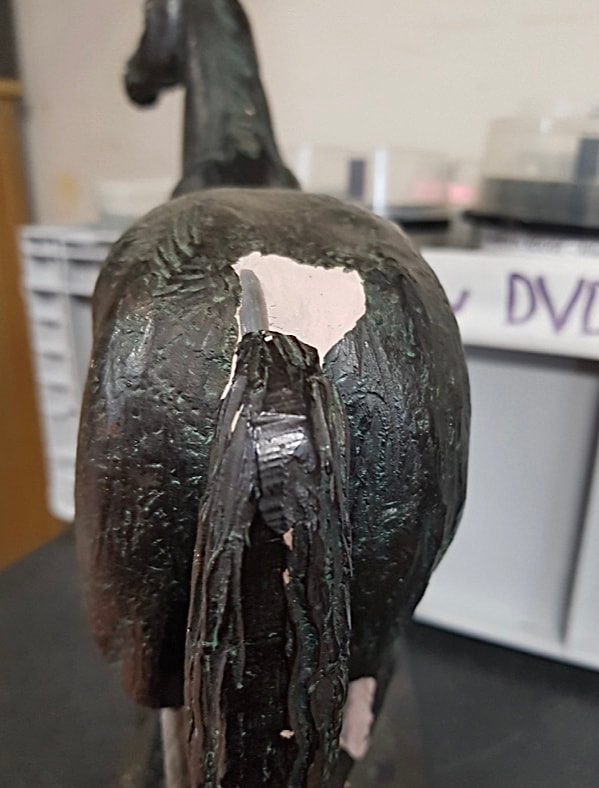
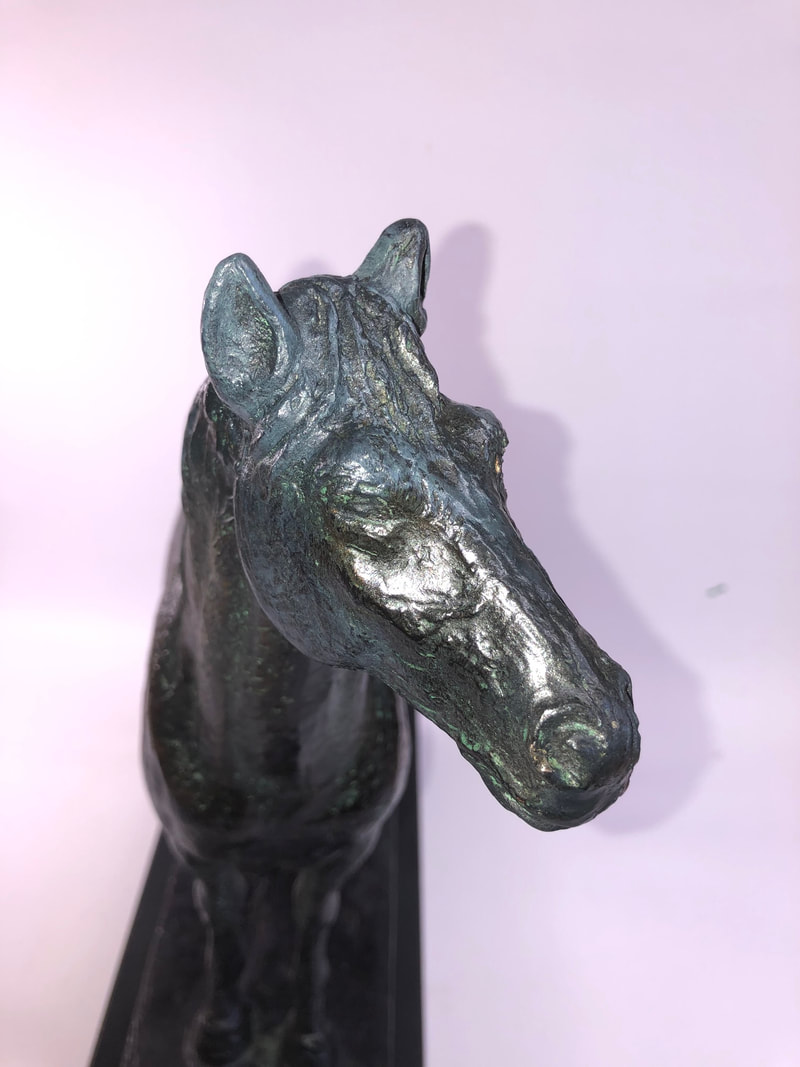
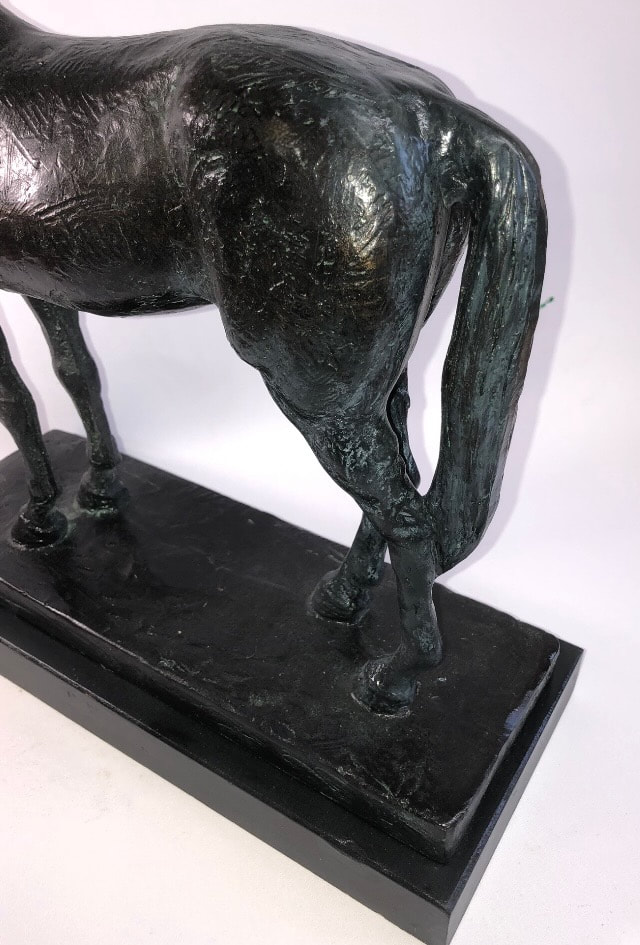
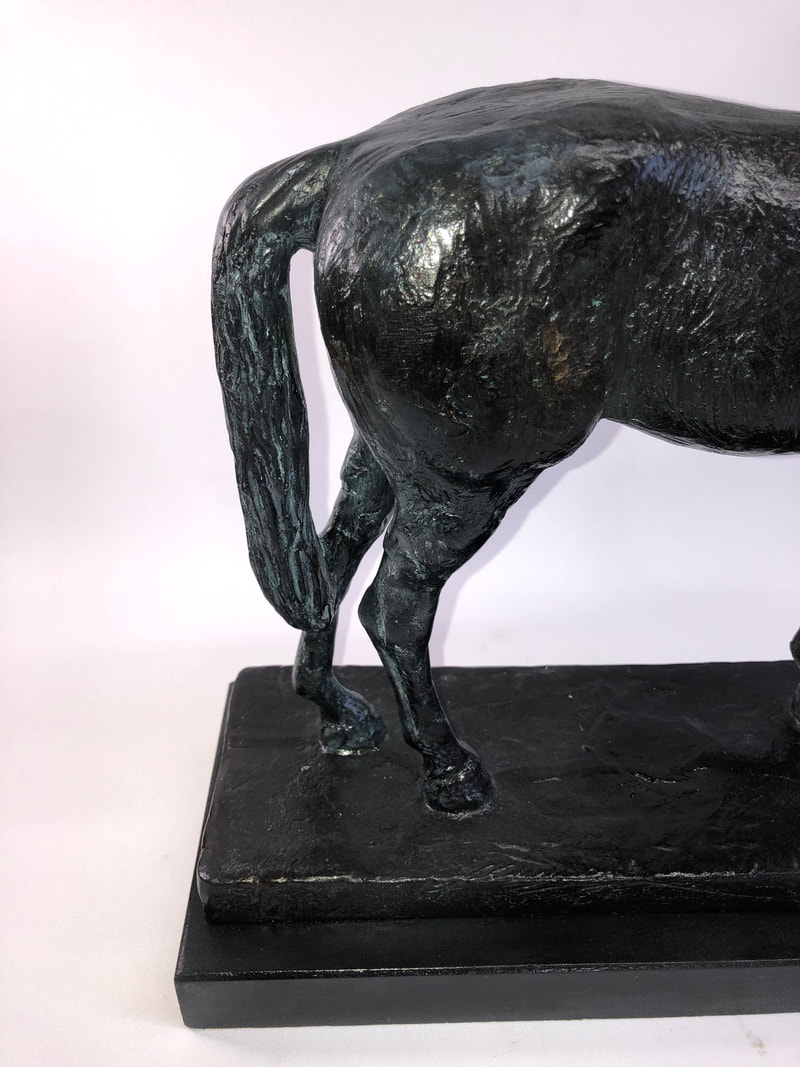
Horse Sculpture repair & restore.
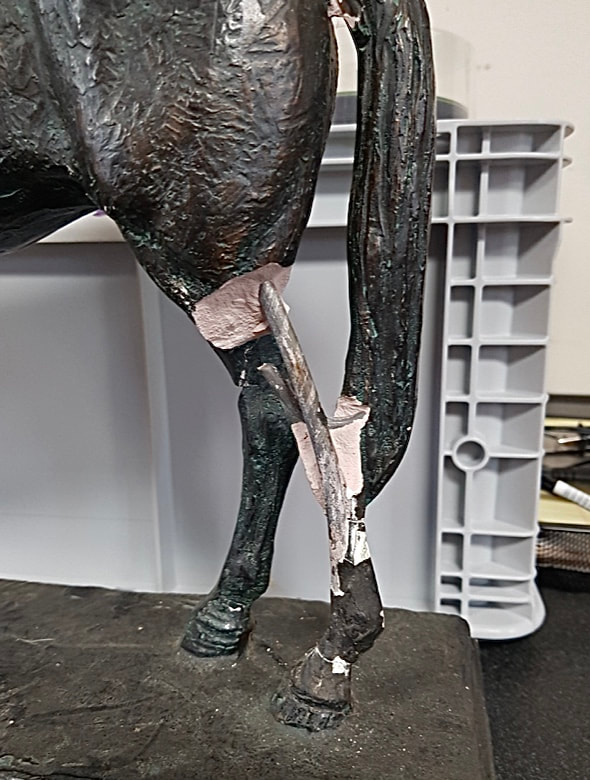
This majestic sculpture was toppled over by the owners doggie!
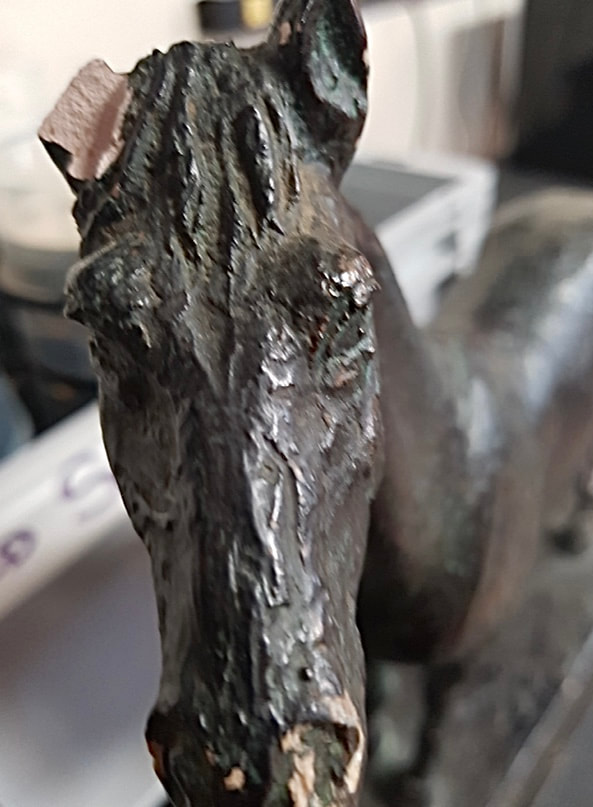
It was brought to me missing parts of its anatomy, but there were some broken pieces left to salvage.
The trick with this repair was to emulate the detailed carving marks of the artist and recreating the bronze patina finish.
This majestic sculpture was toppled over by the owners doggie!
It was brought to me missing parts of its anatomy, but there were some broken pieces left to salvage.
The trick with this repair was to emulate the detailed carving marks of the artist and recreating the bronze patina finish.
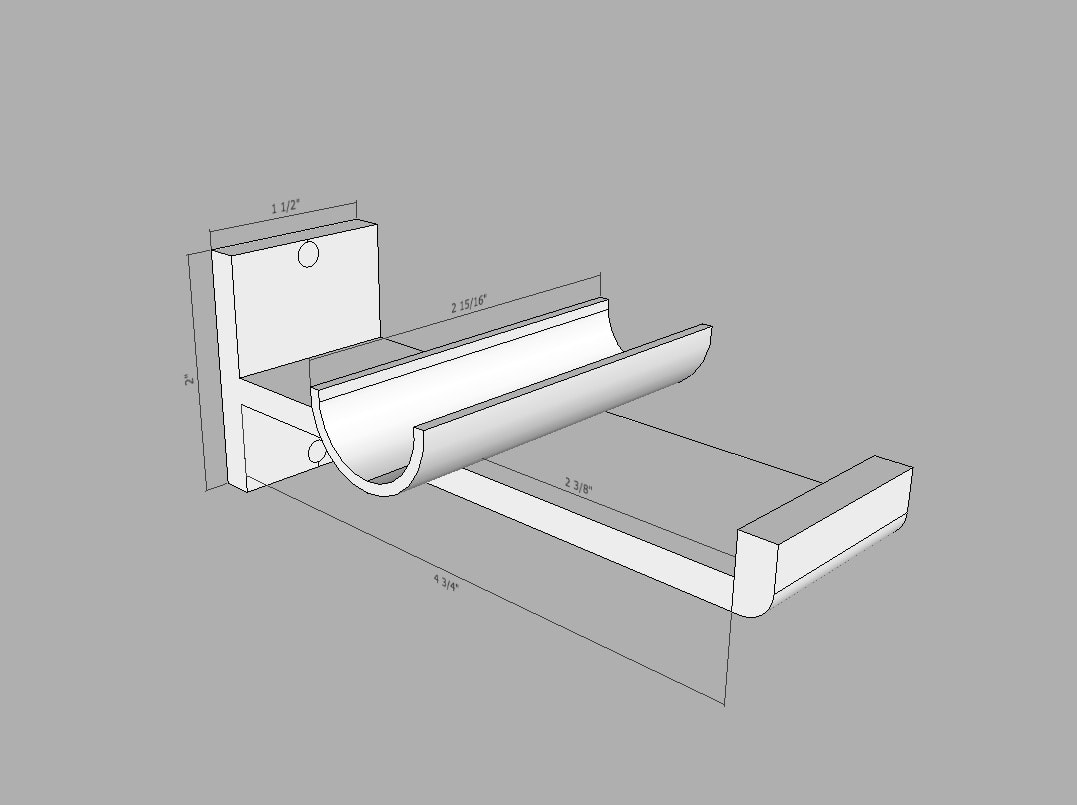
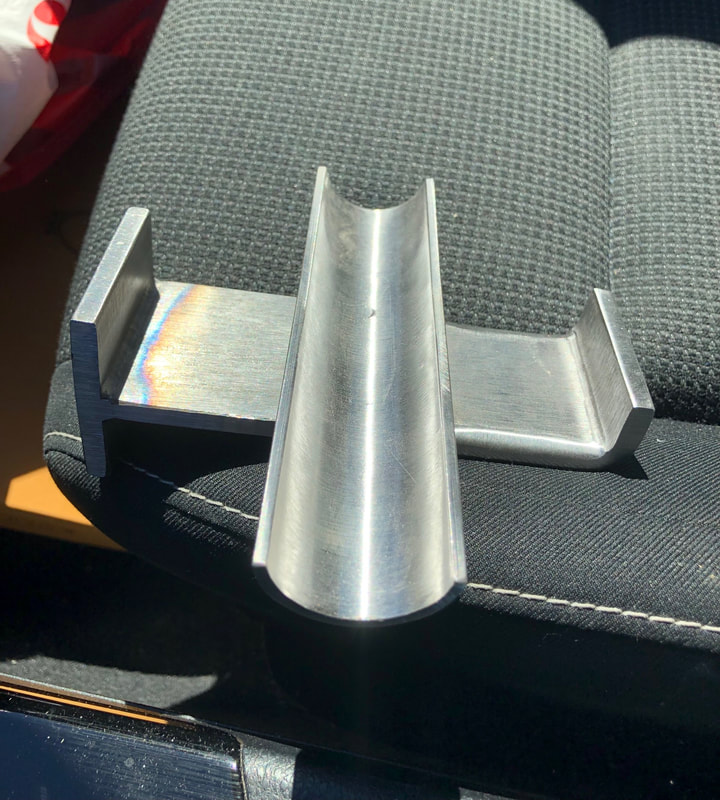
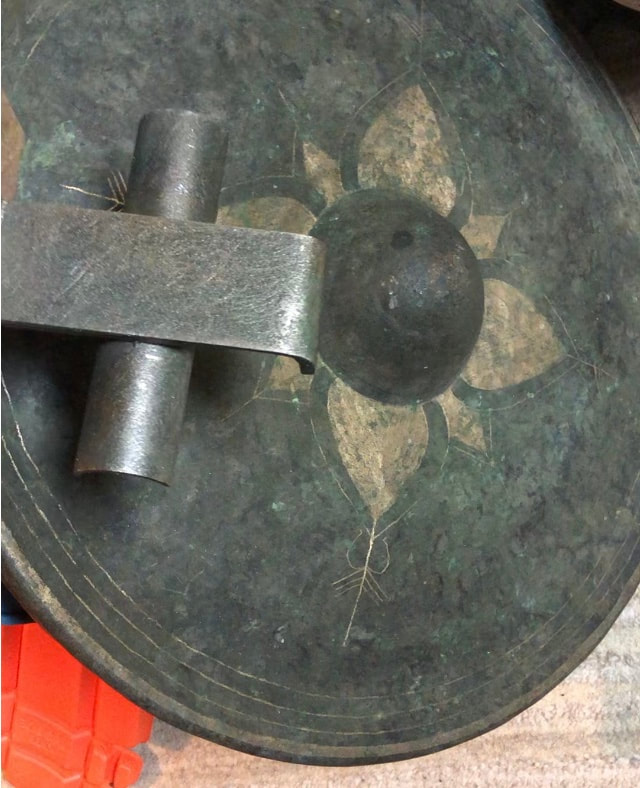
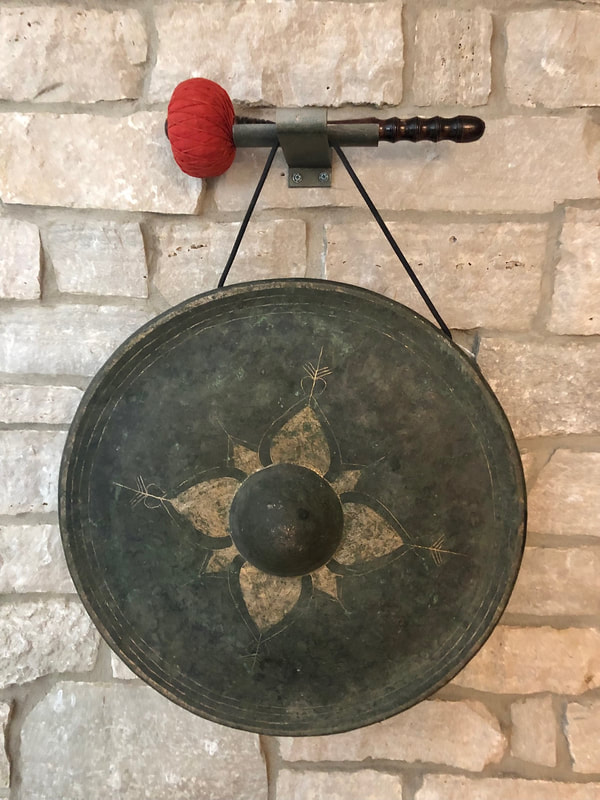
Antique Gong design and install bracket.
This vintage steel gong arrived for a client without shipping the bracket that goes with it.
I offered a solution, by designing a new bracket, fabricating it, painting it with a matching aged patina and finally installing it!
This vintage steel gong arrived for a client without shipping the bracket that goes with it.
I offered a solution, by designing a new bracket, fabricating it, painting it with a matching aged patina and finally installing it!
Sentimental Figurine.
This little sculpture has been in the family for ages and a very sentimental keepsake.
Although kept in a china cabinet it somehow broke in half. The first step was to affix the two pieces together and then determine what pieces were missing, before I cleaning up the seams.After various fillers and sand blending this little piece was painted and clear coated to bring back the original look and feel.
Ceramic Vase Repair.
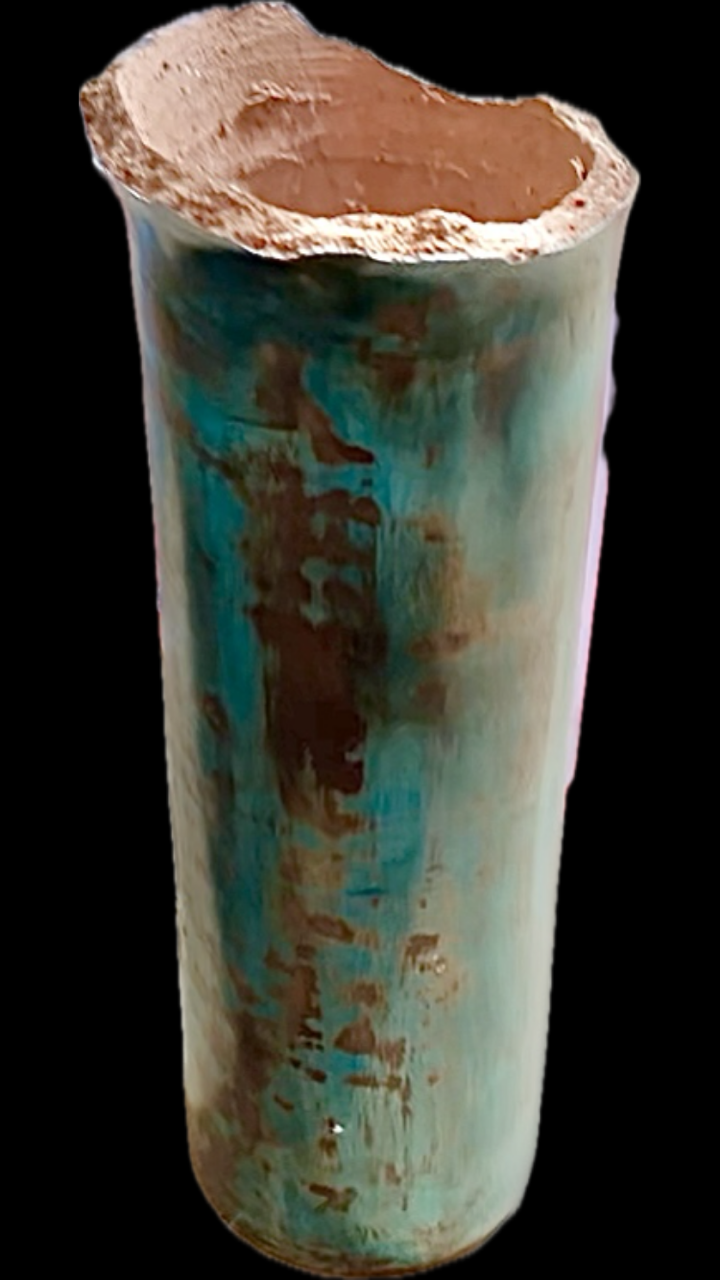
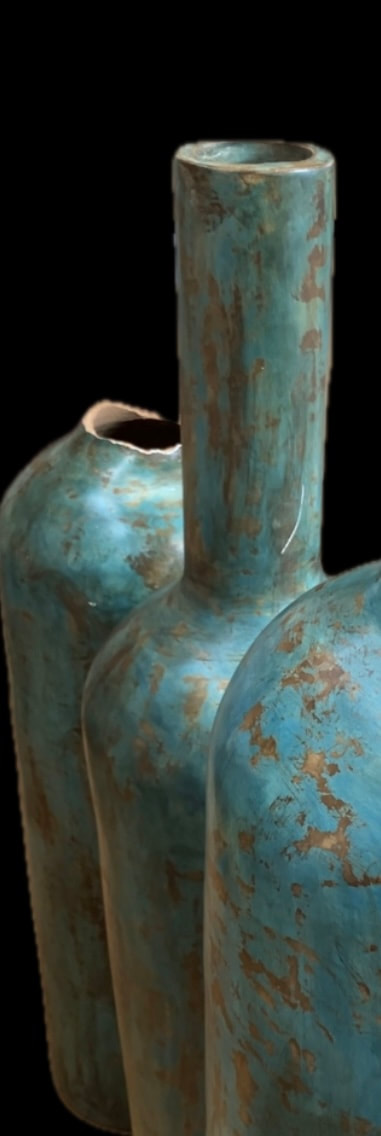
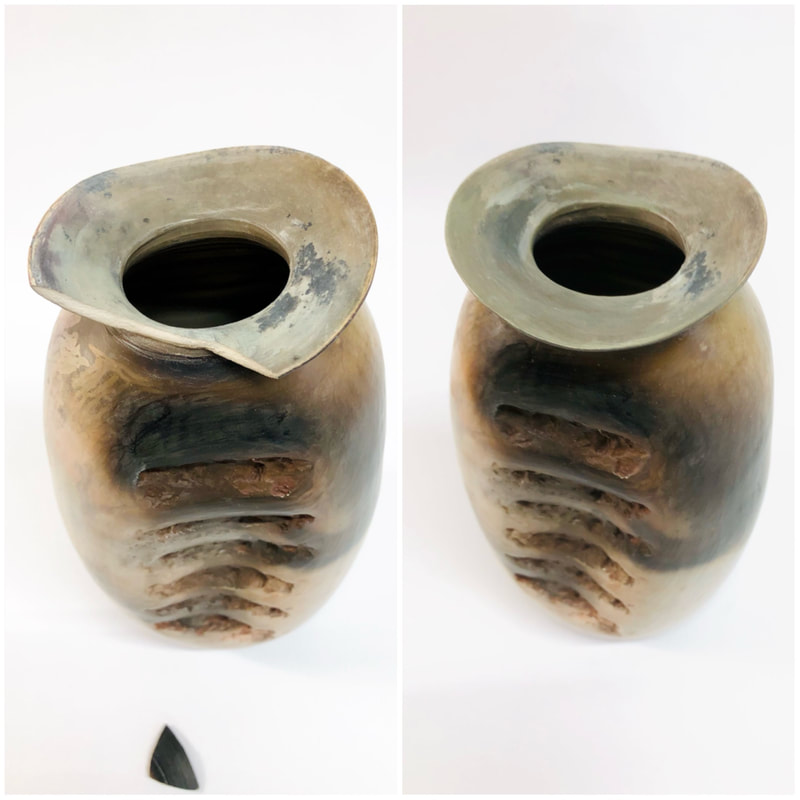
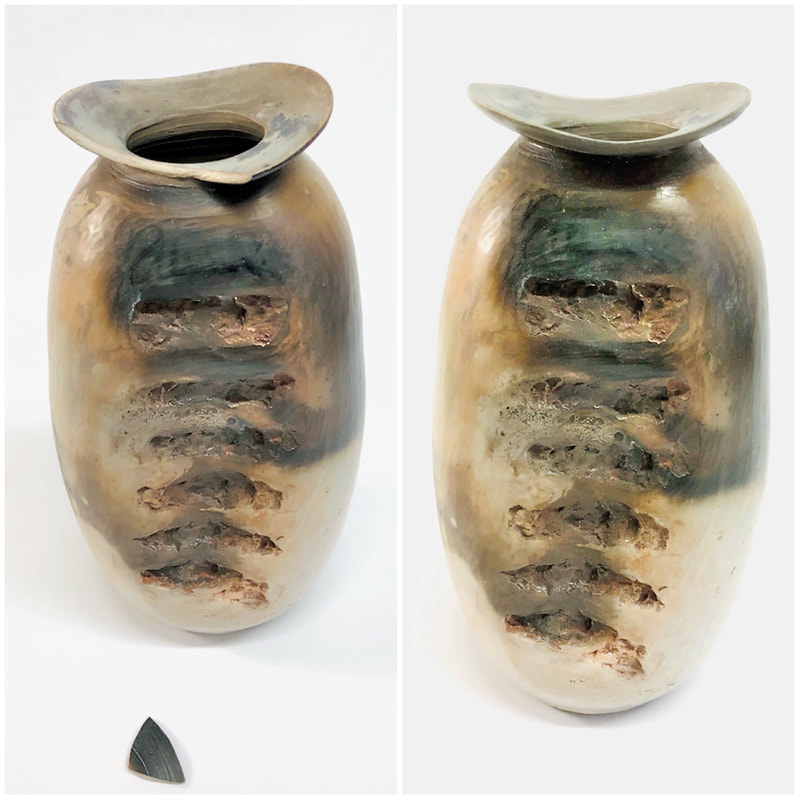
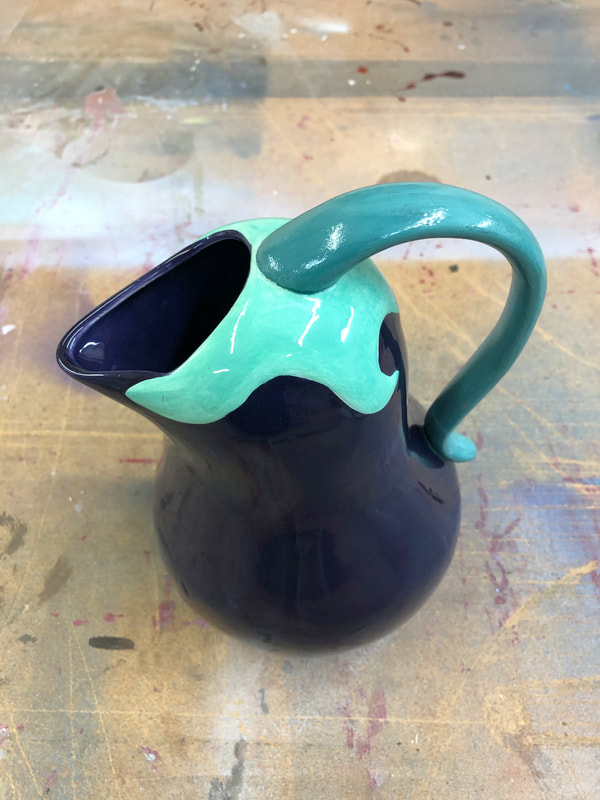
This ceramic vase was broken in a move. It was challenging because the top of the vase or ‘flange’ was quite thin and fragile with a thickness being only 1/16” or less in some areas. The last component was to replicate the colours and design of the artist for a seamless repair. These photos show the before and after results.
This ceramic vase was broken in a move. It was challenging because the top of the vase or ‘flange’ was quite thin and fragile with a thickness being only 1/16” or less in some areas. The last component was to replicate the colours and design of the artist for a seamless repair. These photos show the before and after results.
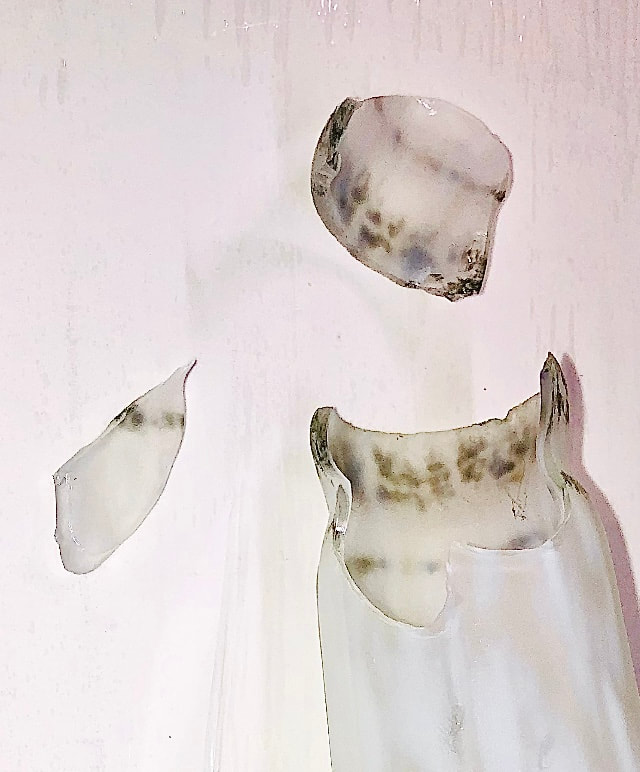
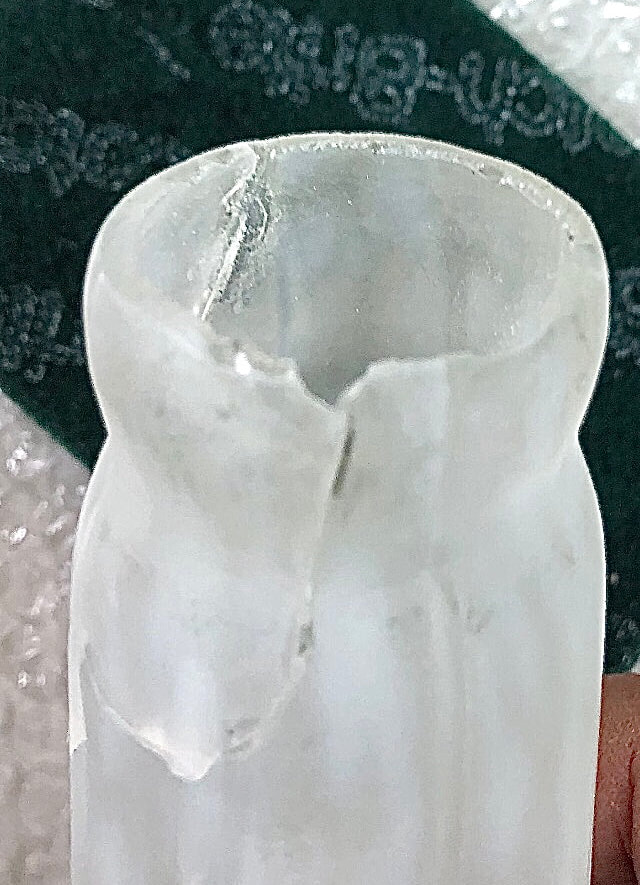
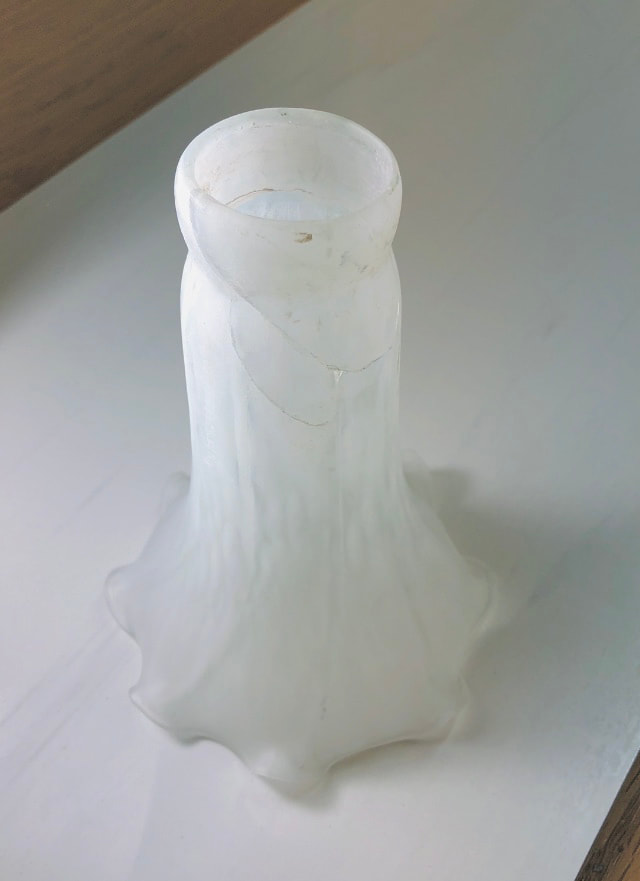
Repairing and restoring a vintage glass lamp shade.
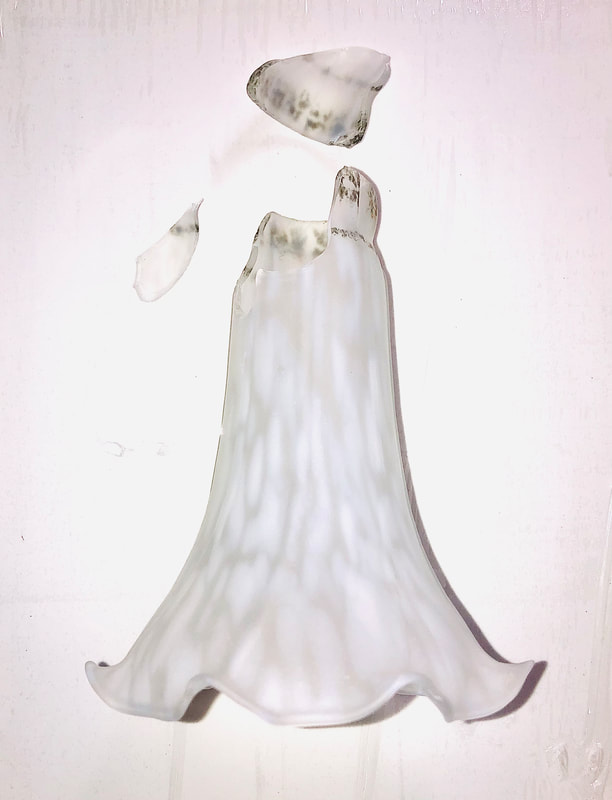
A few things to consider when taking on these items. Typically, these antique shades have become brittle over the years and could have microscopic hairline fractures. So, just reassembling the pieces is not strong enough to withstand the pressure from the fixture to hold the shade in position. Rebuilding and strengthening where it connects with the fixture is paramount.
The finished piece is not only stronger than before, the fractures are mostly unnoticeable.
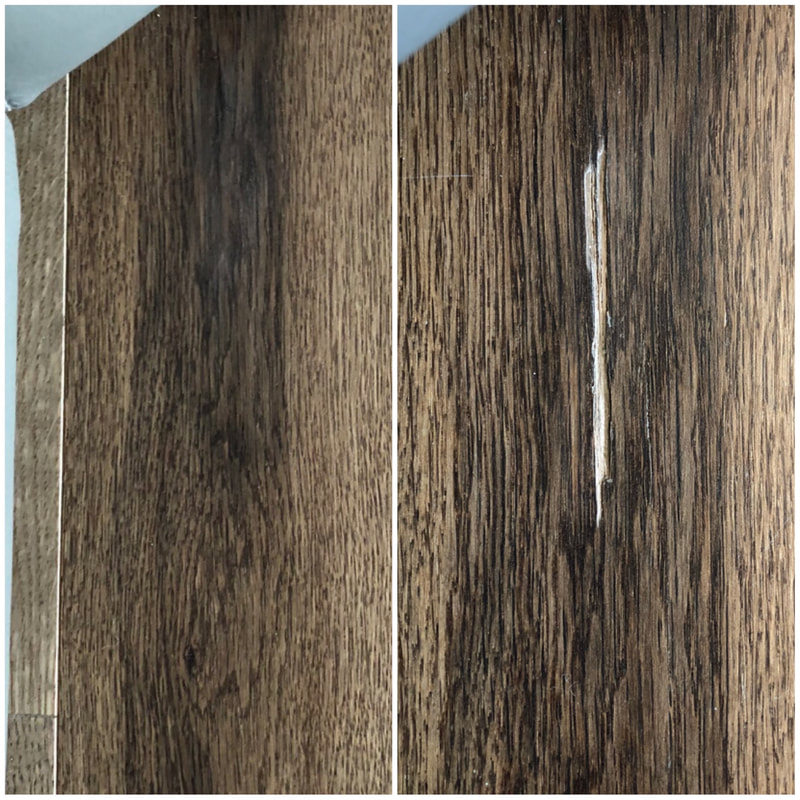
Repair examples wood, solid stone, granite & marble surfaces.
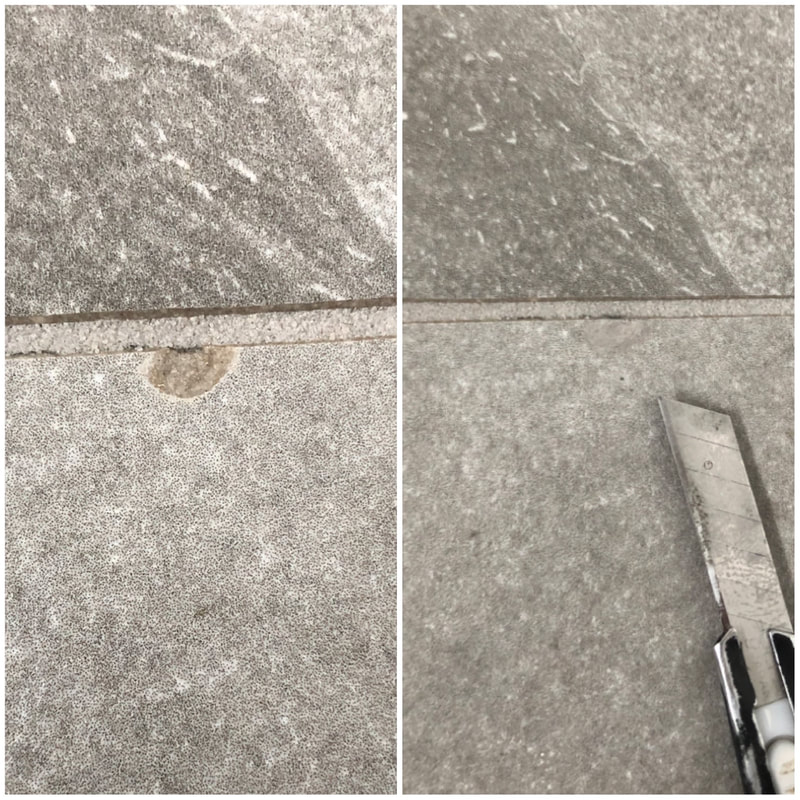
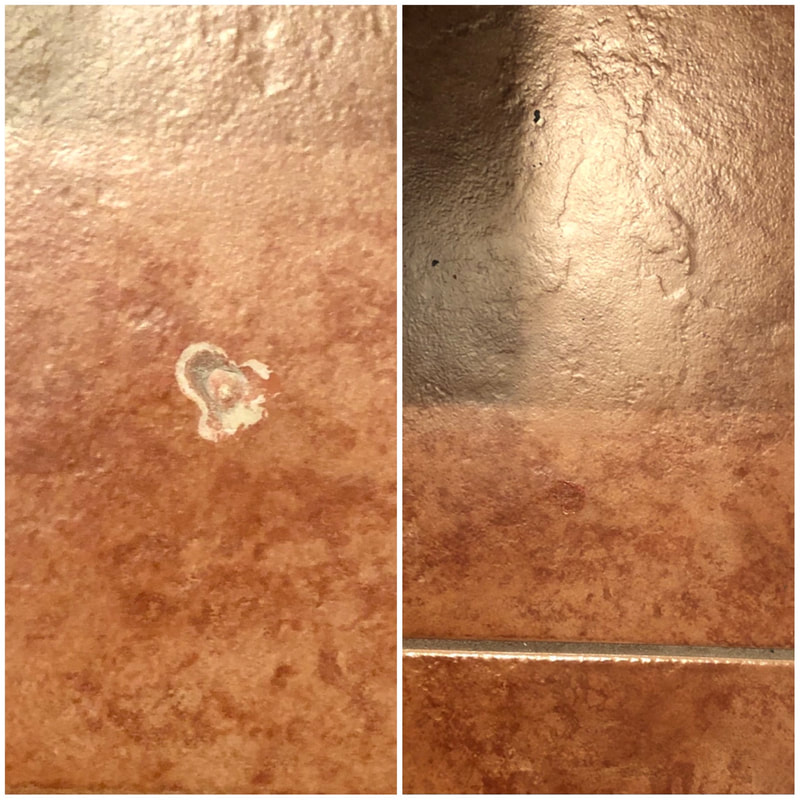
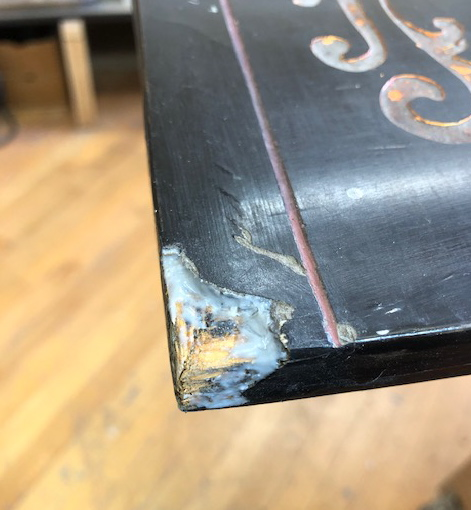
Takes my whole bag of creativity to accomplish these repair examples. Before and after.
Takes my whole bag of creativity to accomplish these repair examples. Before and after.
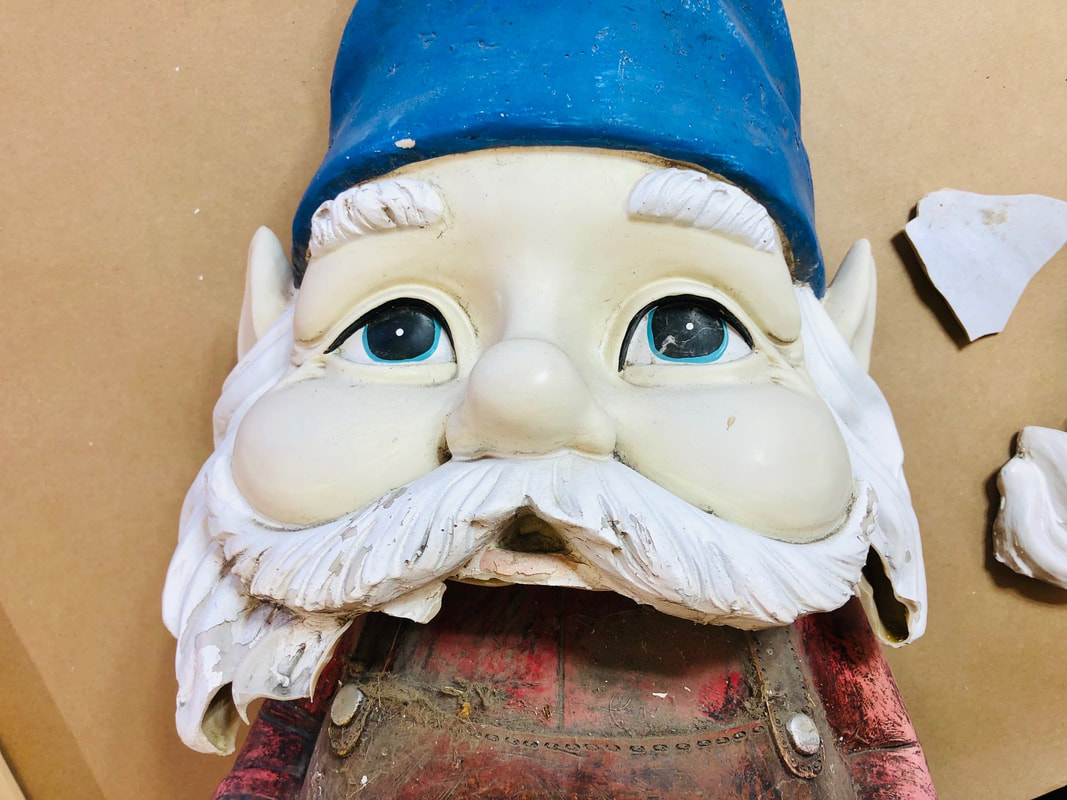
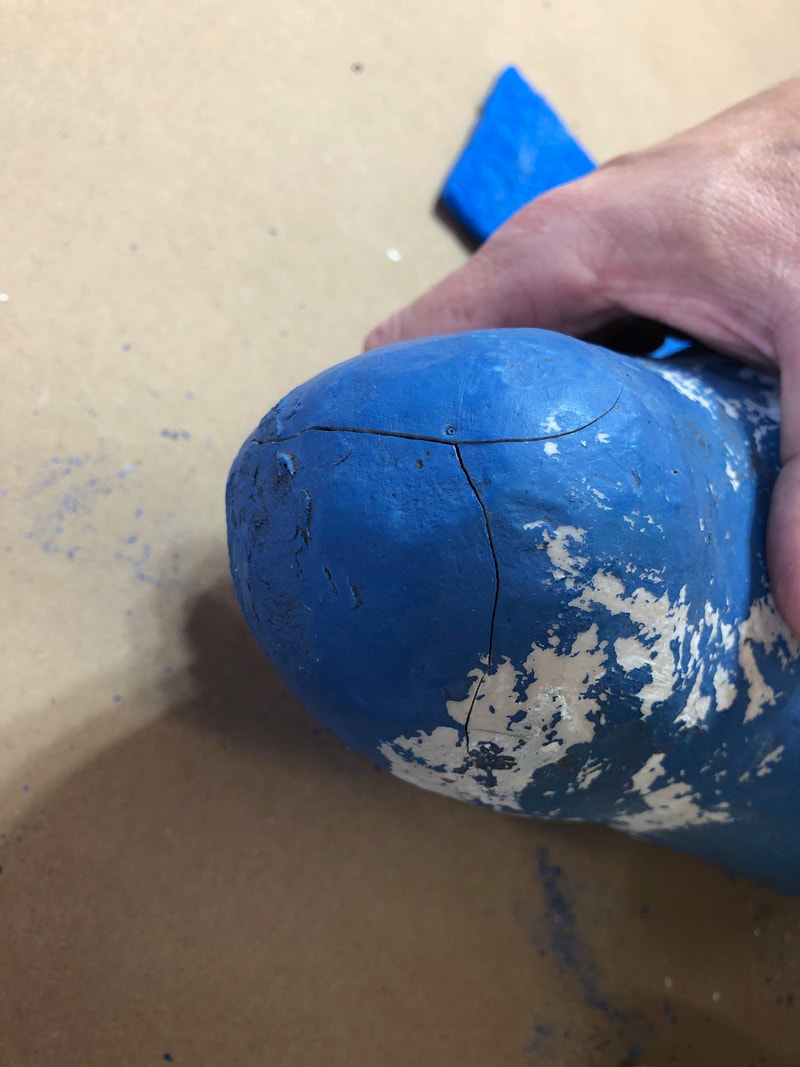
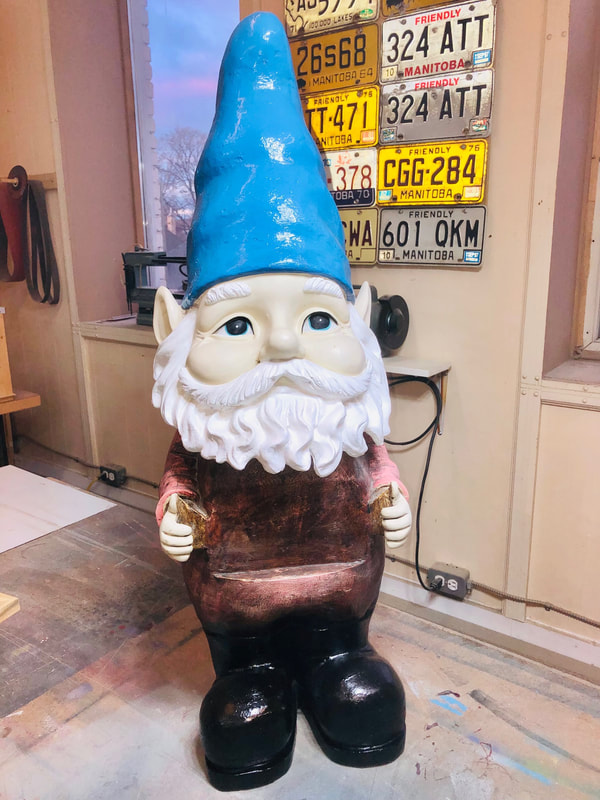
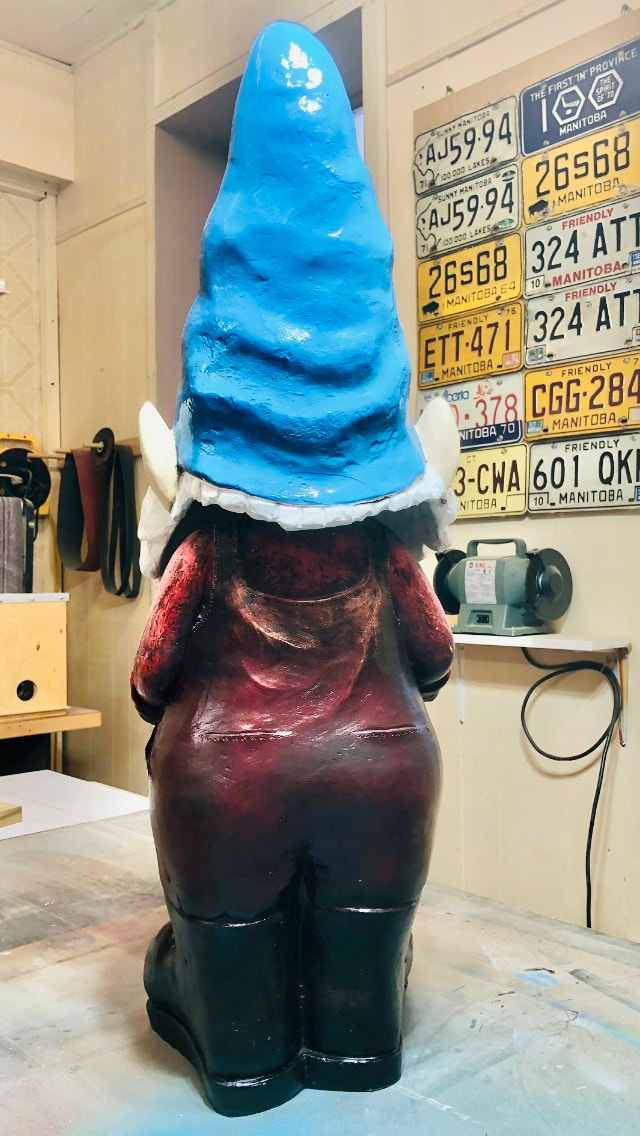
Repairing a sentimental Gnome
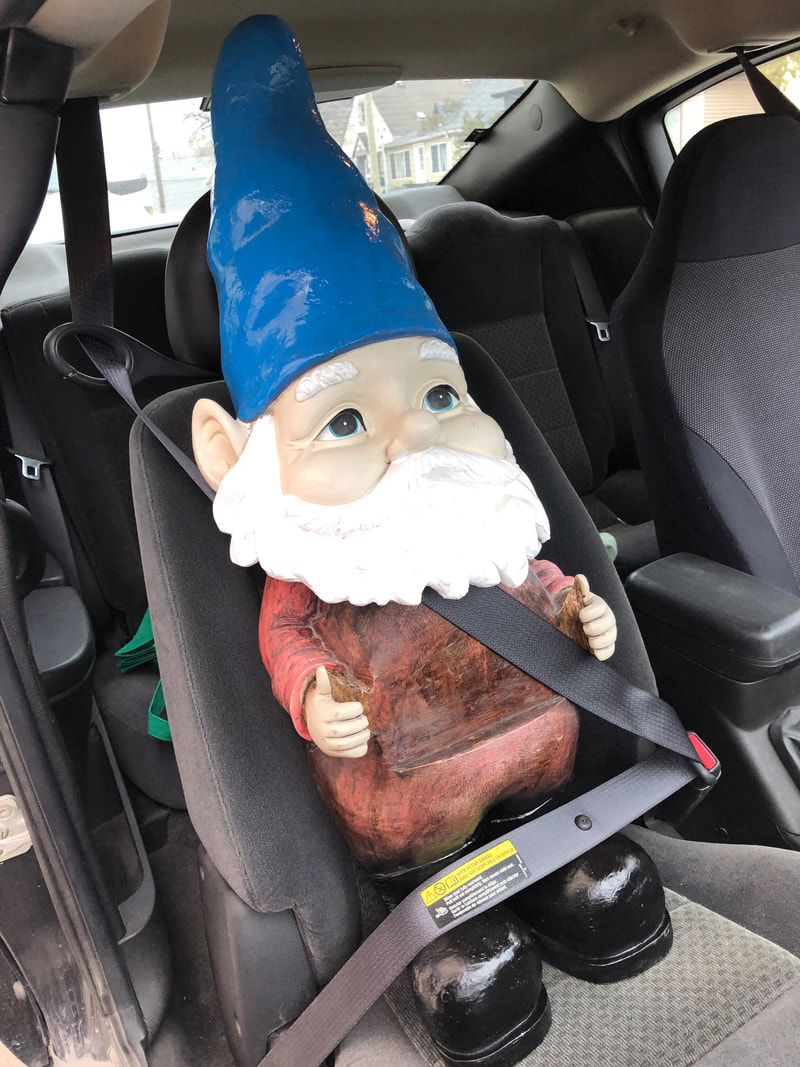
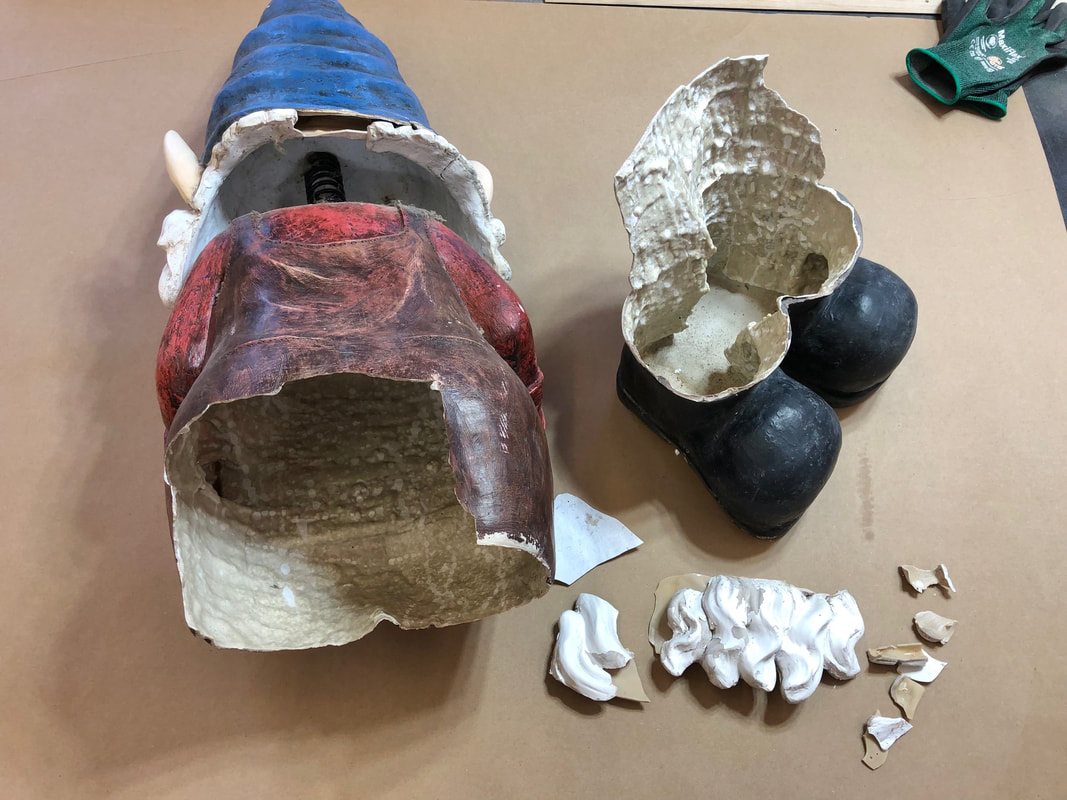
This repair was challenging due to the wall thickness which was extremely thin and fragile. Think of an egg, once cracked. This did not leave me with a secure way to reattach the pieces back together, plus there was missing pieces. I started by adding a metal support system inside to help align the larger sections, essentially making it whole again. Industrial adhesives, automotive fillers and heavy enamel paint allowed this little guy a second chance in life!
This repair was challenging due to the wall thickness which was extremely thin and fragile. Think of an egg, once cracked. This did not leave me with a secure way to reattach the pieces back together, plus there was missing pieces. I started by adding a metal support system inside to help align the larger sections, essentially making it whole again. Industrial adhesives, automotive fillers and heavy enamel paint allowed this little guy a second chance in life!
Vintage Floor Lamp repair.
Couple things to mention; the pieces had a relatively clean break, although the broken shards were not recovered leaving gaps once the pieces were glued back.The other tricky task of matching the existing marble-like pattern would have been nearly impossible. I made the choice to recreate the marbling on the whole lower portion instead, feeling that it would have more of a cohesive look.
Couple things to mention; the pieces had a relatively clean break, although the broken shards were not recovered leaving gaps once the pieces were glued back.The other tricky task of matching the existing marble-like pattern would have been nearly impossible. I made the choice to recreate the marbling on the whole lower portion instead, feeling that it would have more of a cohesive look.
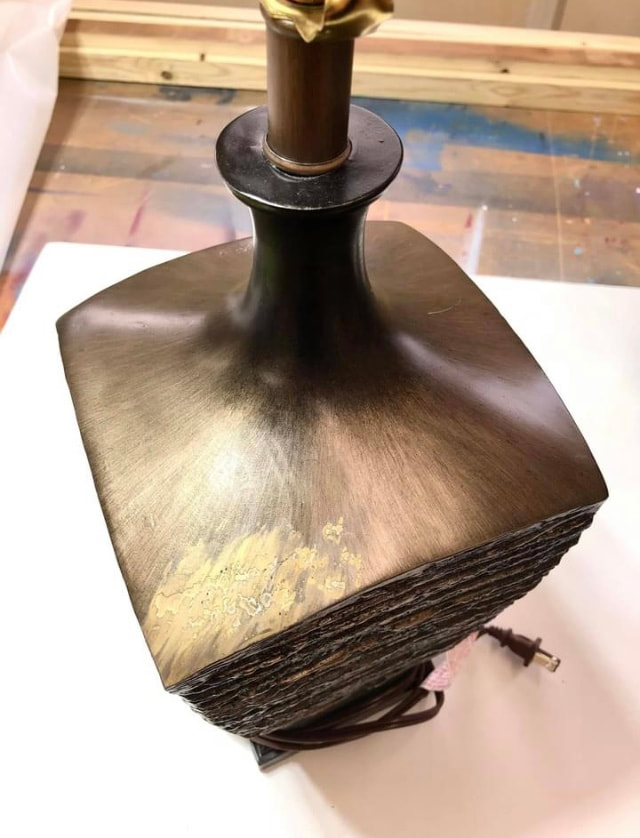
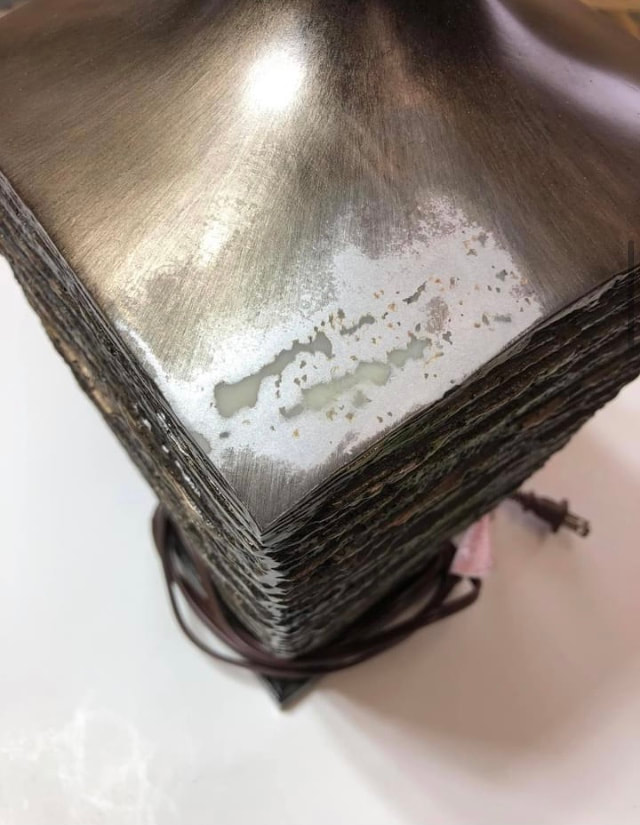
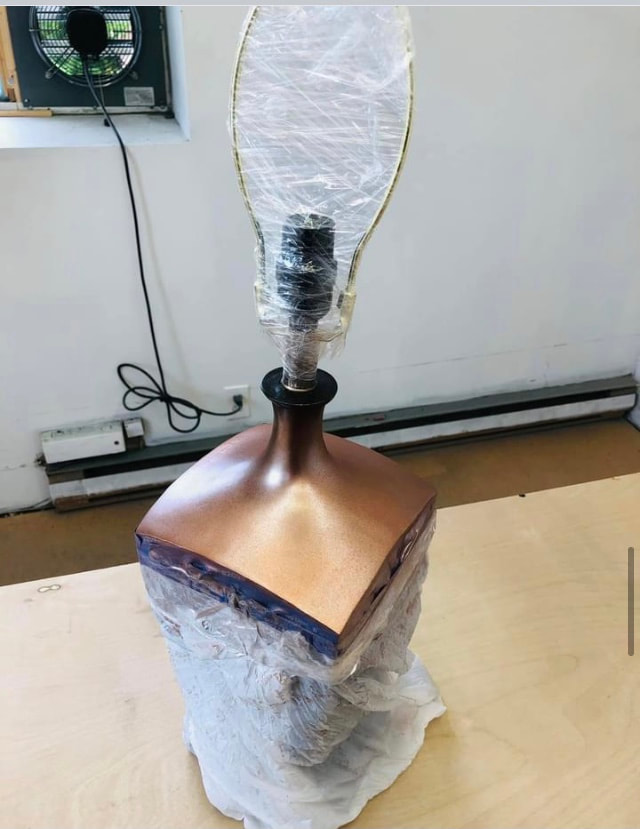
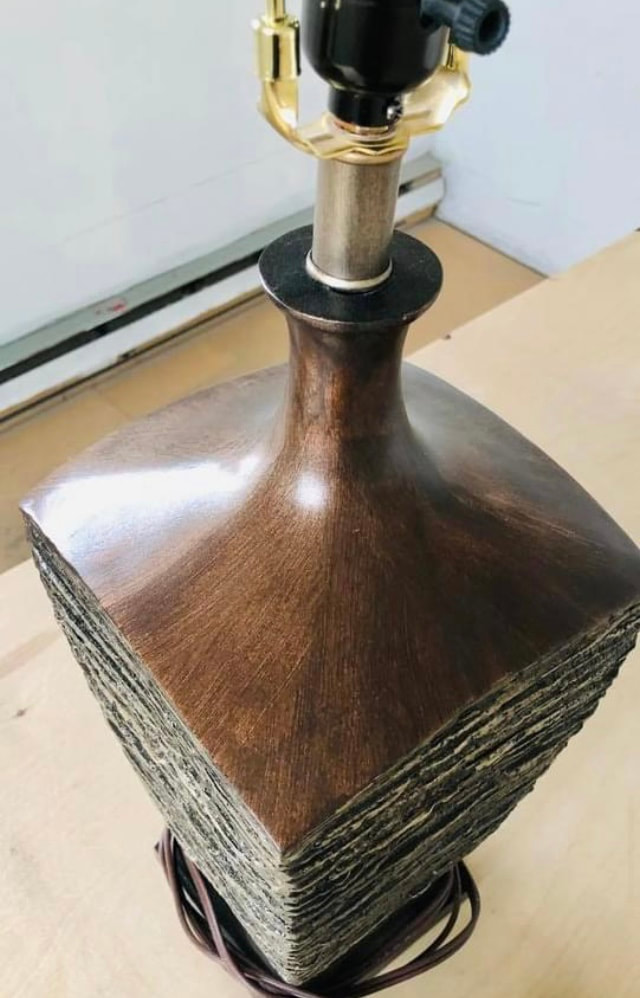
Decorative Lamp repair.
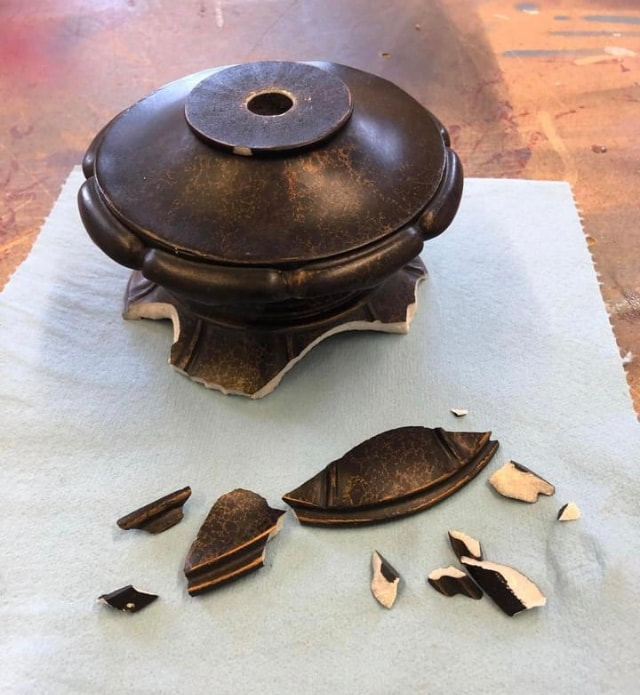
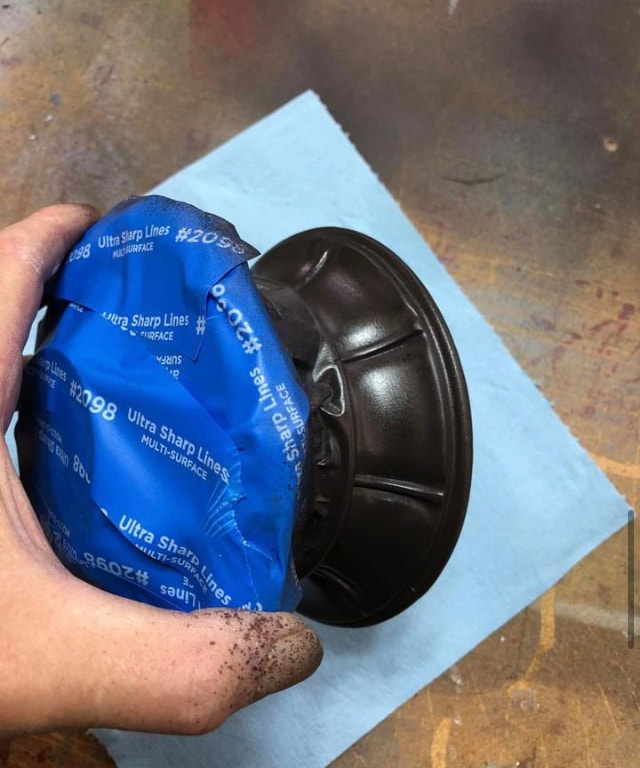
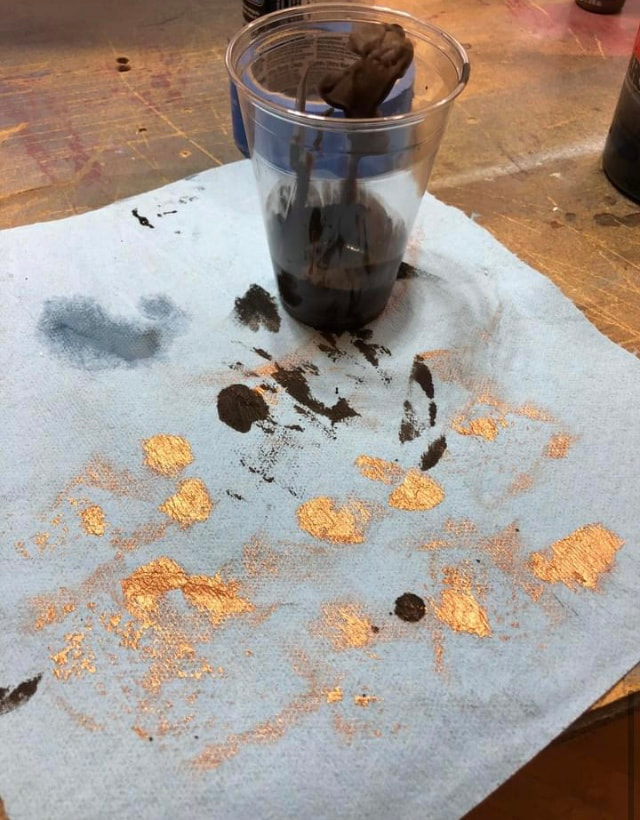
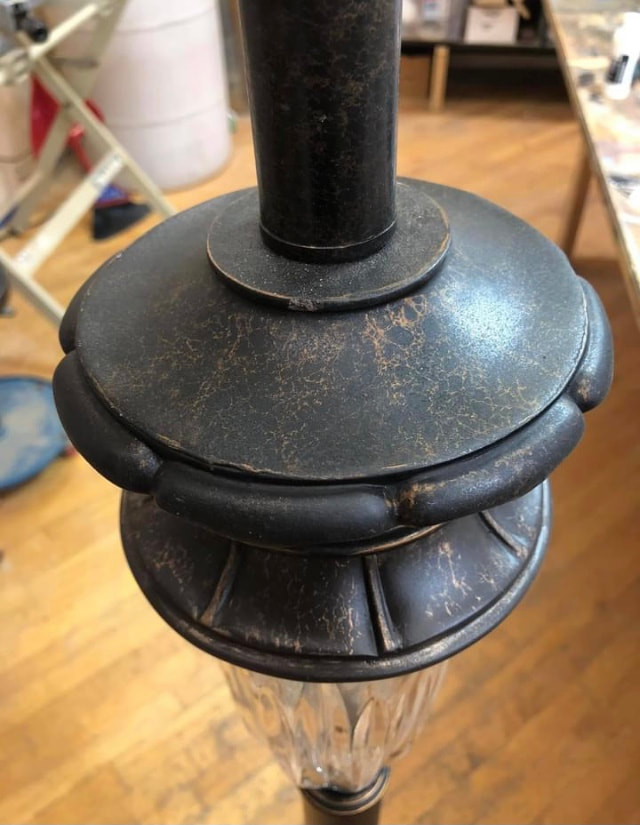
This fix was restoring and repairing a lamp that was accidentally scratched by movers. Couple things to mention; as this lamp is made by automation, replicating the same pattern and finish was tricky. The progress photos show that the damaged section required a certain and careful amount of levelling before layers of top coats were added.The finished repair is pretty close to the factory one!
This fix was restoring and repairing a lamp that was accidentally scratched by movers. Couple things to mention; as this lamp is made by automation, replicating the same pattern and finish was tricky. The progress photos show that the damaged section required a certain and careful amount of levelling before layers of top coats were added.The finished repair is pretty close to the factory one!
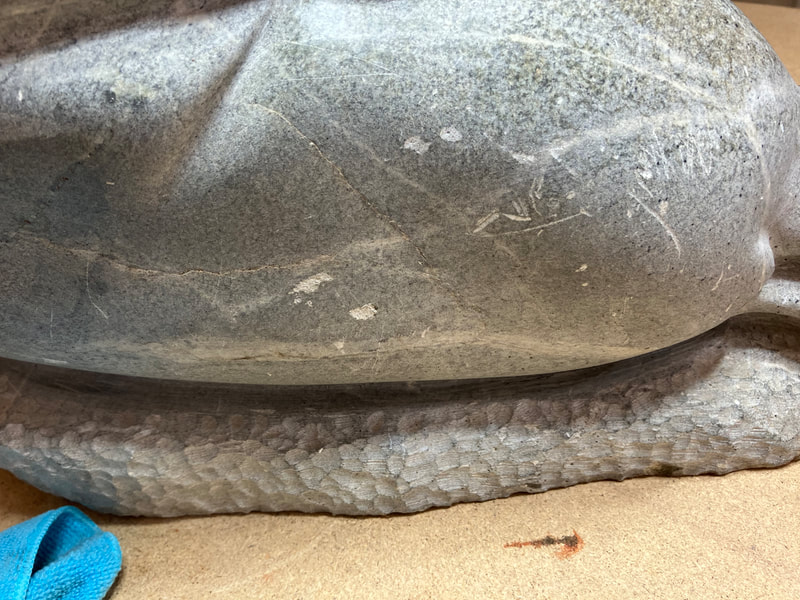
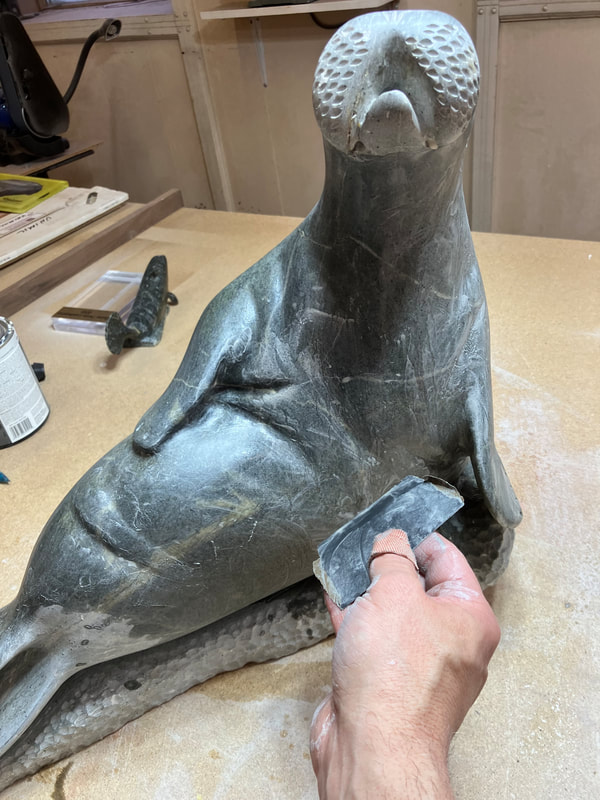
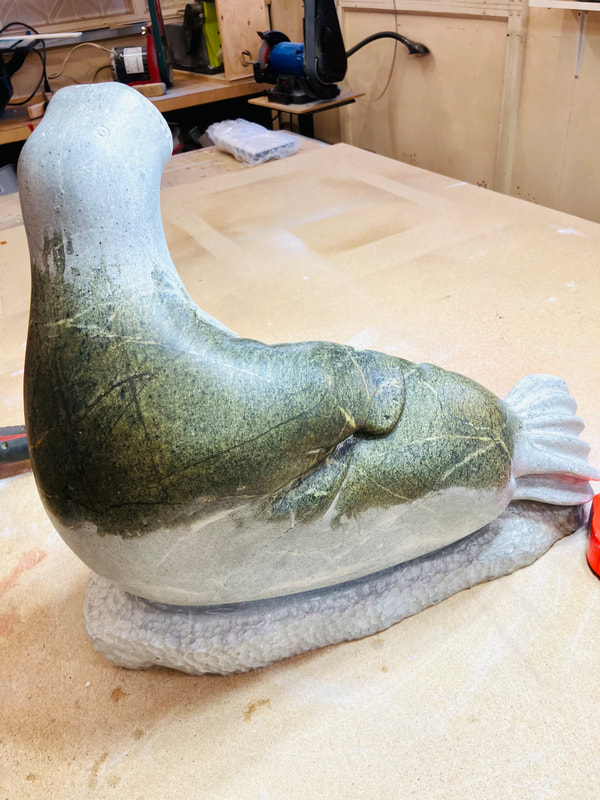
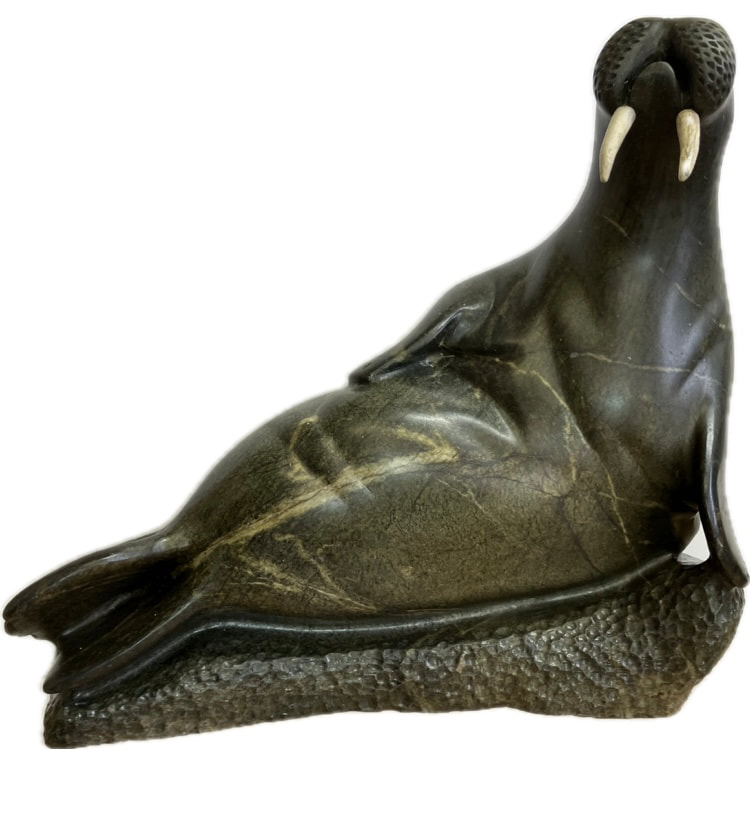
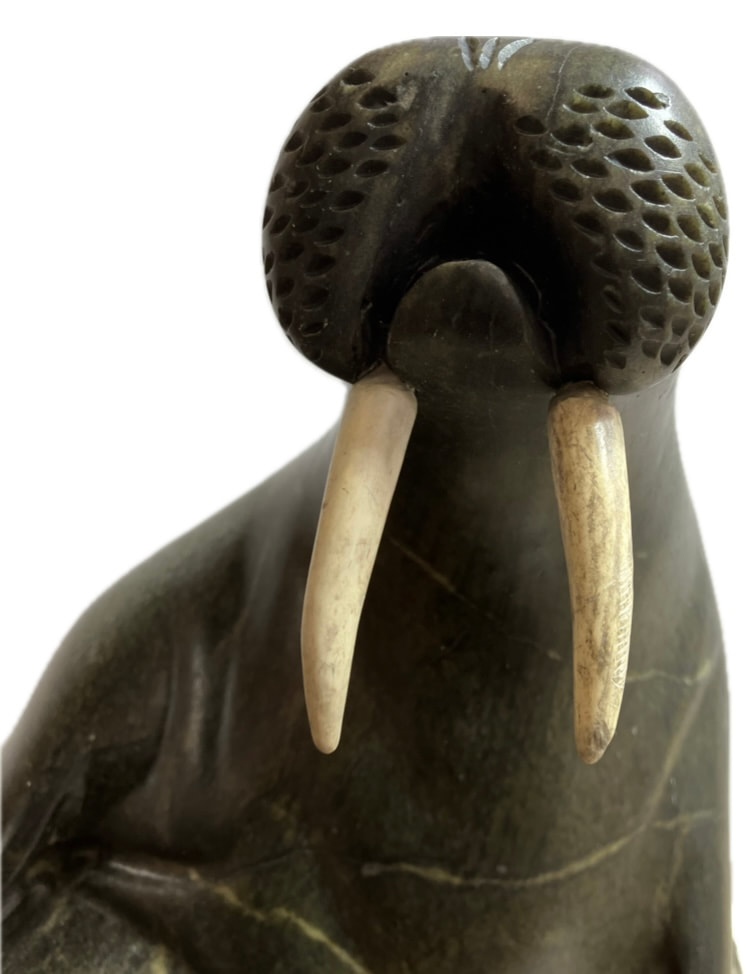
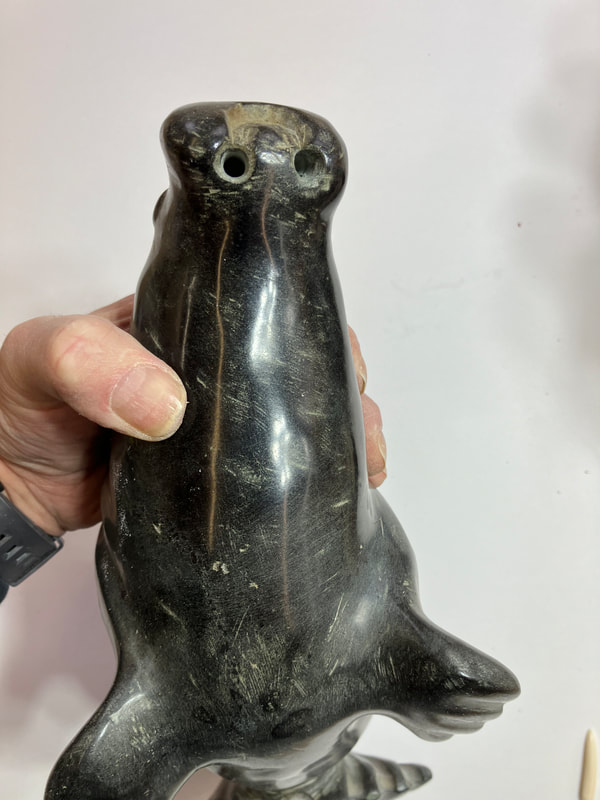
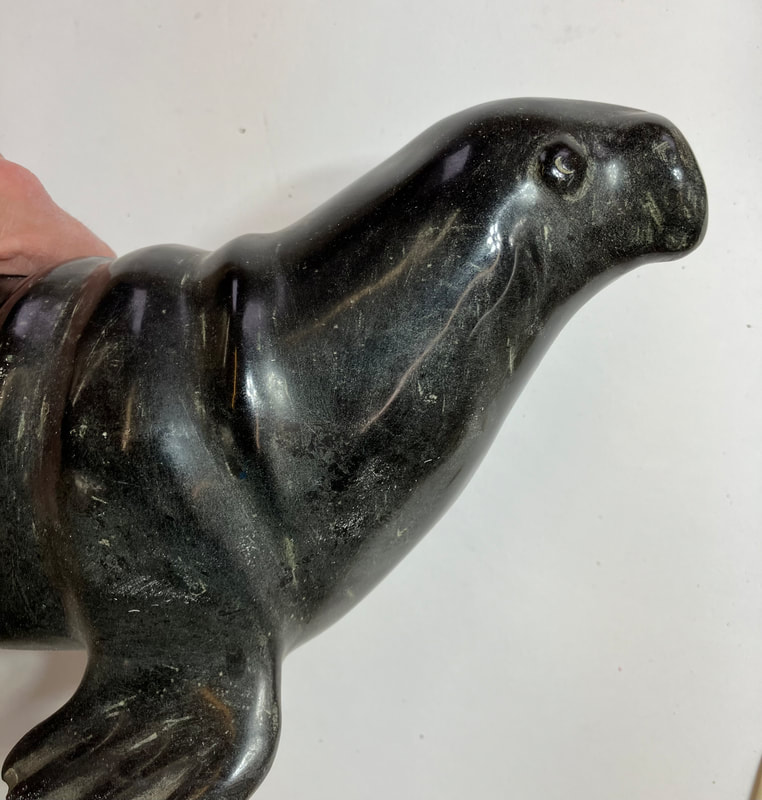
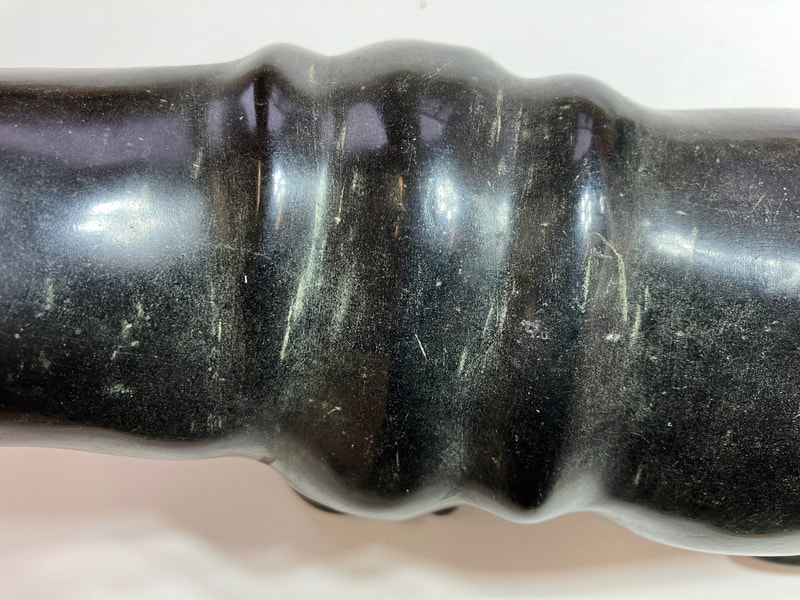
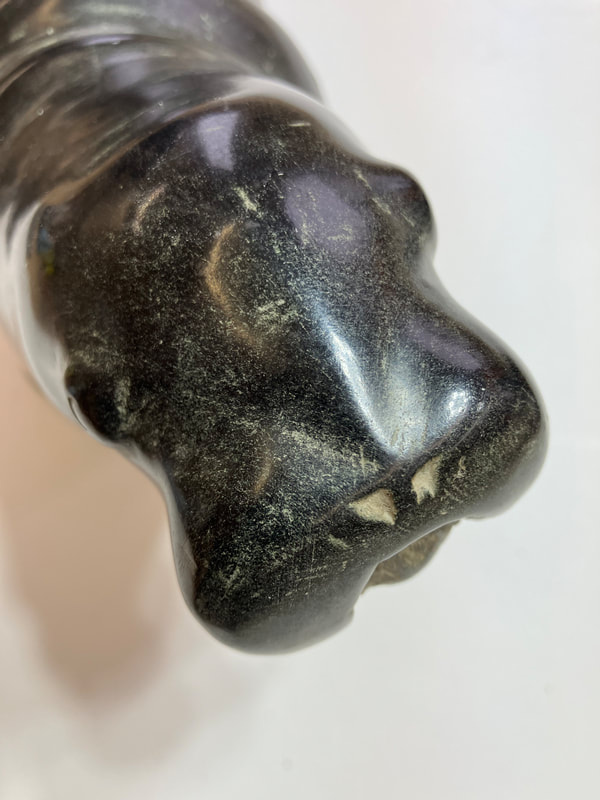
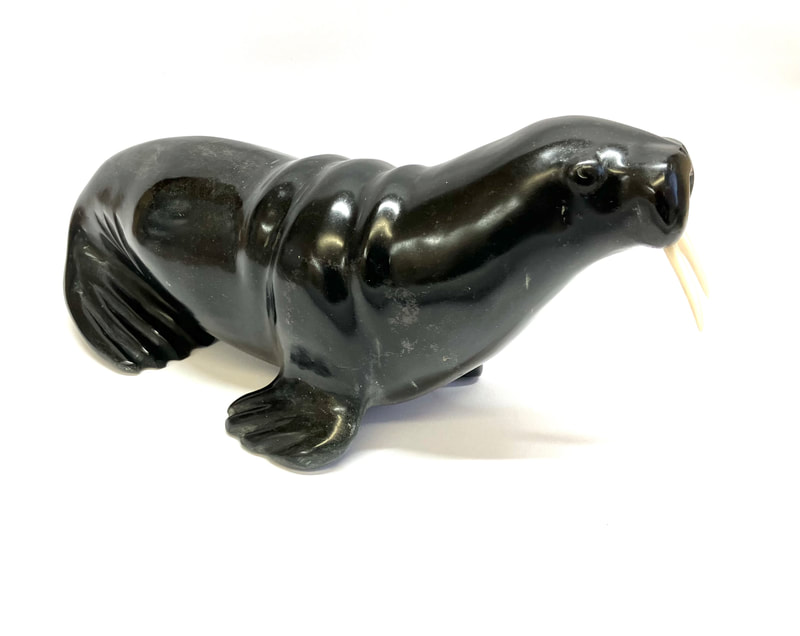
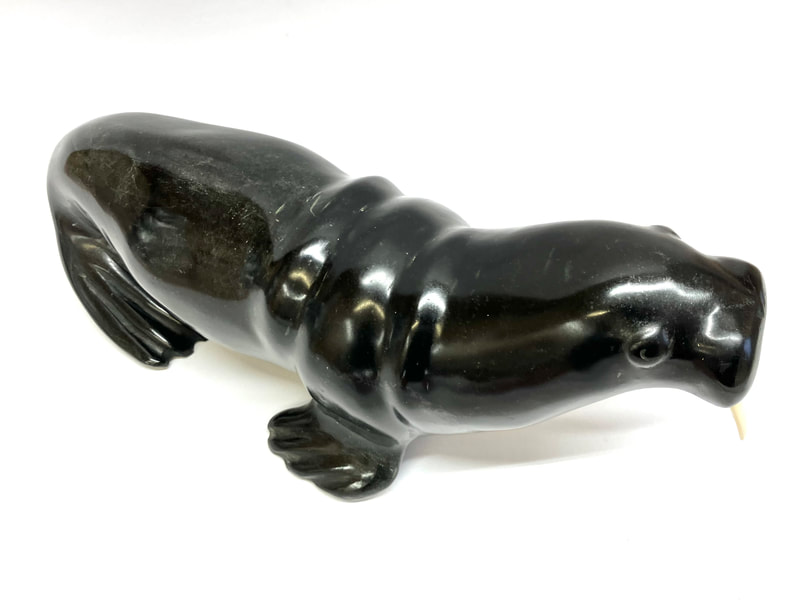
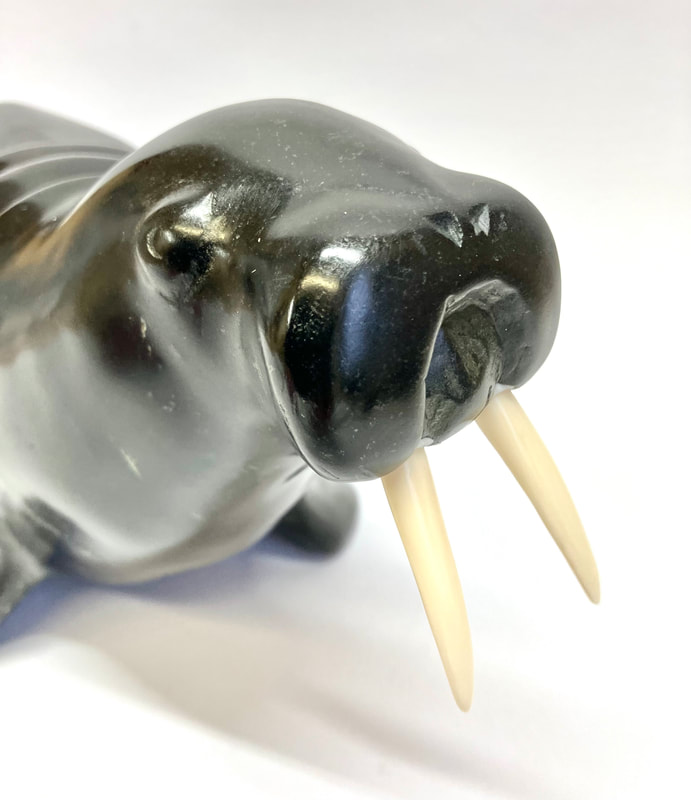
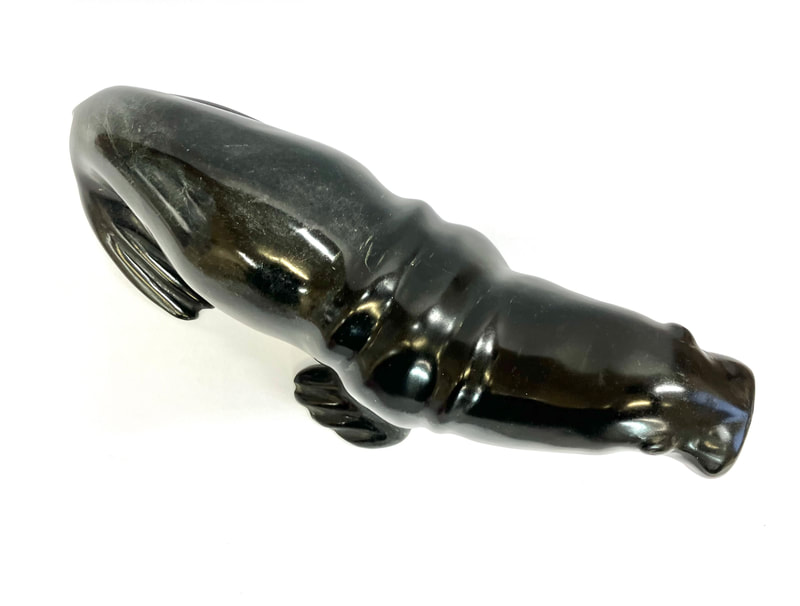
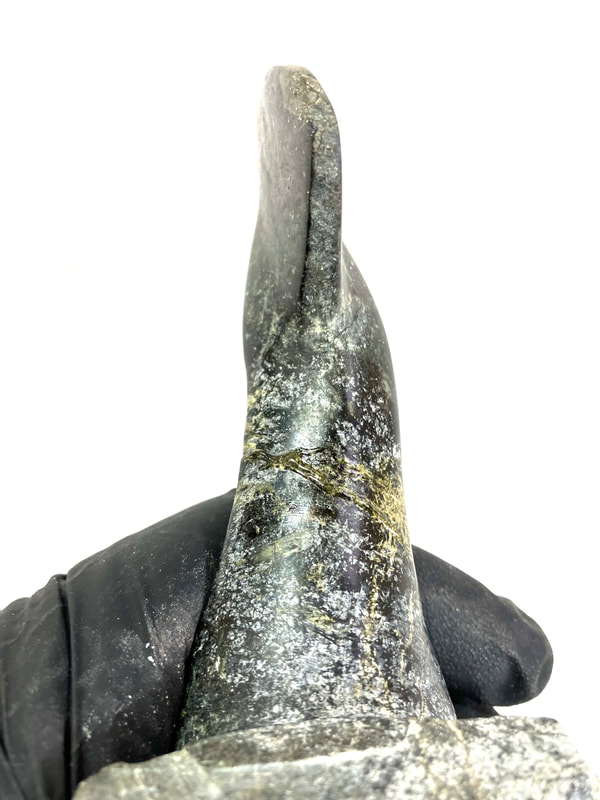
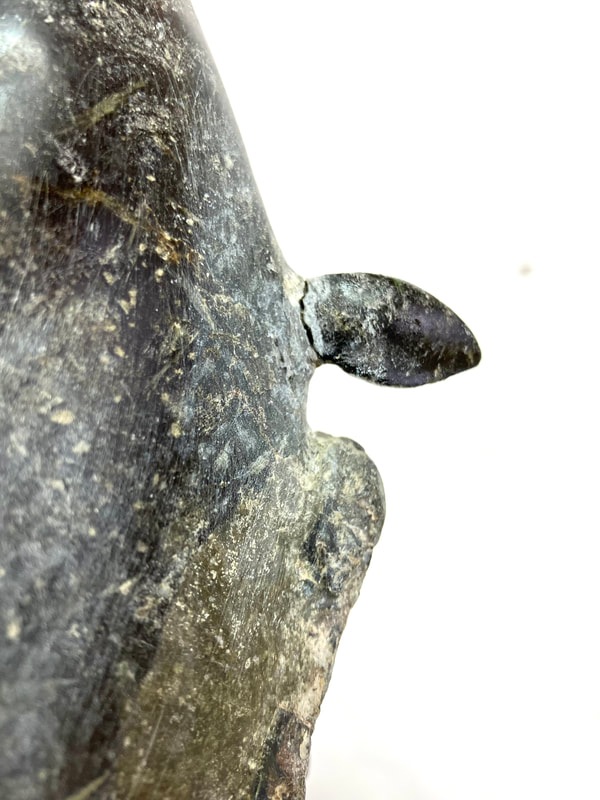
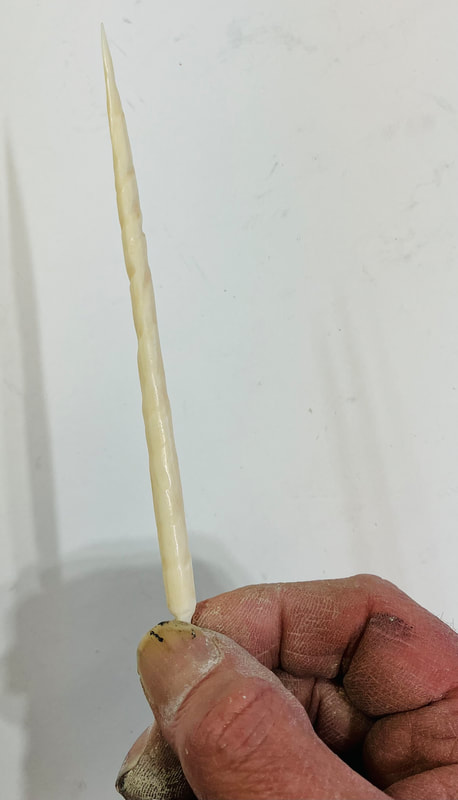
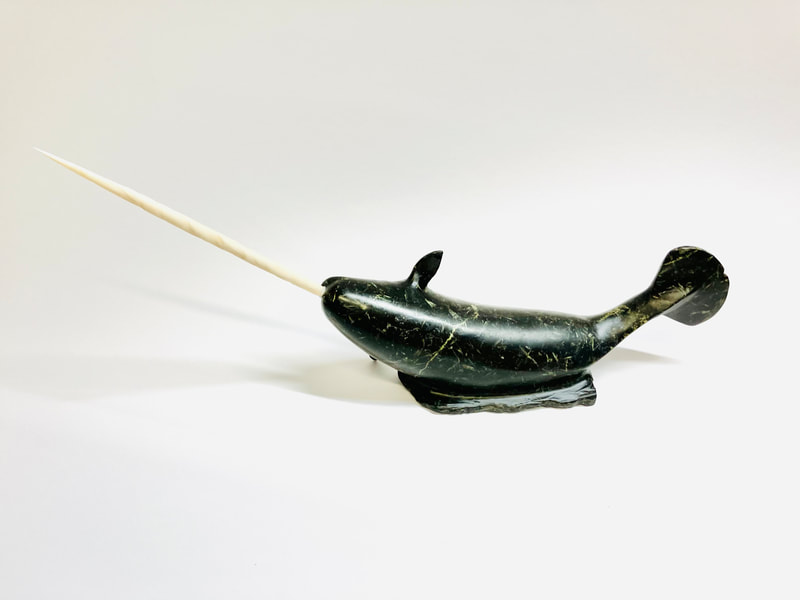
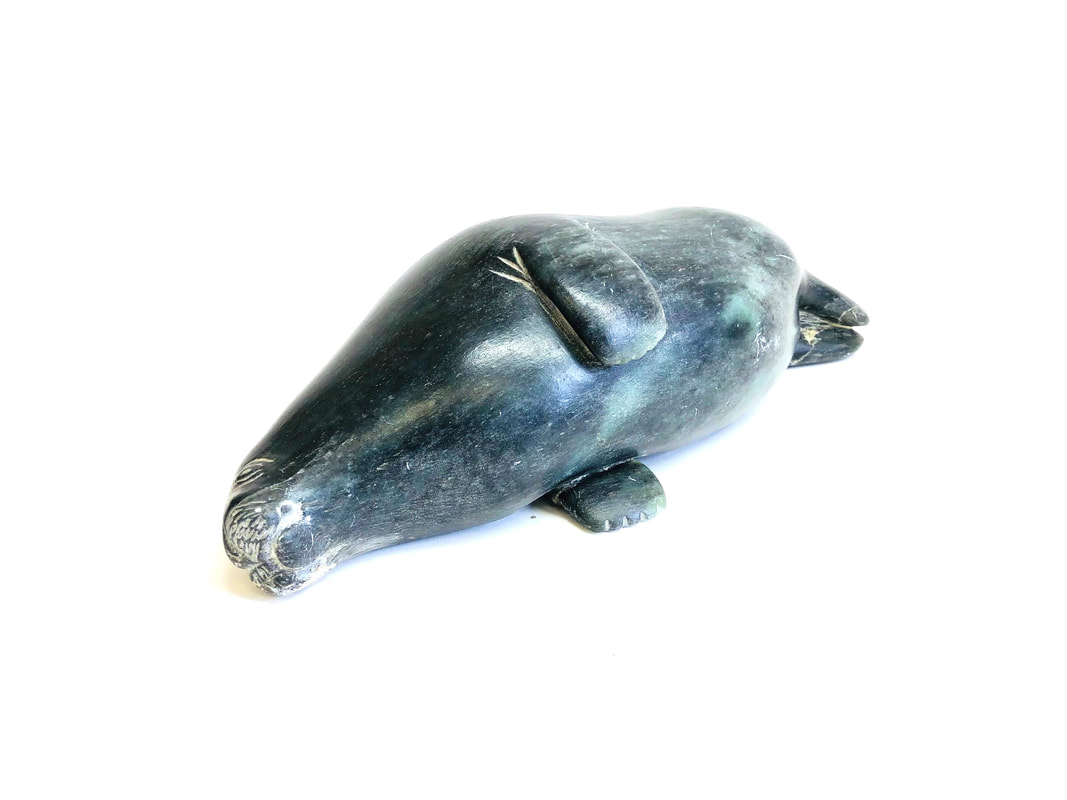
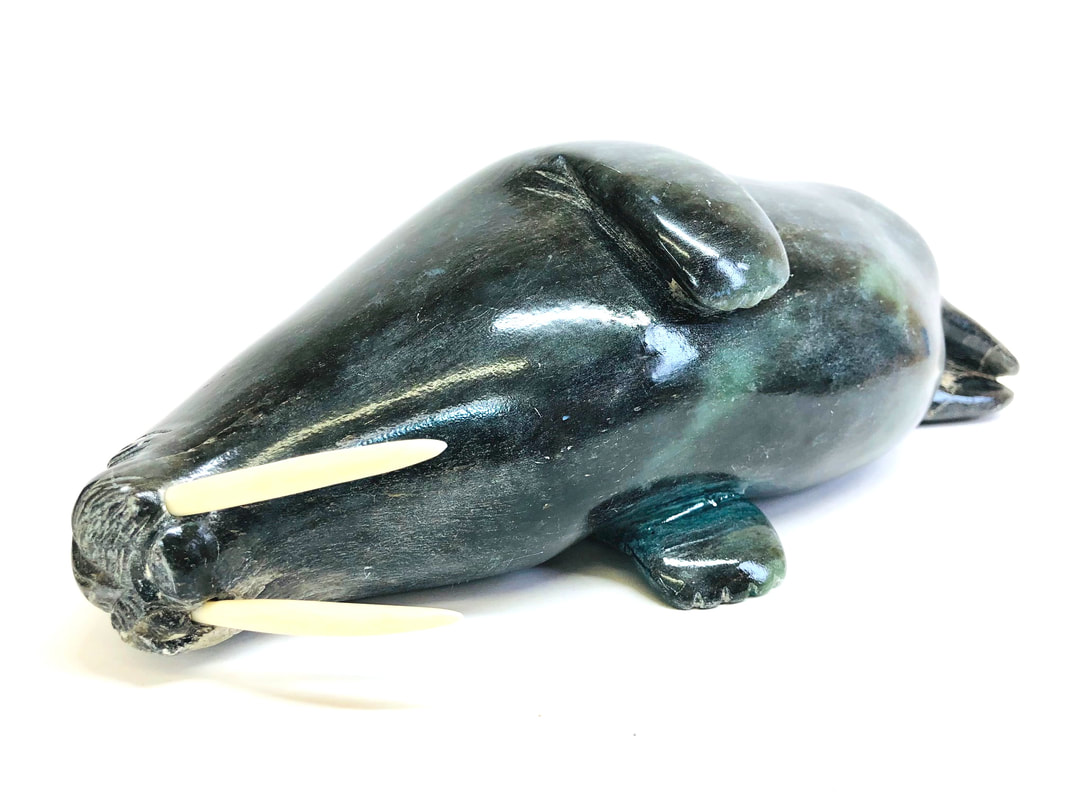
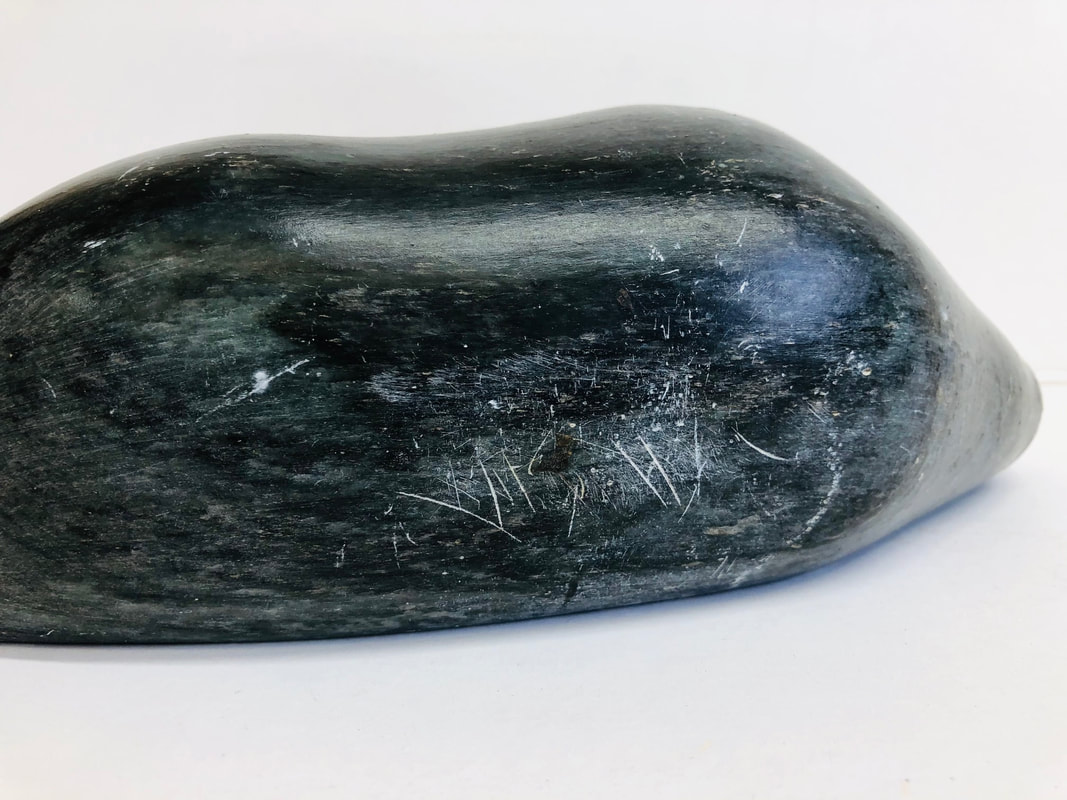
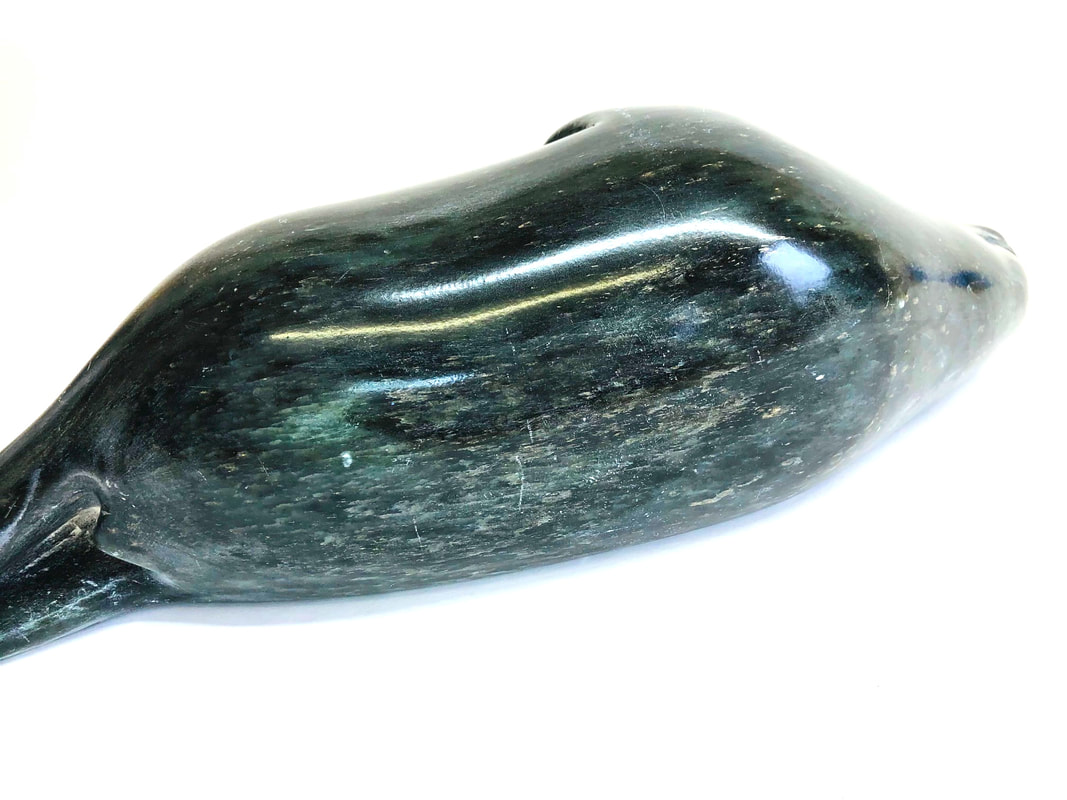
Vintage Inuit Carving repair.
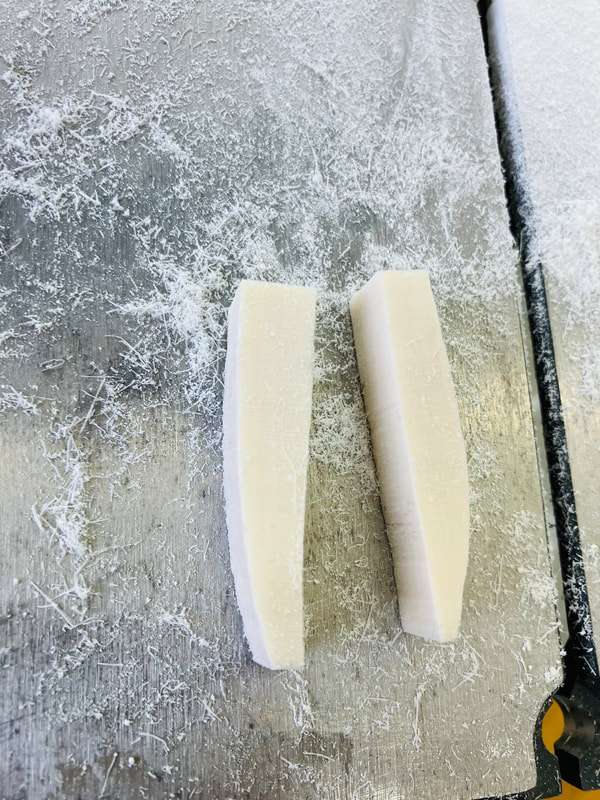
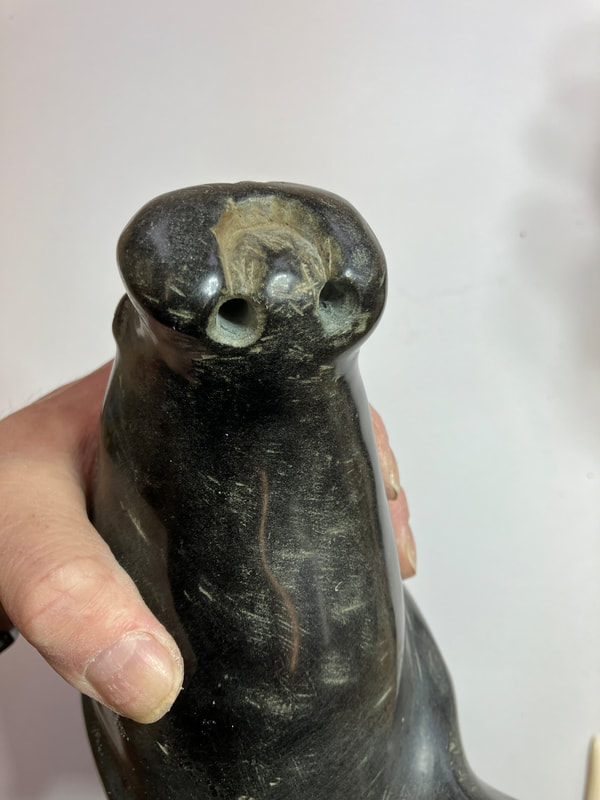
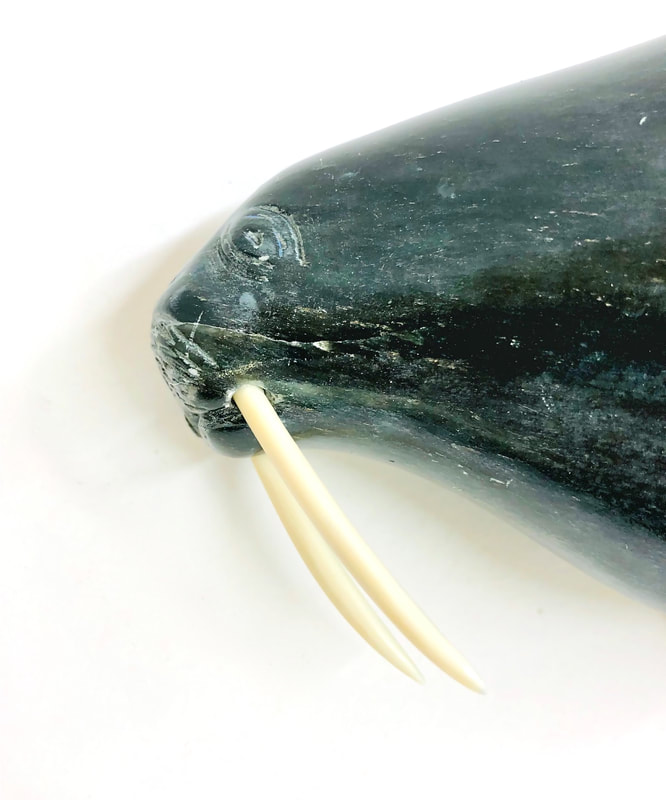
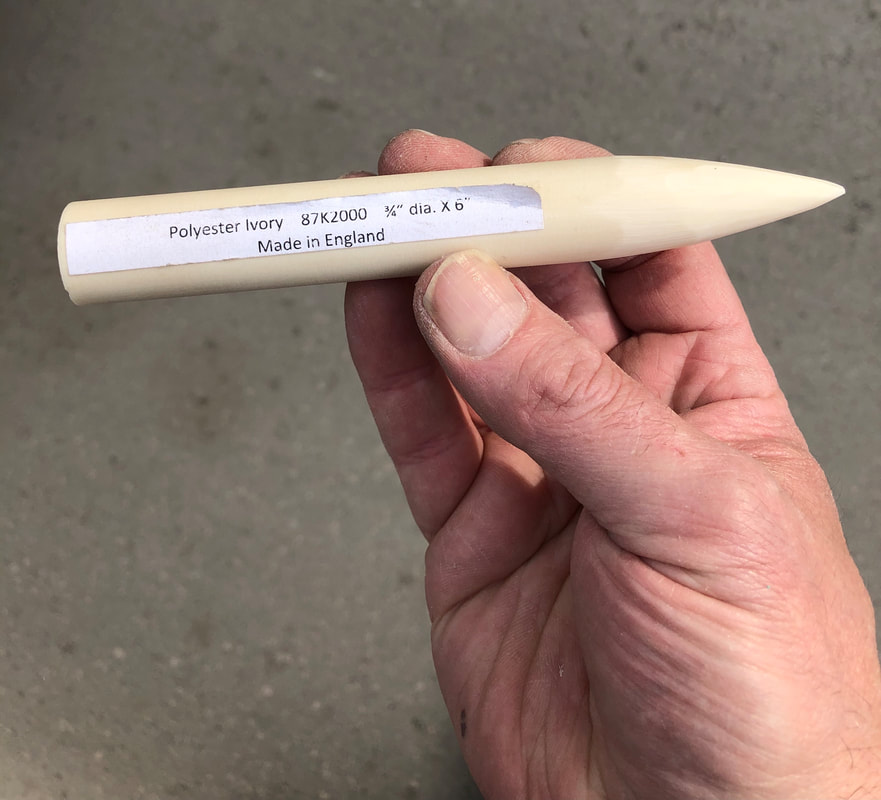
Couple things to mention; the piece previously had its broken lower flipper reglued upside down and had lots of scratches and most importantly it was missing it’s tusks. So what started out as a job to replace the tusks by carving new ones from a specialty product, synthetic carving ivory turned into a more complex overall fix.
Couple things to mention; the piece previously had its broken lower flipper reglued upside down and had lots of scratches and most importantly it was missing it’s tusks. So what started out as a job to replace the tusks by carving new ones from a specialty product, synthetic carving ivory turned into a more complex overall fix.
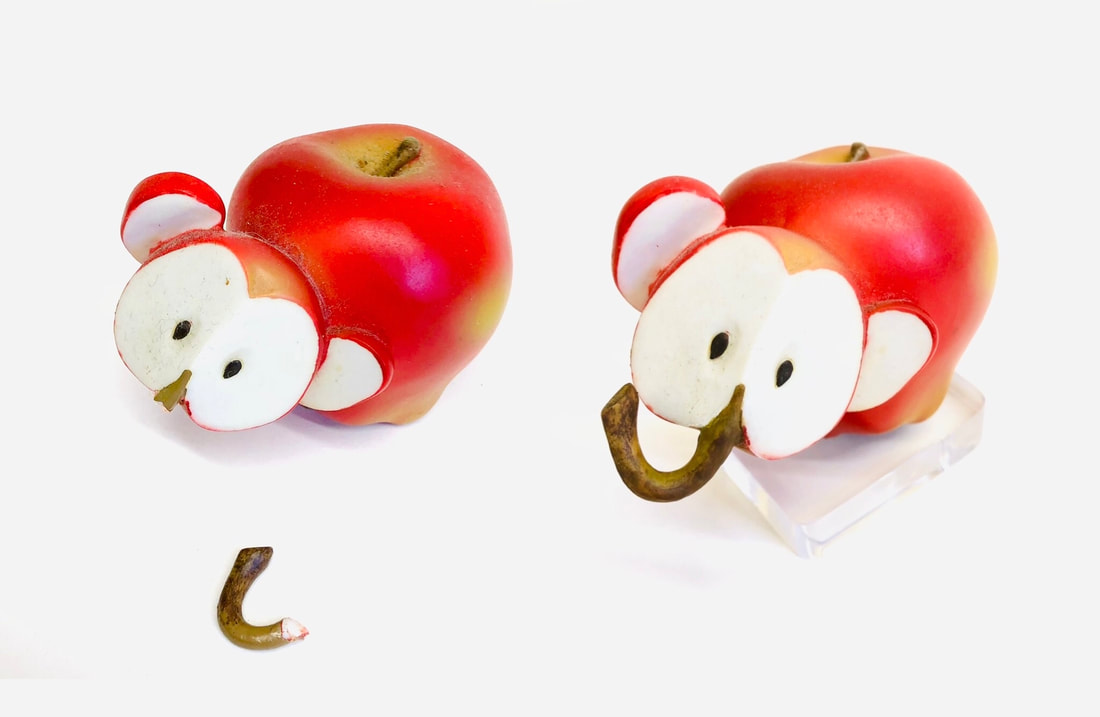
Apple Elephant figurine.
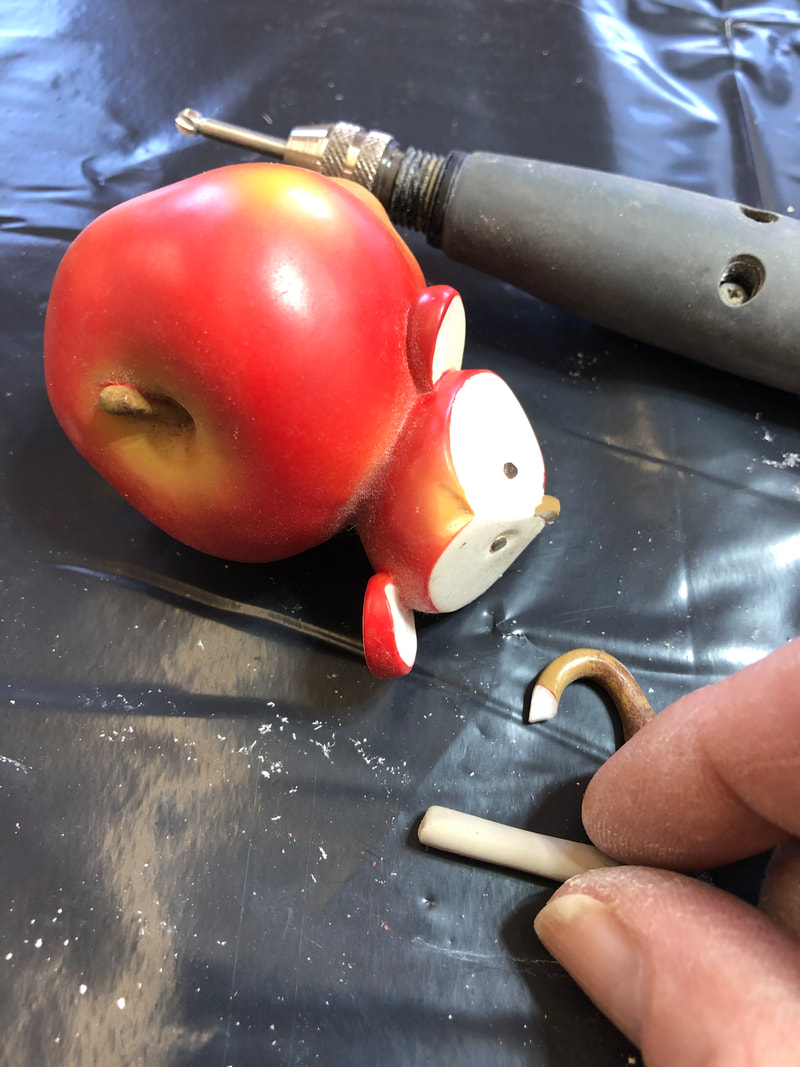
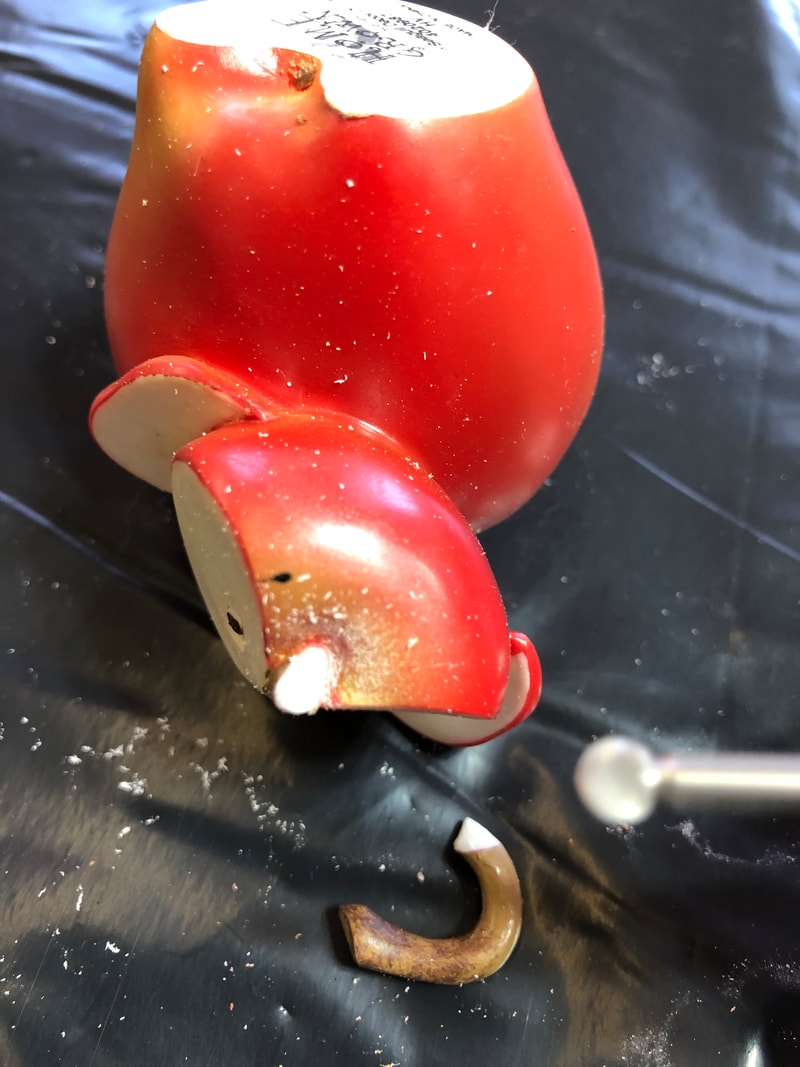
This little guy had his trunk not only broken but was also missing a piece.
The task was on to create the missing piece which was tricky because it had to be very small, yet hold the weight of the existing piece all to the body. After carefully grinding the broken parts level I went about shaping a clay-like compound for the missing piece then attached it all together. I then blended the 'whole' new stem/trunk together with paint and a protective layer of clear coat.
Lastly, I suggested making a polished acrylic base to provide much more stability as it is somewhat top heavy. The added base also gives it more of a jewel sparkle.
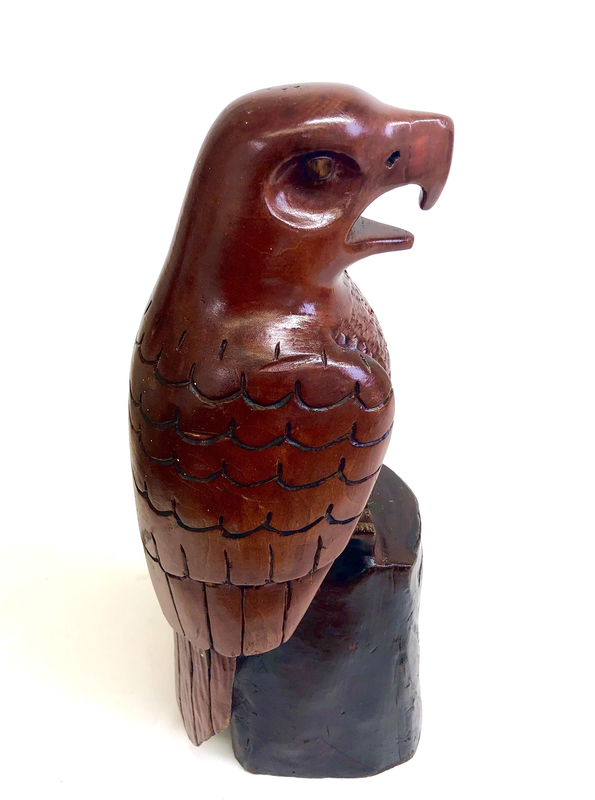
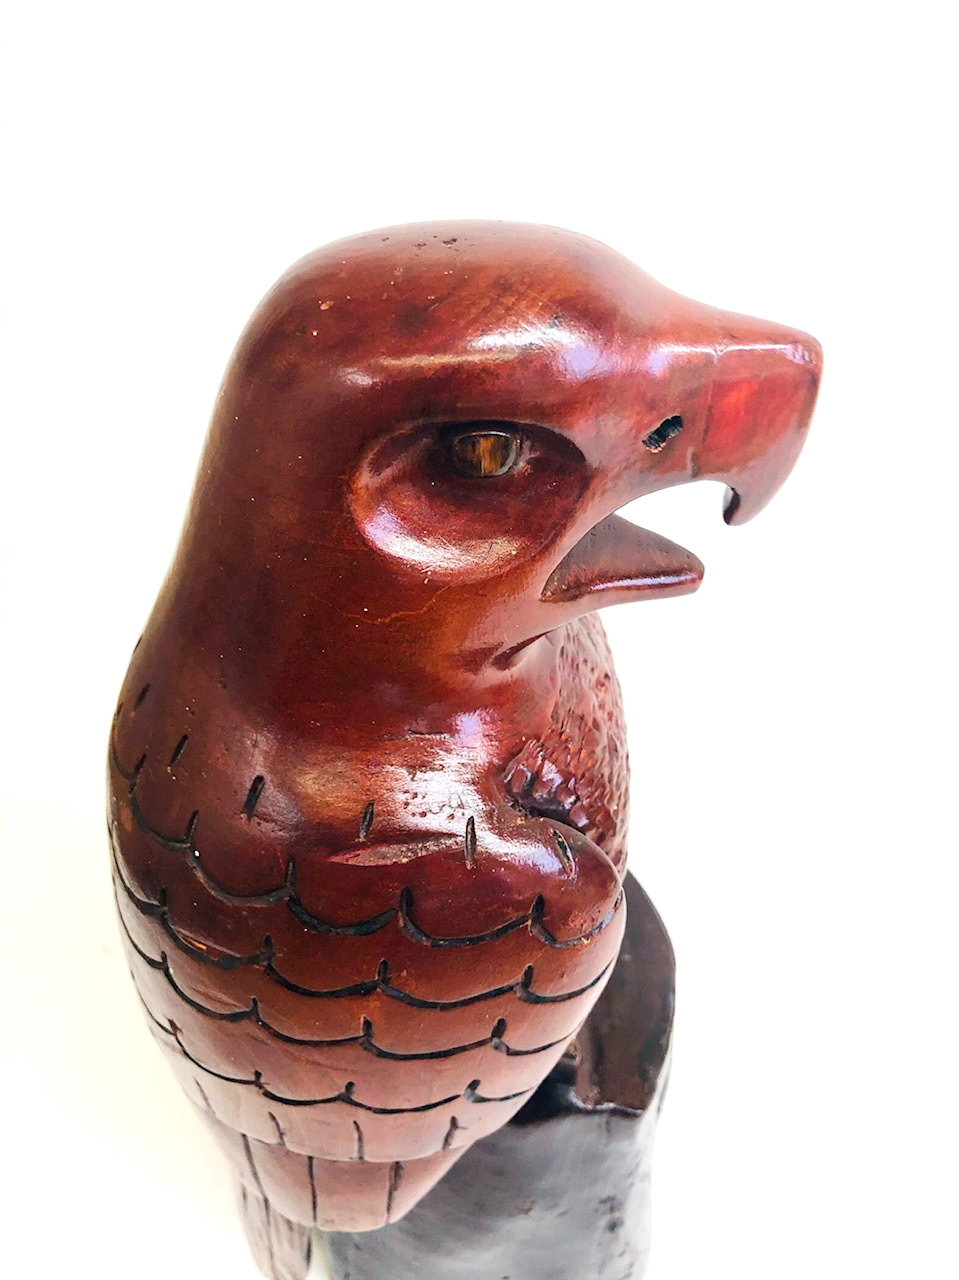
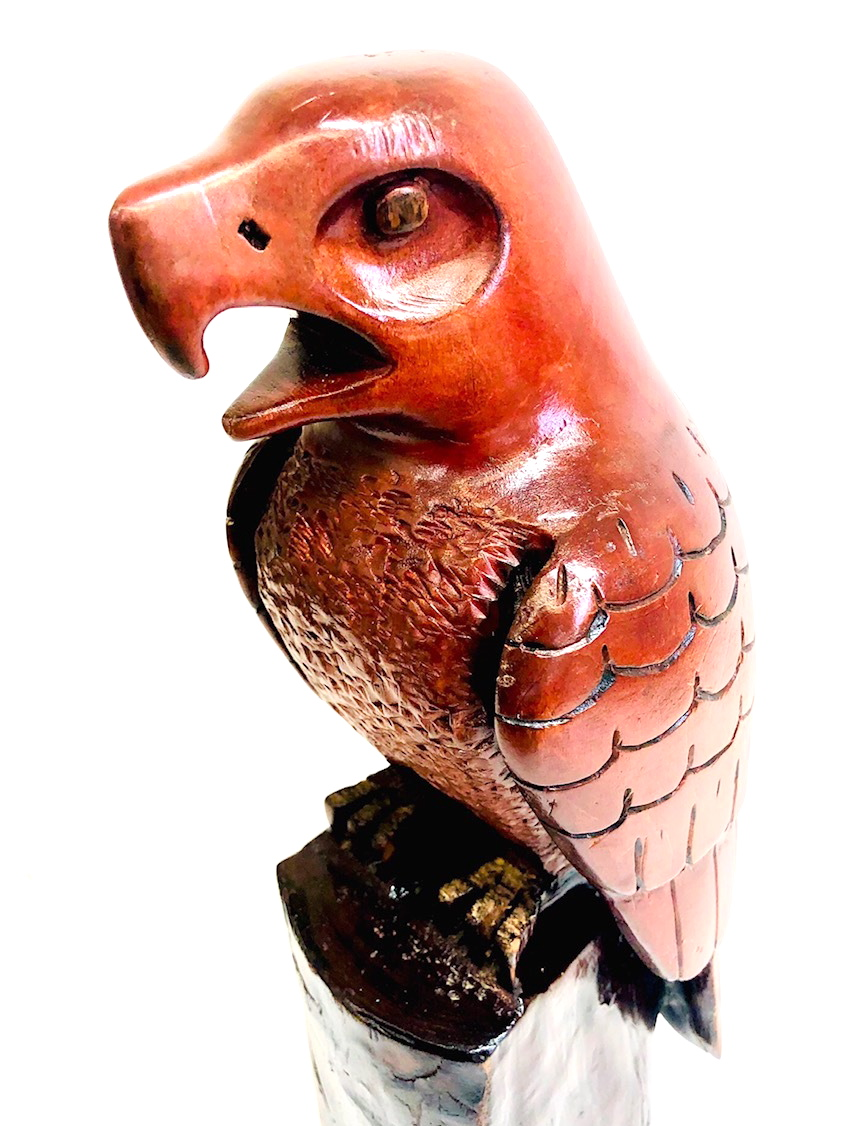
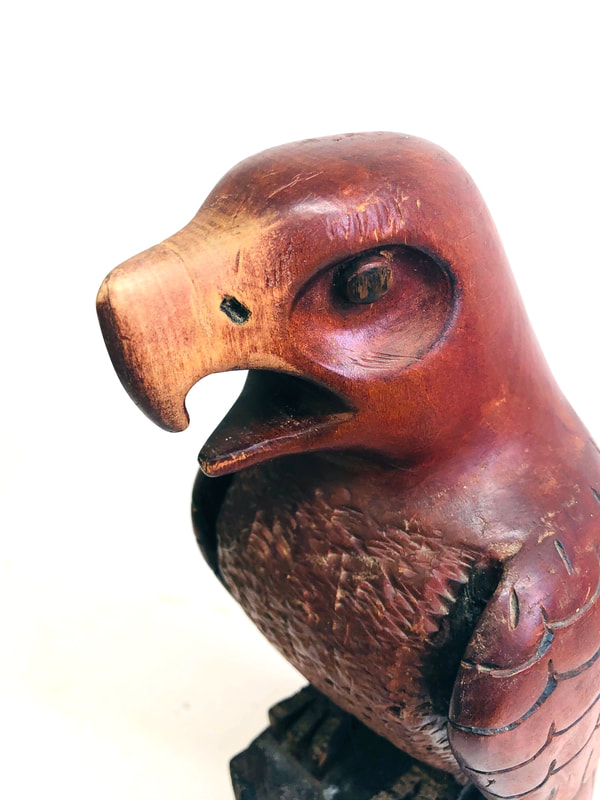
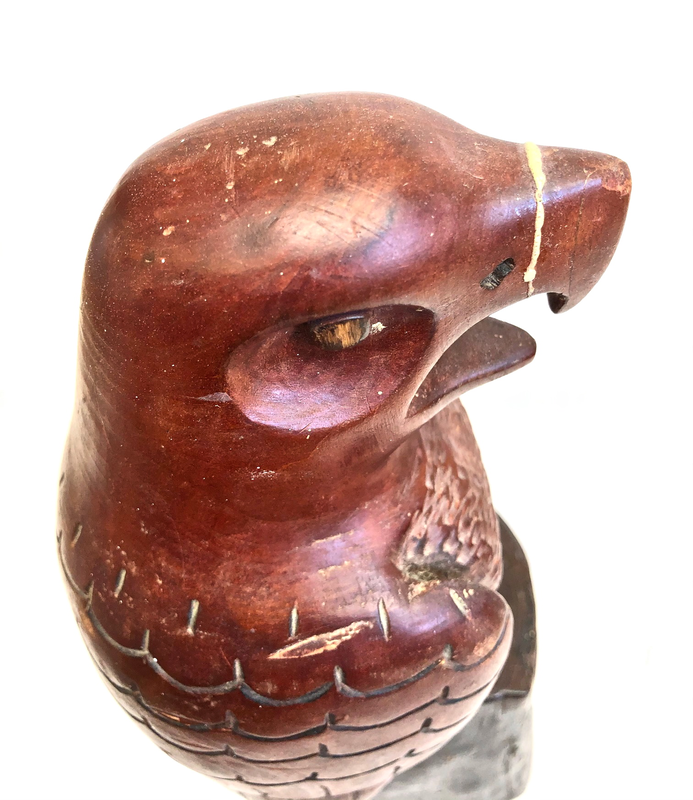
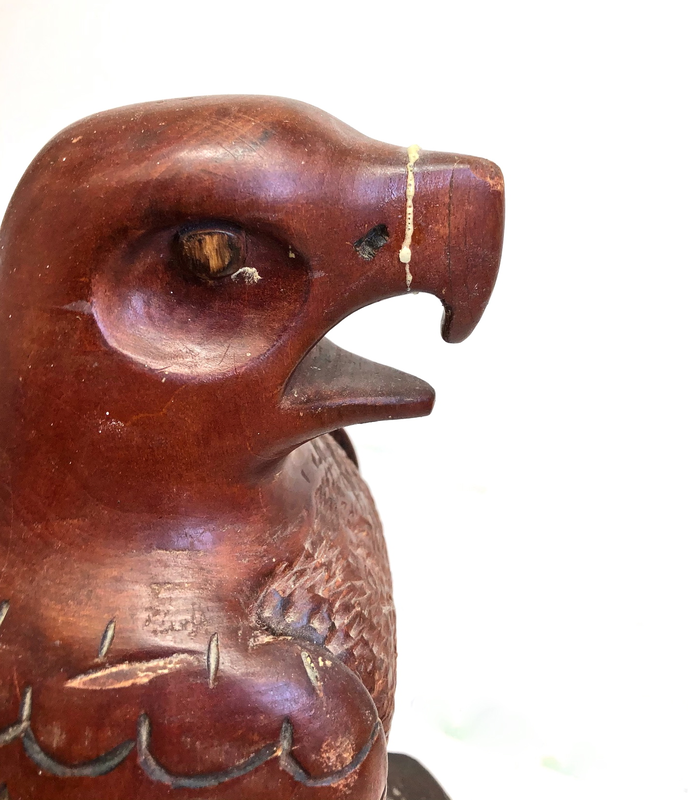
Carved wood bird statue.
This wedding gift is close to 40 years old and needed some tender refinishing. The beak had broken off at some point and was glued back before I received it. Careful tactile scribing, sanding, then using paint to match the original stain was in order. A solid clear coat gave this bird back it shine.
This wedding gift is close to 40 years old and needed some tender refinishing. The beak had broken off at some point and was glued back before I received it. Careful tactile scribing, sanding, then using paint to match the original stain was in order. A solid clear coat gave this bird back it shine.
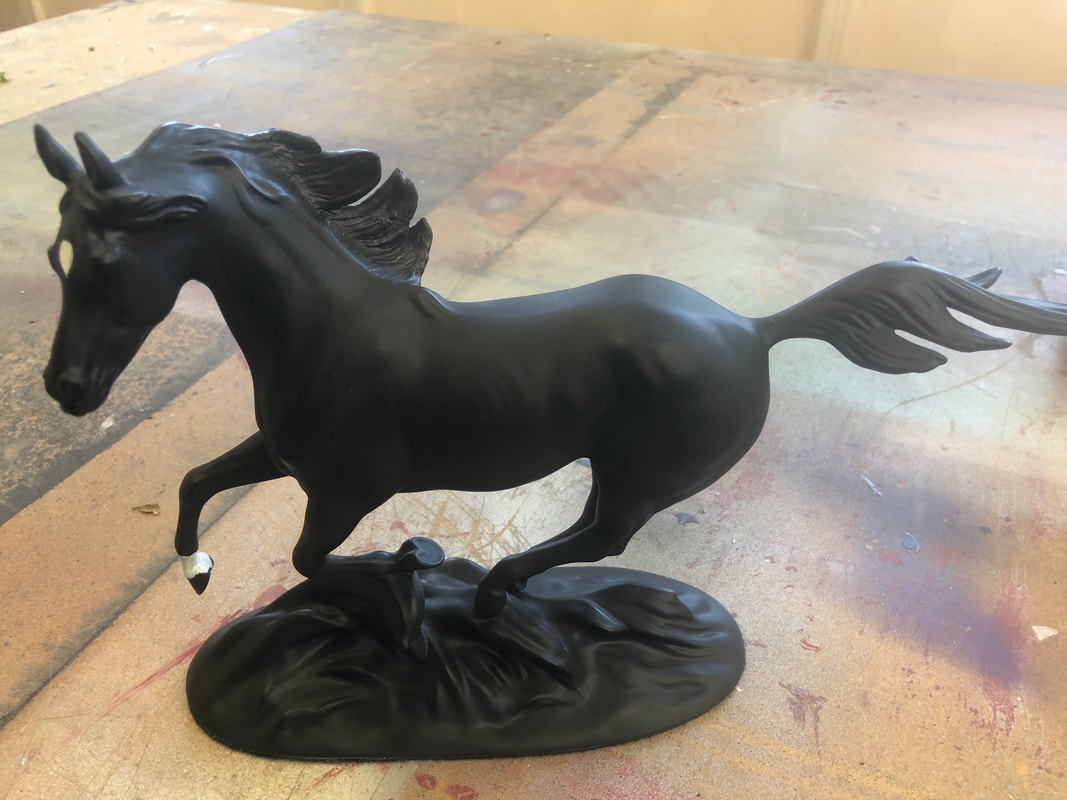
Horse statue repair.
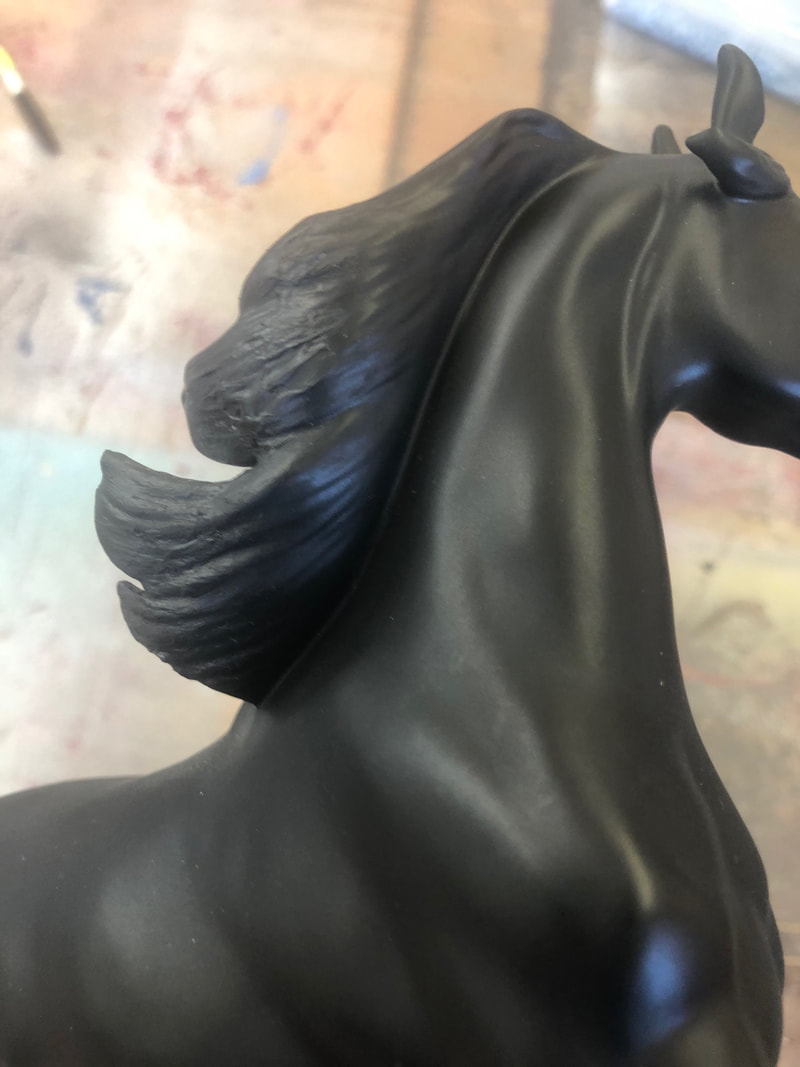
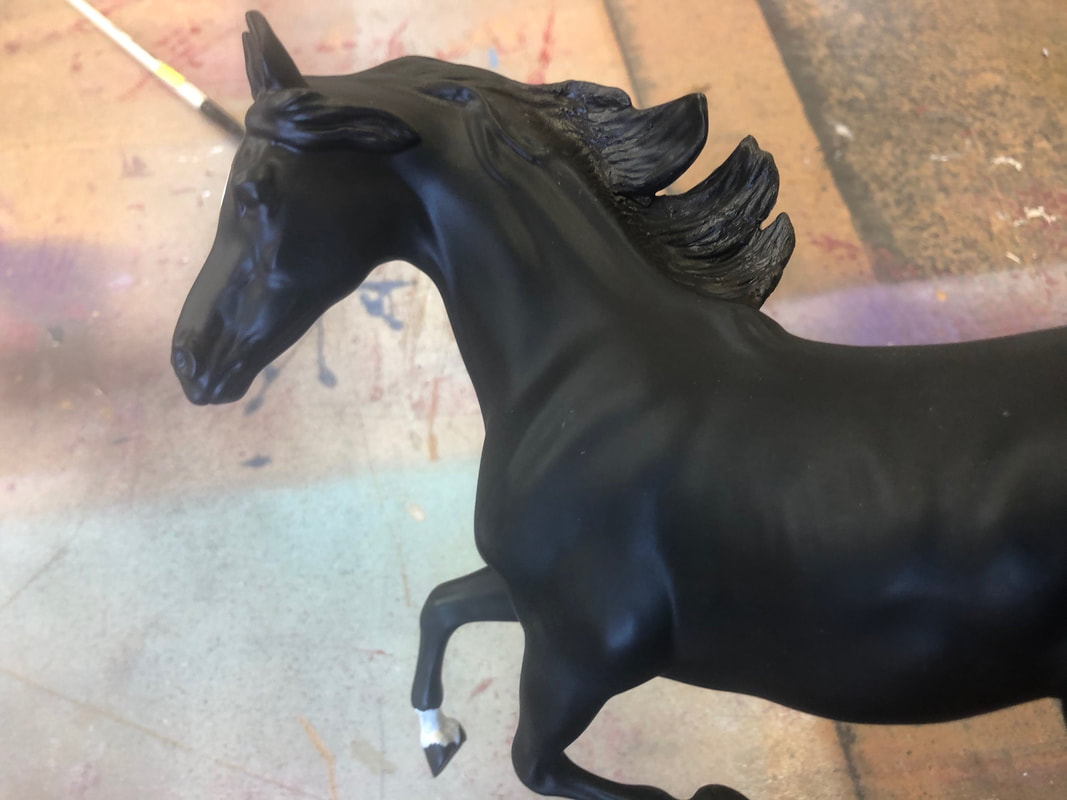
This magnificent galloping horse sculpture was broken and glued prior to me receiving it at my studio. It was also missing part of its mane. So, I recreated the missing piece and filled the previous misaligned pieces with a thickened compound in order to conceal the fractures.
This magnificent galloping horse sculpture was broken and glued prior to me receiving it at my studio. It was also missing part of its mane. So, I recreated the missing piece and filled the previous misaligned pieces with a thickened compound in order to conceal the fractures.
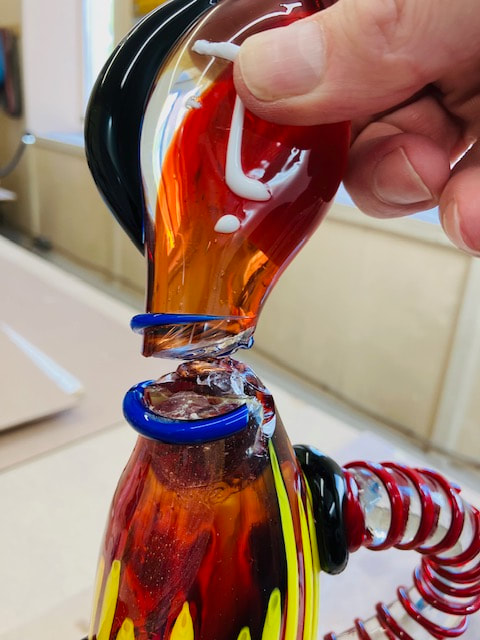
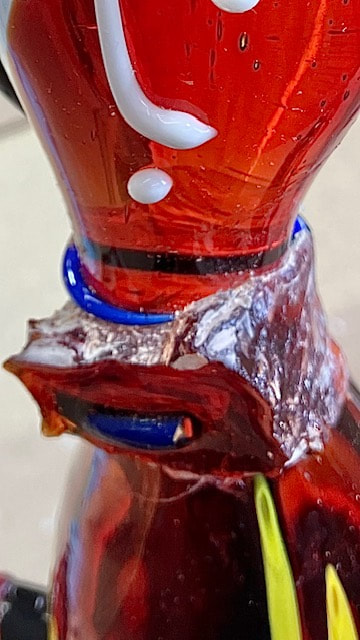
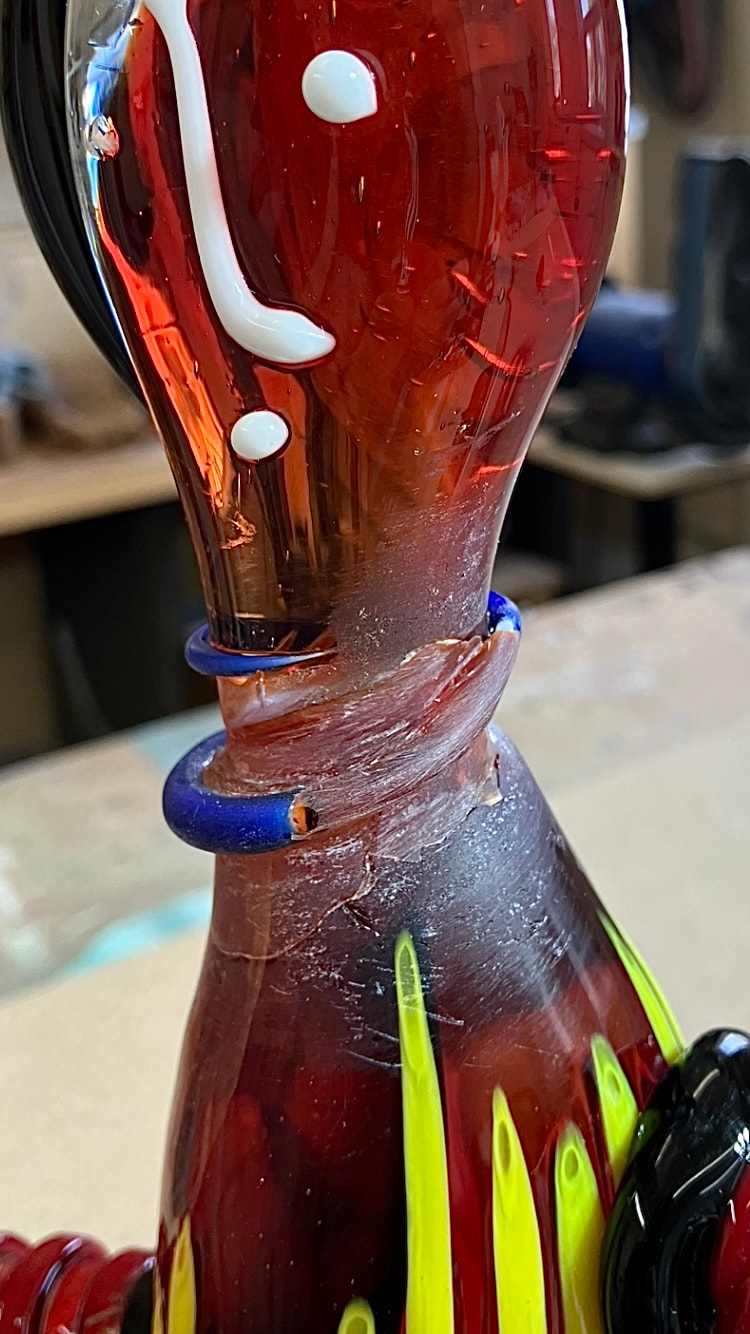
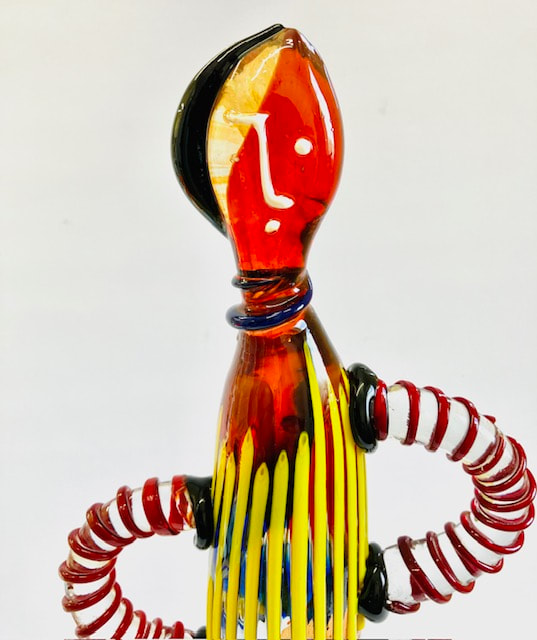
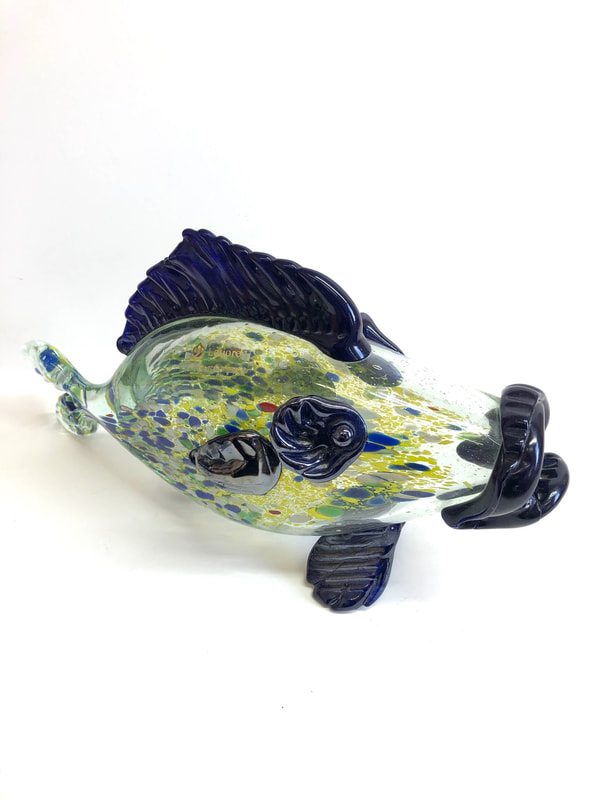
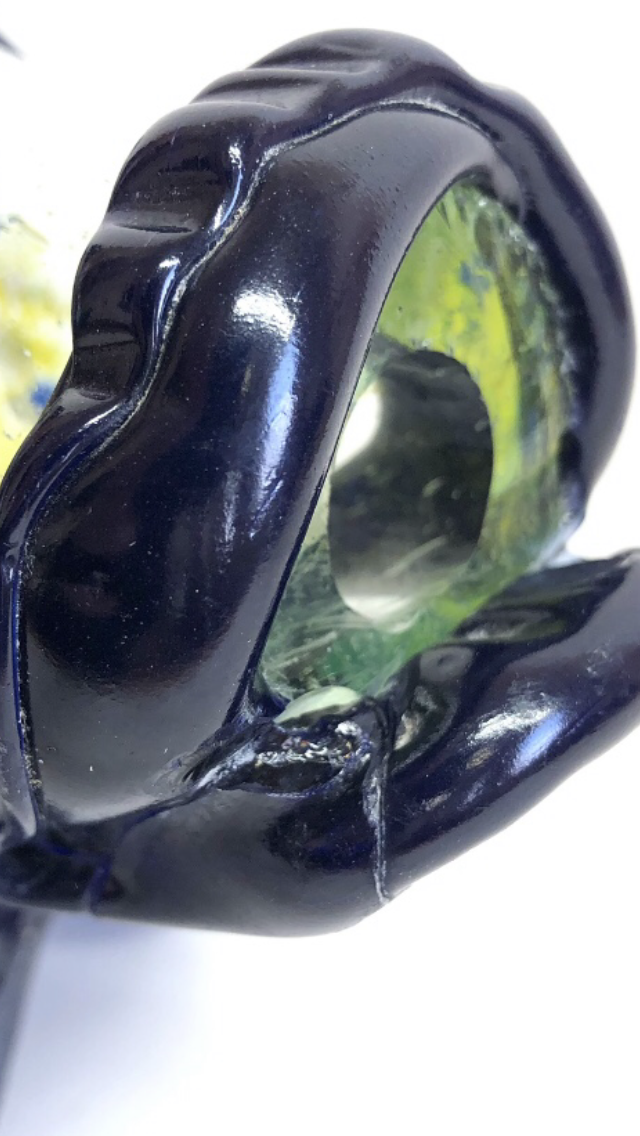
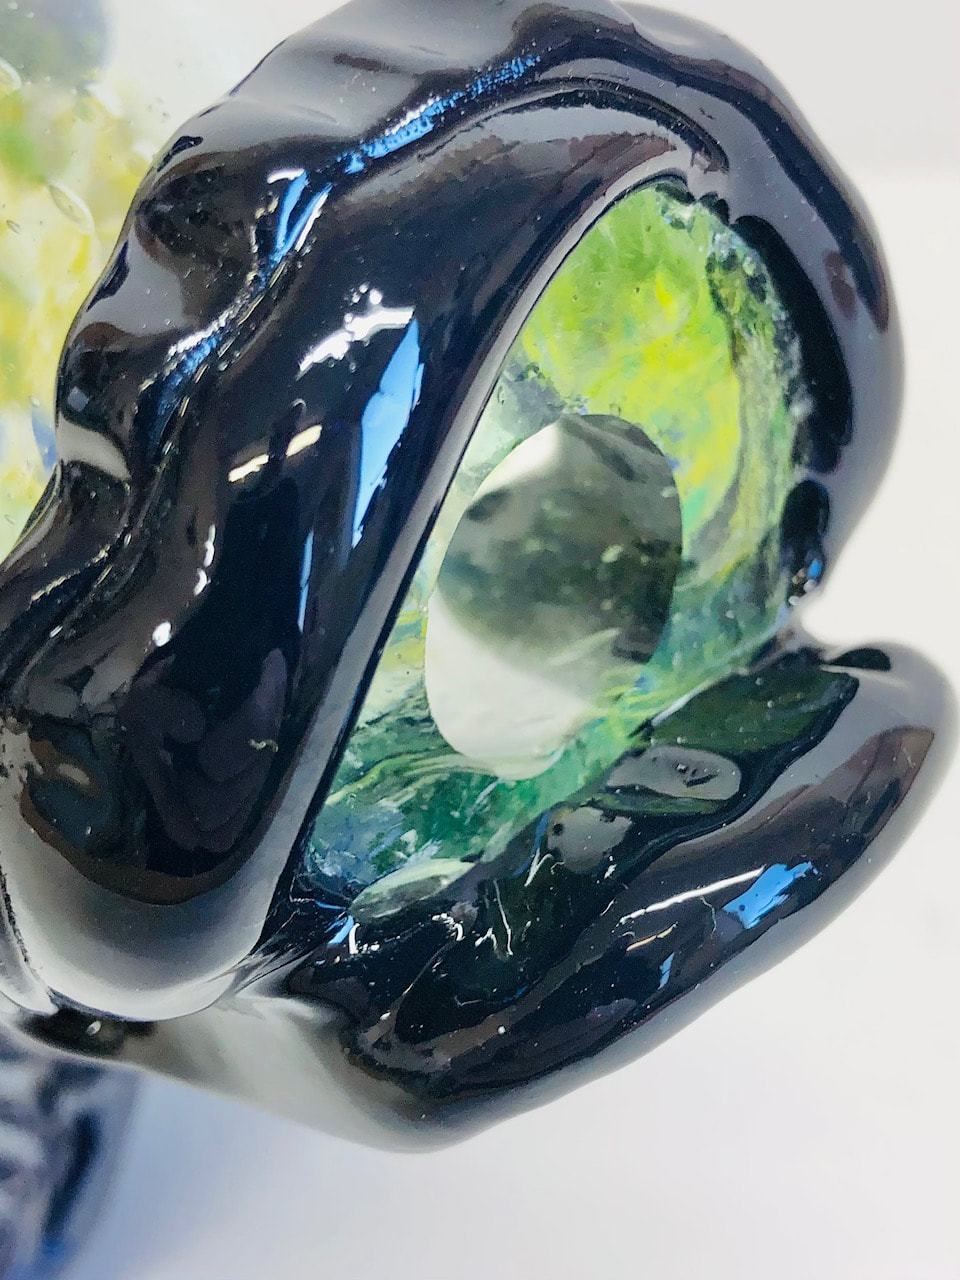
Hand blown glass fish repair.
A client had brought me a hand blown glass sculpture from her travels in Spain.
The pieces were glued back together before I started to work on it and not lined up, creating unsightly seams. Grinding down the pieces, before applying the specialty fillers was important in order to have it appear original.
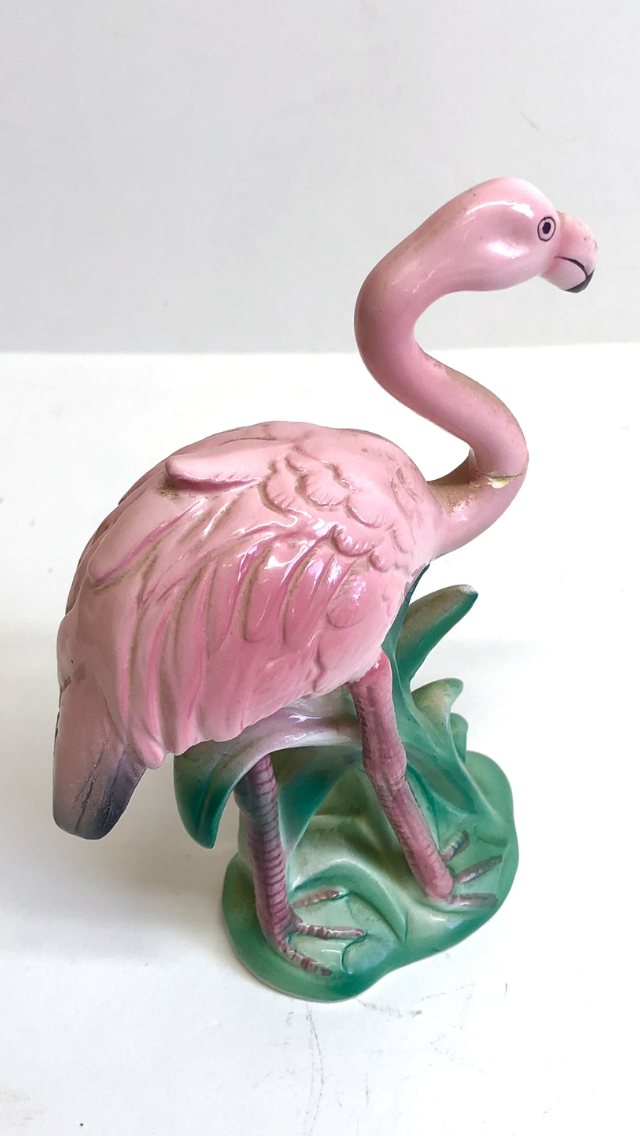
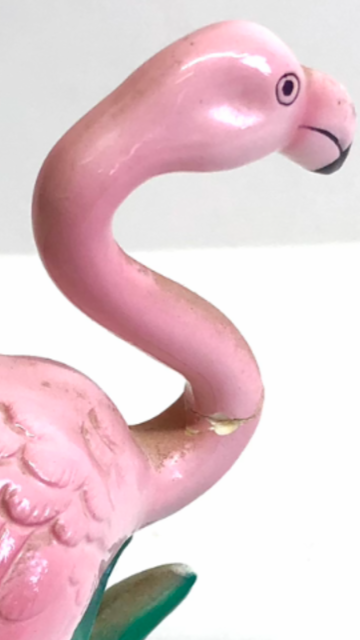
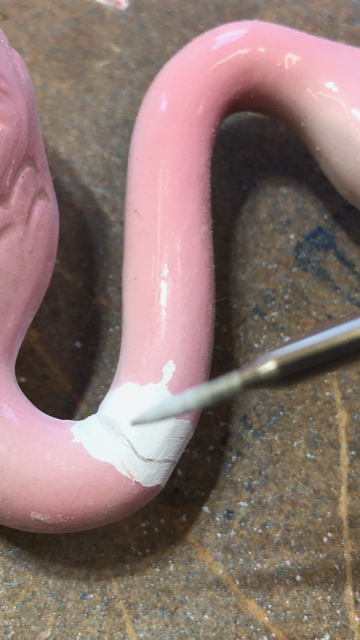
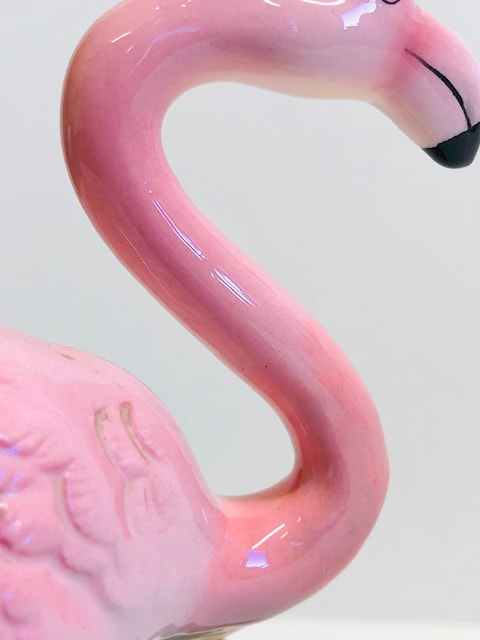
Vintage Flamingo sculpture repair.
The pieces were already glued together but didn’t line up leaving me unable to conceal the seams. Using specialty bits, I was able to ‘shave’ down the area before applying specialty fillers, artistic paint blending and finally a gloss gel coat.
The pieces were already glued together but didn’t line up leaving me unable to conceal the seams. Using specialty bits, I was able to ‘shave’ down the area before applying specialty fillers, artistic paint blending and finally a gloss gel coat.
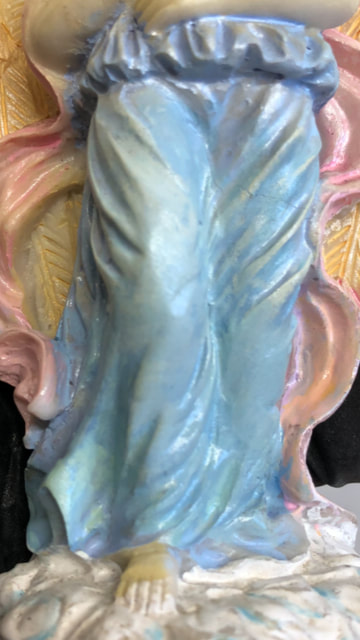
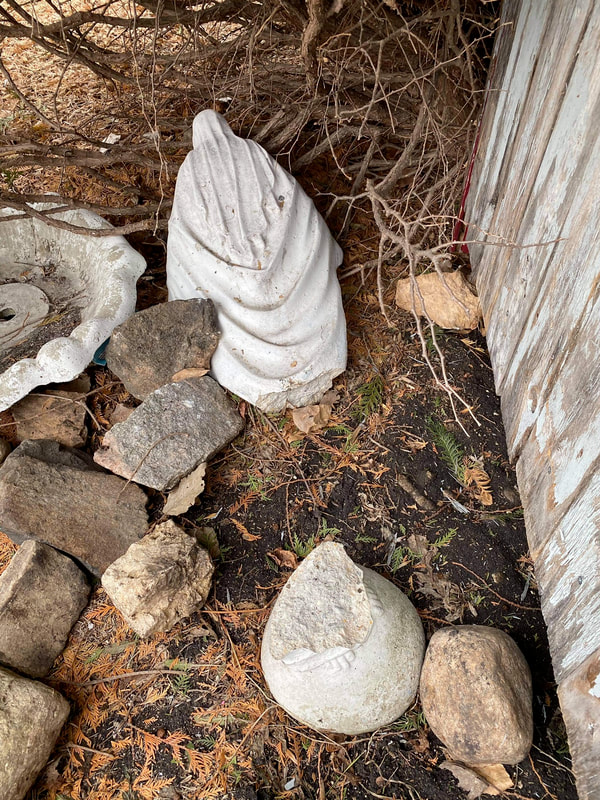
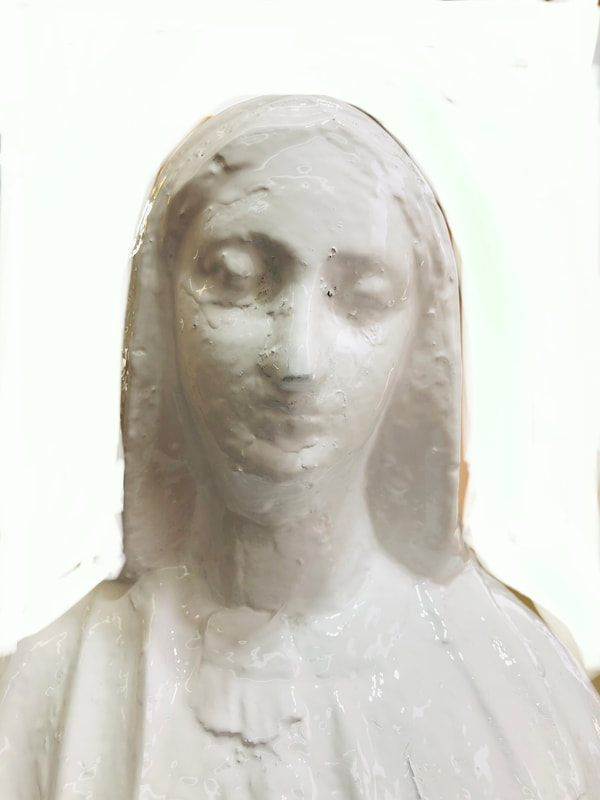
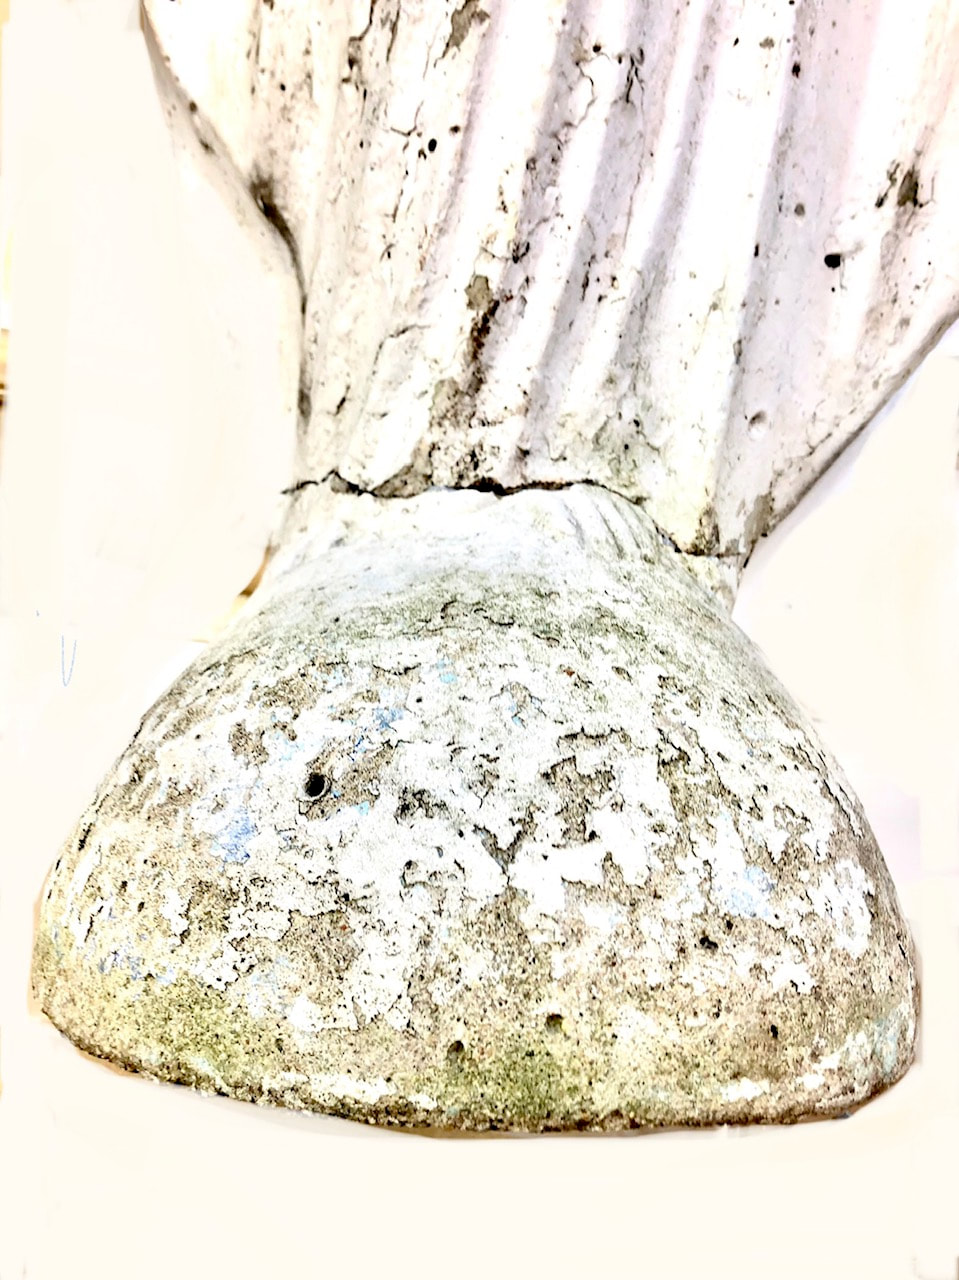
Virgin Mary concrete statue was broken into two pieces.
Issues;
Just gluing the two heavy pieces back together is not as simple as it would seem.
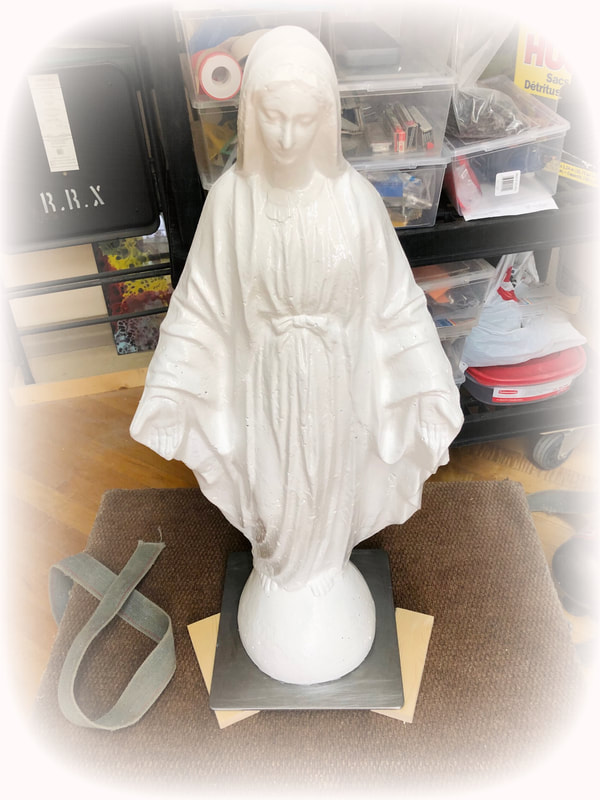
Unlike applying mortar between bricks, I didn’t have the luxury or ‘cushion’ of using mortar because the two pieces needed to be as tight fit as possible. Specialty adhesive and the countersink drilling of long screws for extra hold made the most sense to me. Once the statue was whole again, air pocket holes left from the original mold pour needed to be filled then an industrial enamel was applied in two coats.
Lastly, I felt the statue was somewhat top heavy so a thick plasma cut steel plate was mounted with concrete screws then clear coated.
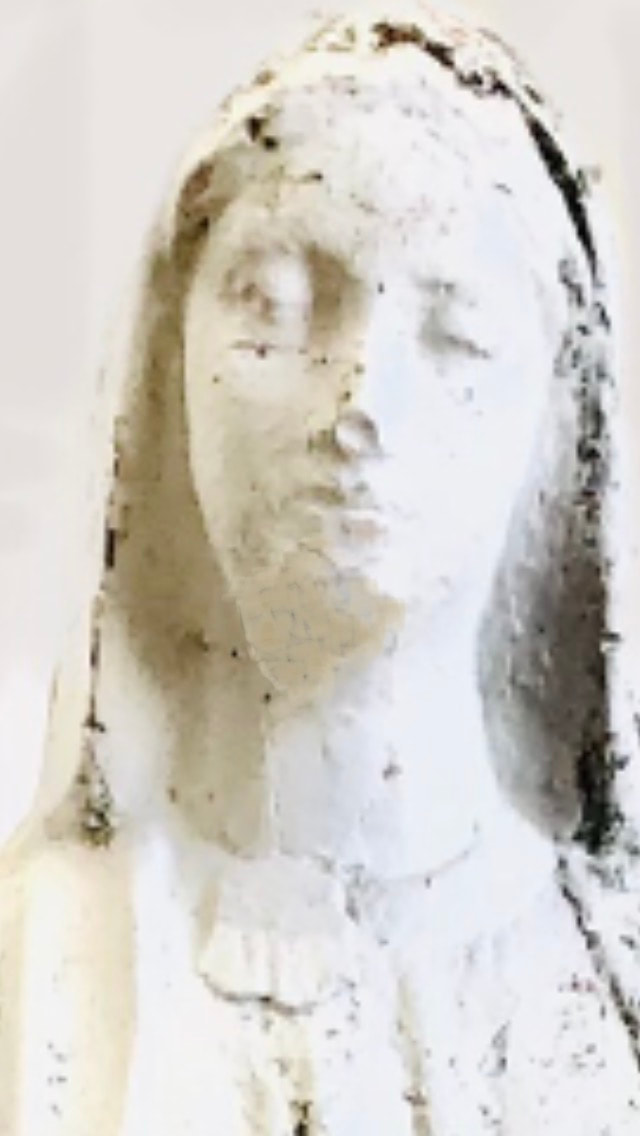
The client was very happy with the results, even recreating the nose!
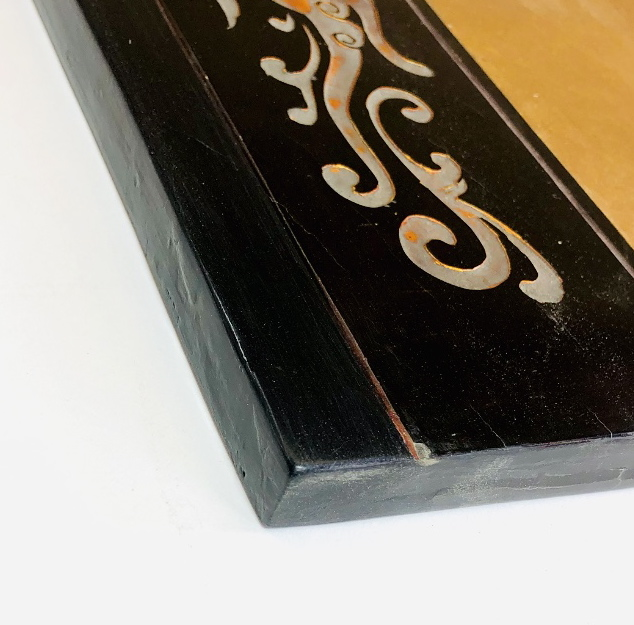
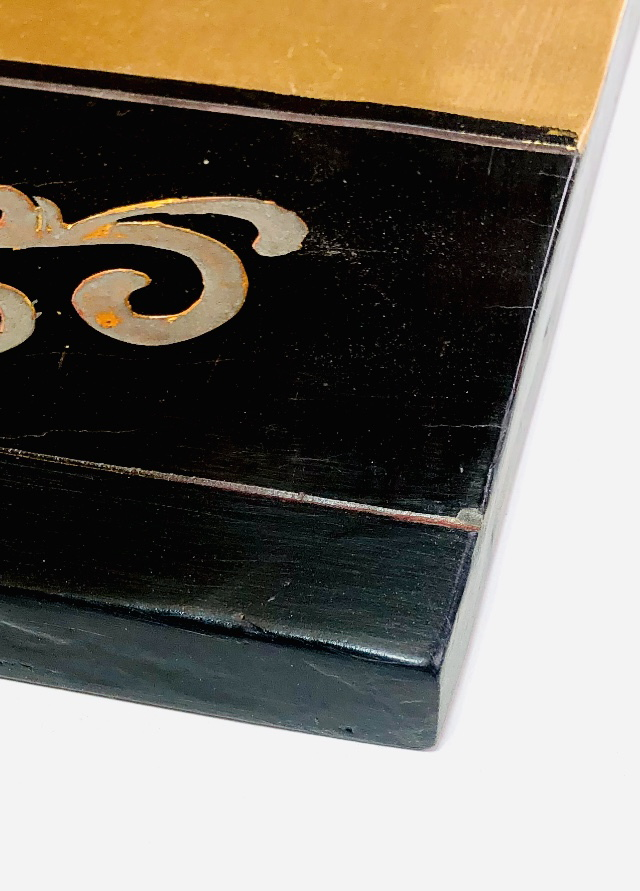
Oriental lacquer screen repair.
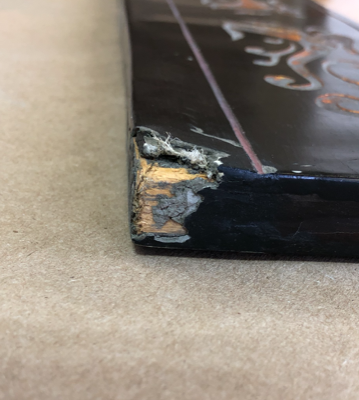
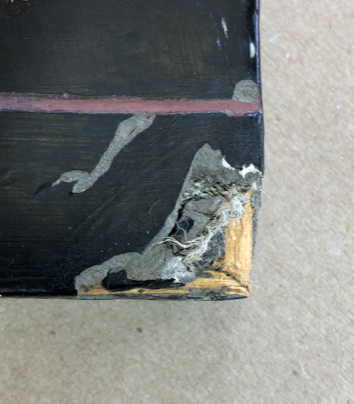
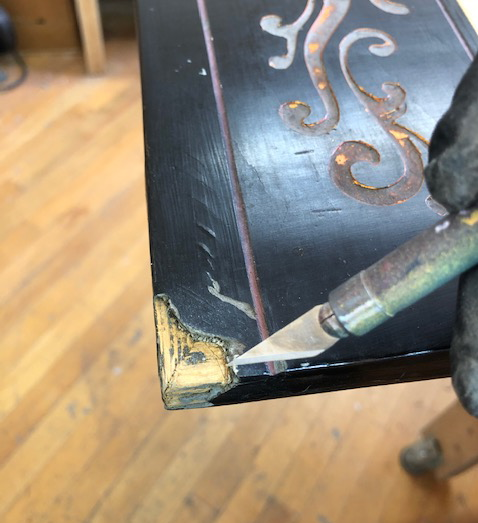
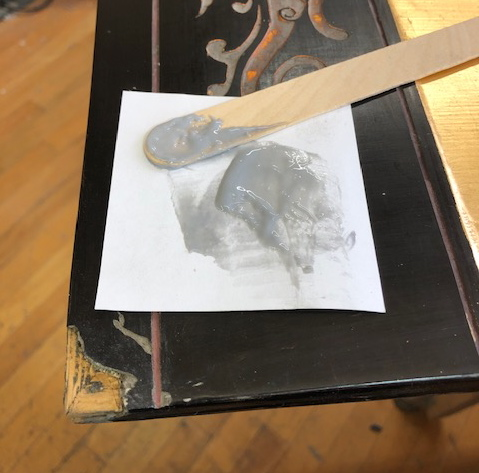
Unfortunately this screen was damaged by a mover and the piece had broken off.
These panels are made from numerous layers of lacquer often applied over a gesso or putty base. As the screen ages these materials often dry out and more susceptible to chipping the outer hard layer. Care and caution required me to clean out the damaged loose ends, then seal the open areas with a sealing adhesive compound to prevent future cracking.
The finished results turned out pretty good!
Vintage Parrot ceramic sculpture repair.
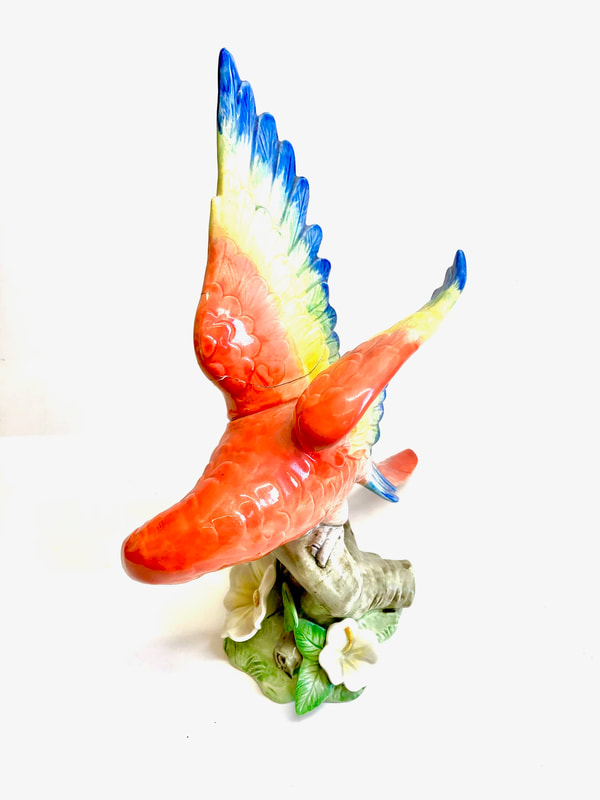
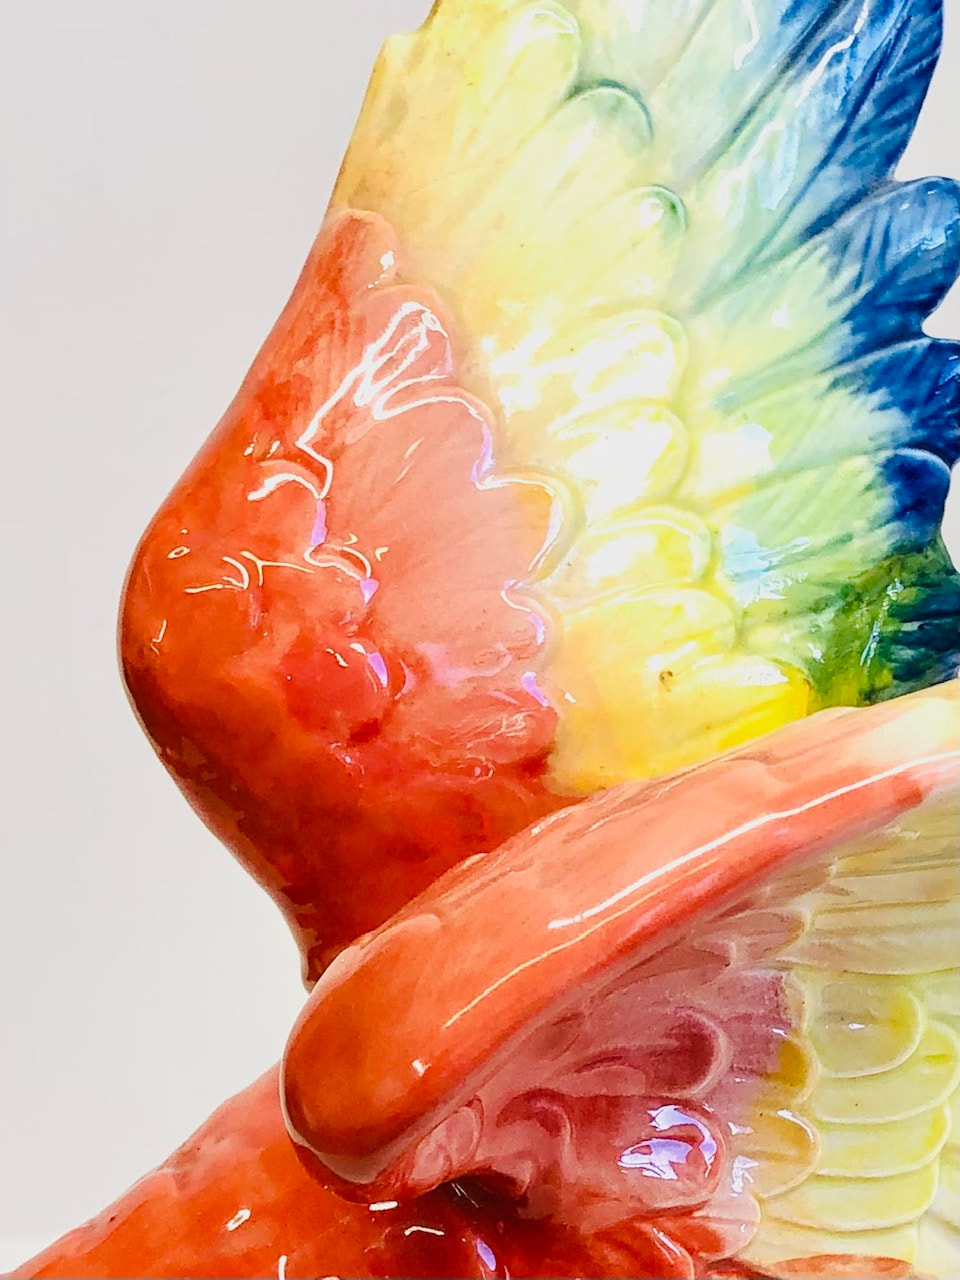
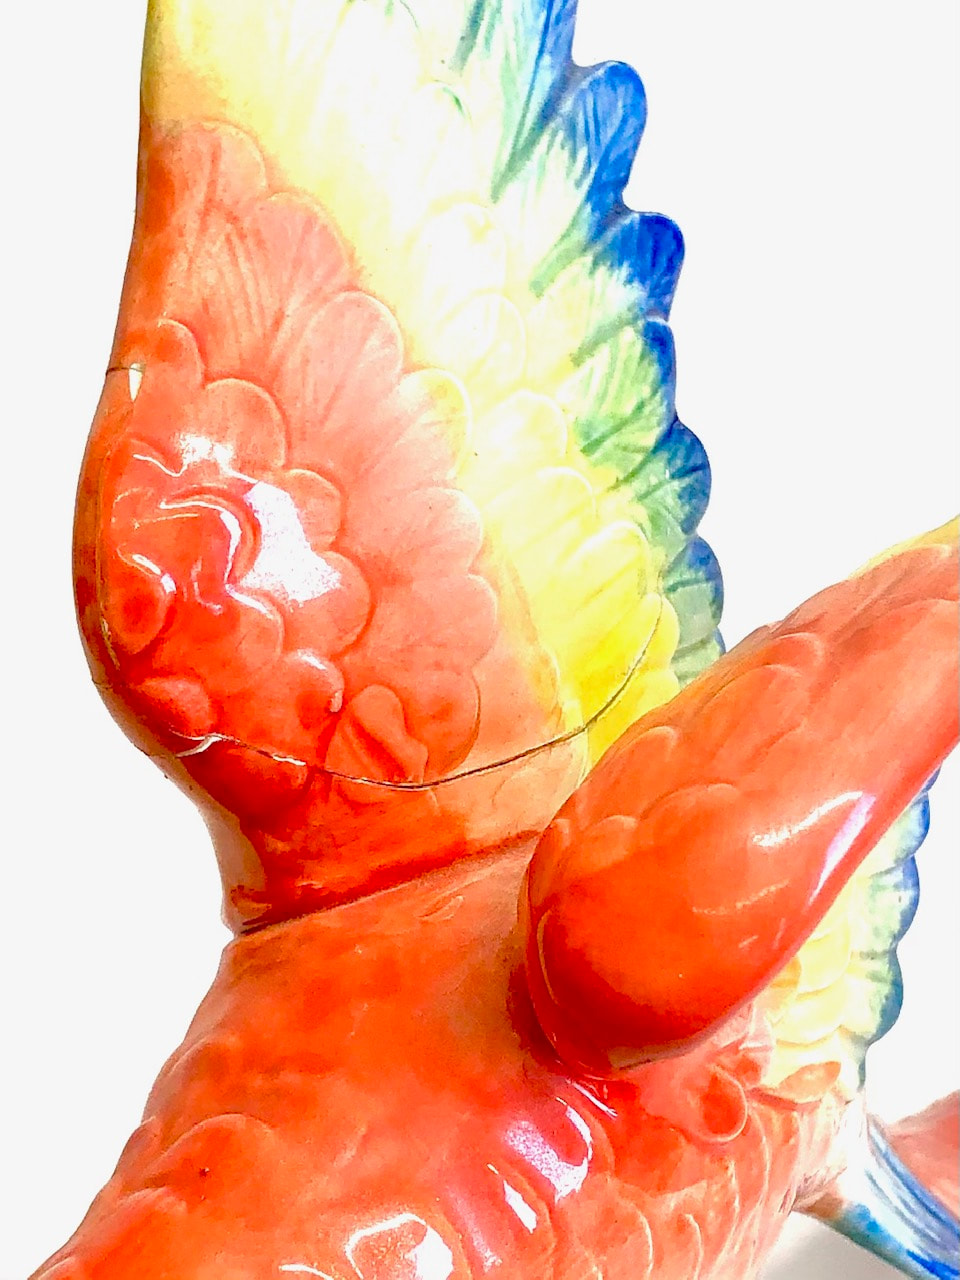
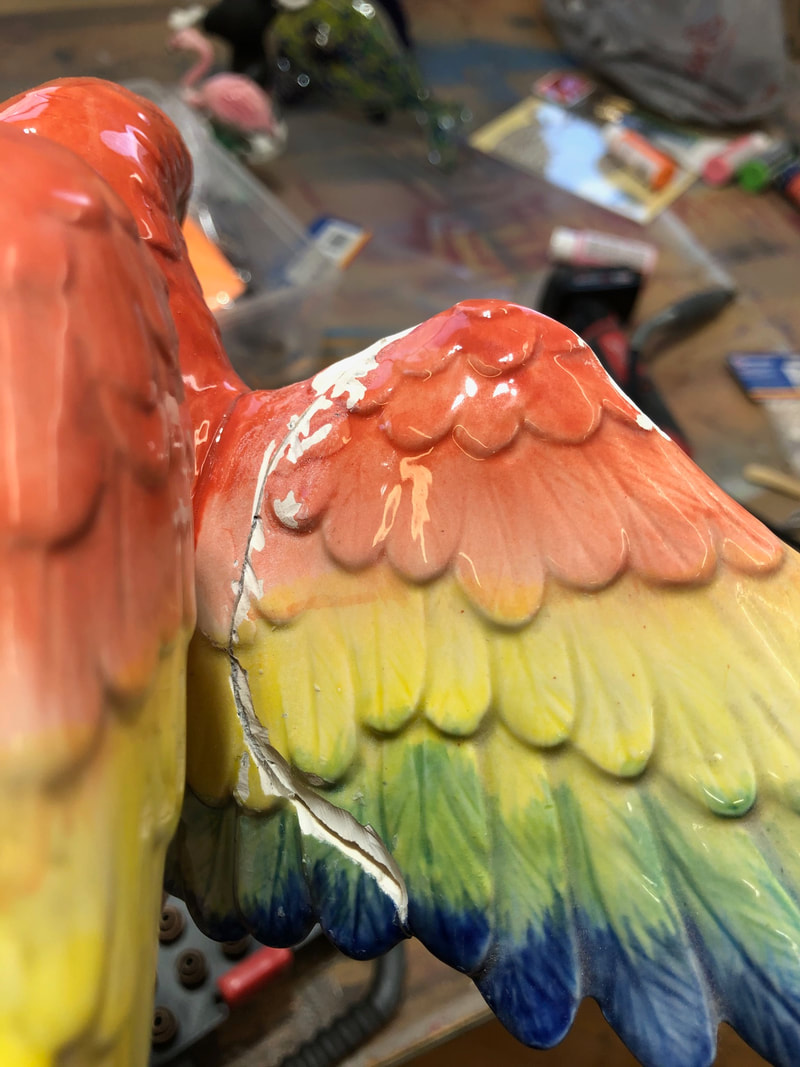
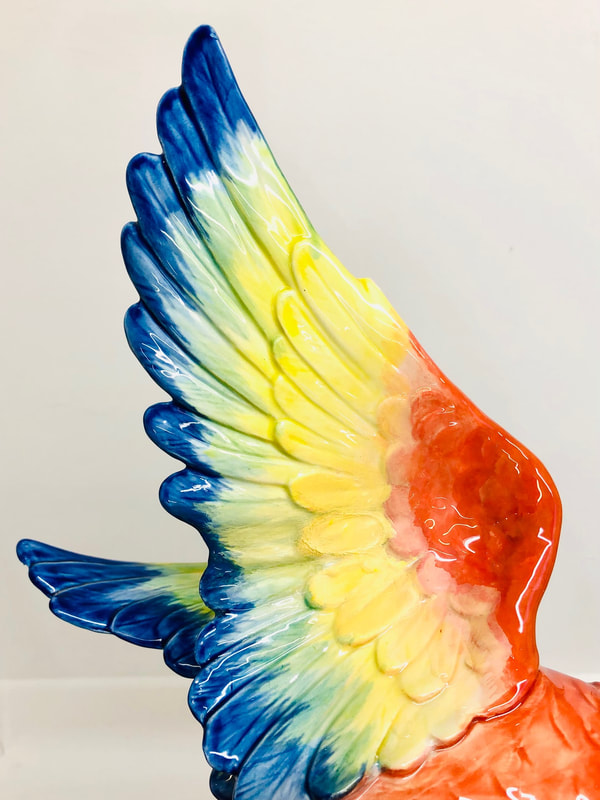
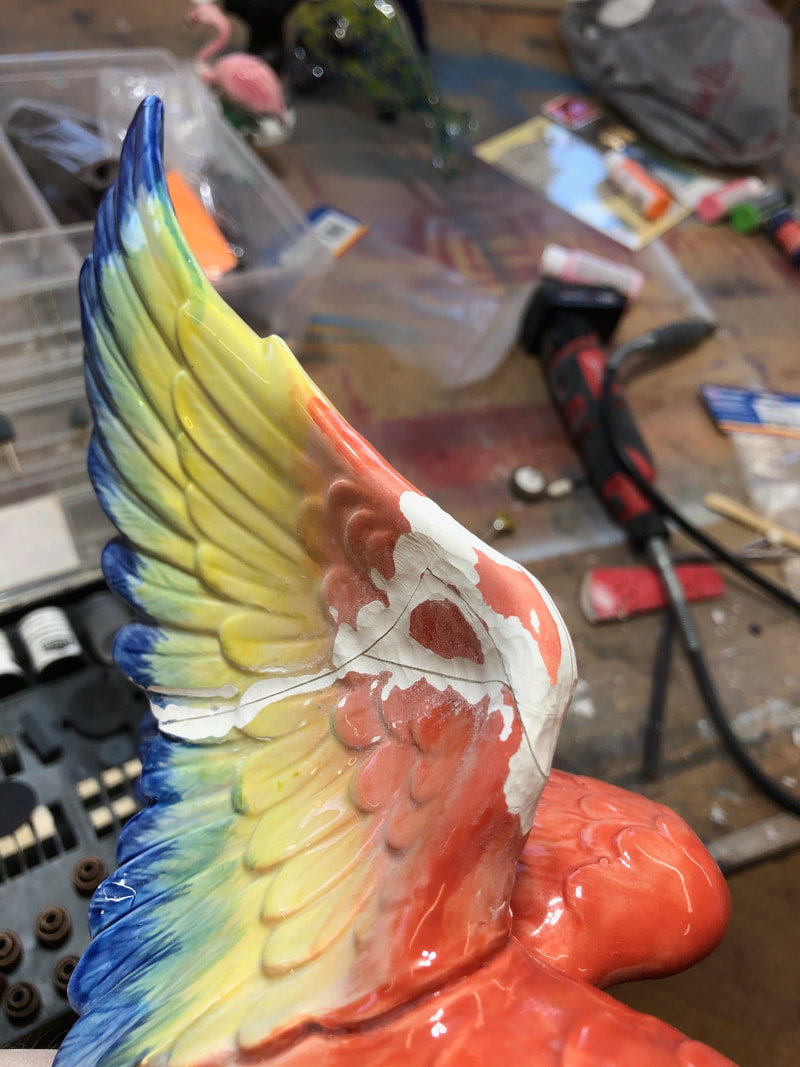
This piece had been 'repaired' prior to me receiving it. The issue was the glued pieces were not aligned, so, I felt the best way to approach the blending of the two seams was to scribe out the area, then apply a compound, sand, paint and add the clear gloss finish.
This piece had been 'repaired' prior to me receiving it. The issue was the glued pieces were not aligned, so, I felt the best way to approach the blending of the two seams was to scribe out the area, then apply a compound, sand, paint and add the clear gloss finish.
Sentimental Vase Restore.
Client was devastated when this vase she inherited broke. The issue was that some of the handle pieces were missing. The end result is the restore is nearly perfect!
Client was devastated when this vase she inherited broke. The issue was that some of the handle pieces were missing. The end result is the restore is nearly perfect!
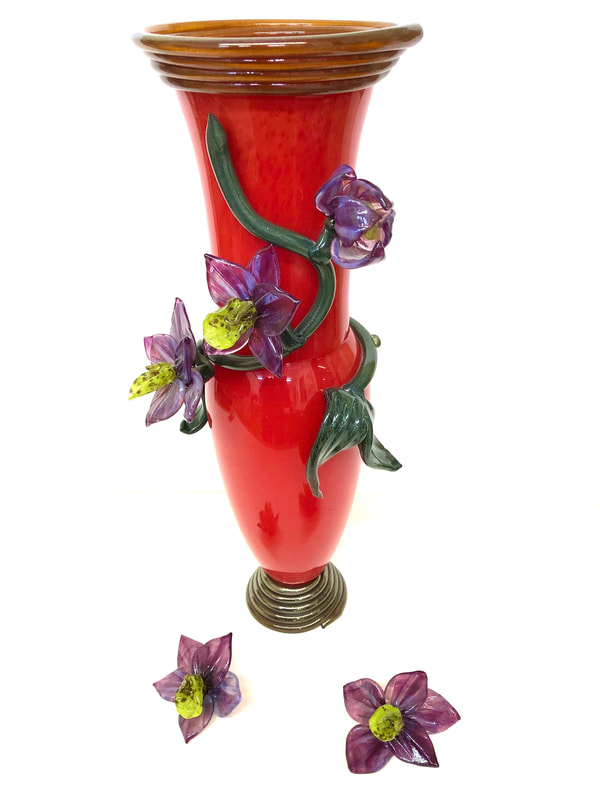
Glass Flower Vase repair. Tricky repair as these two flowers had been previously repaired leaving old glue residue all over the contact points. I had ordered a strong industrial glass adhesive leading to a successful result.
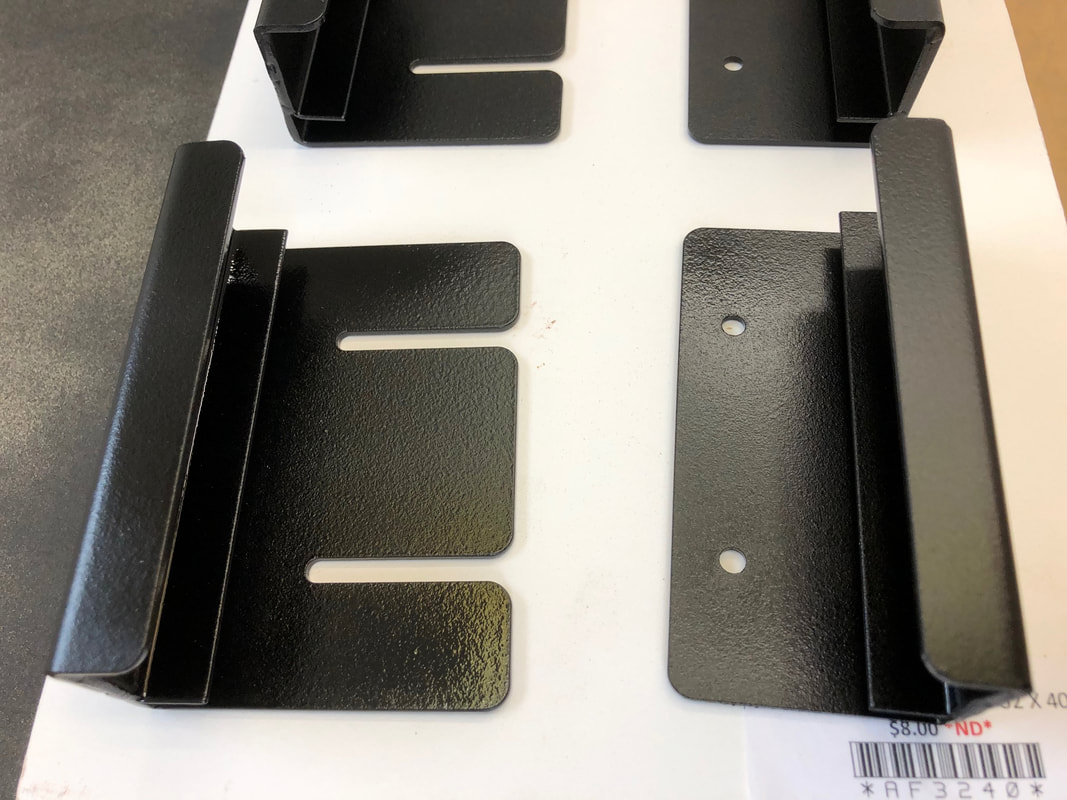
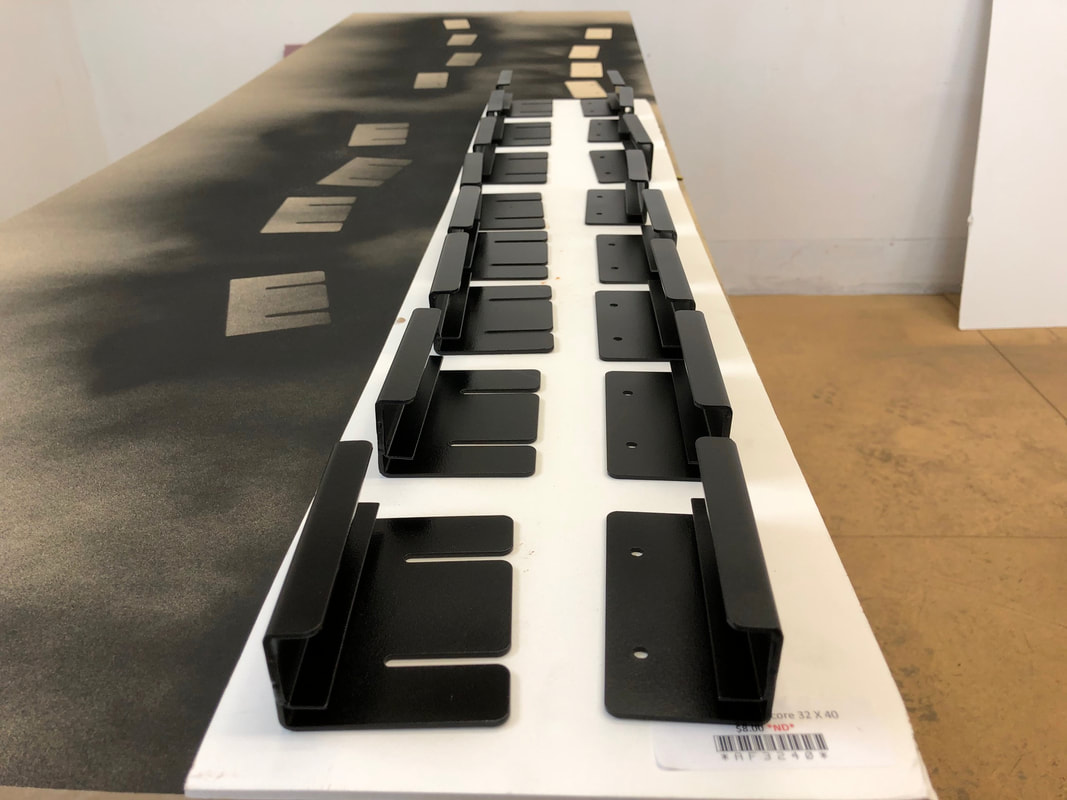
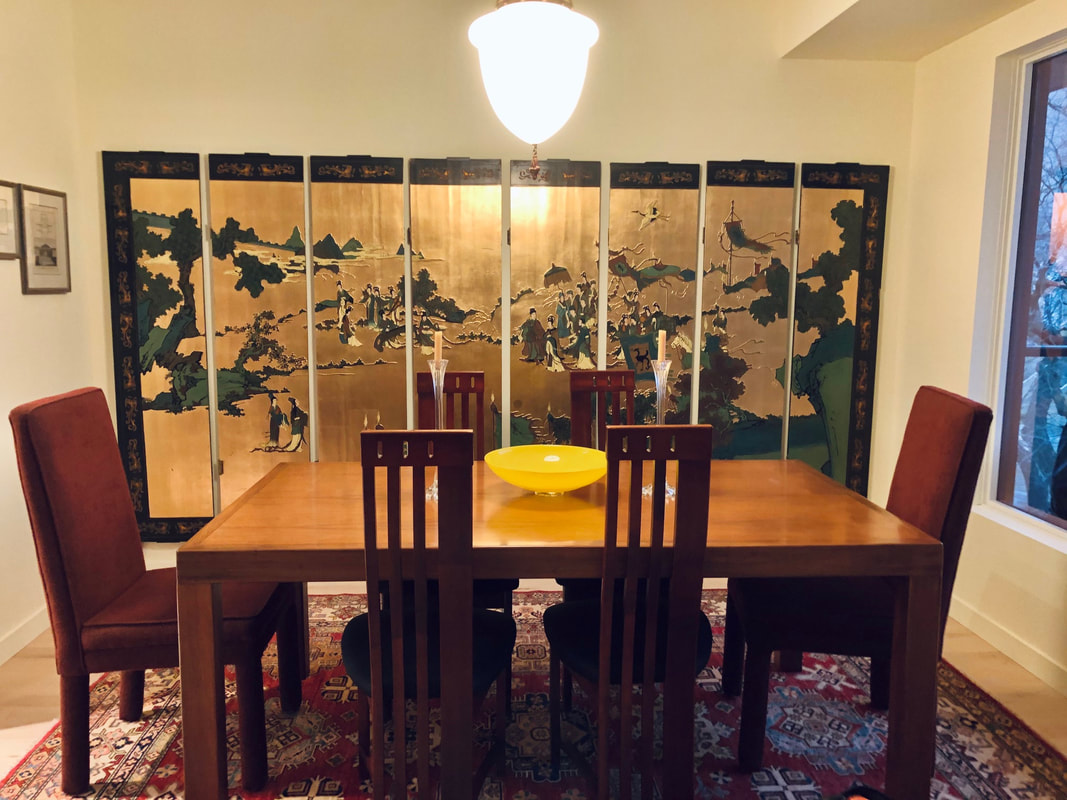
Asian Screen wall installation. There were important factors to adhere to. The client did not want anything screwed to these screens and he wanted a space between the wall and back of the screens. Since these screens were designed to stand on a floor I had to come up with a 'fix'
The 'fix' was to design and fabricate specialty steel brackets with a low profile to blend in.
The 'fix' was to design and fabricate specialty steel brackets with a low profile to blend in.
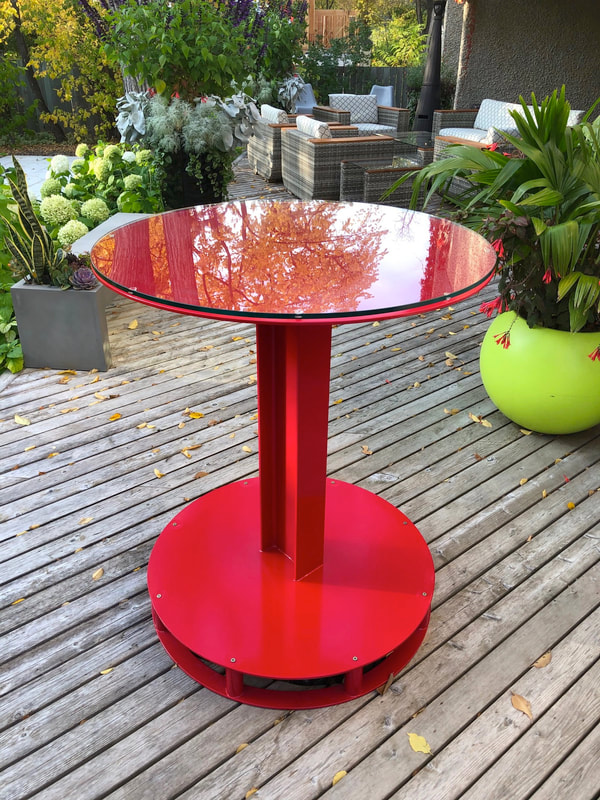
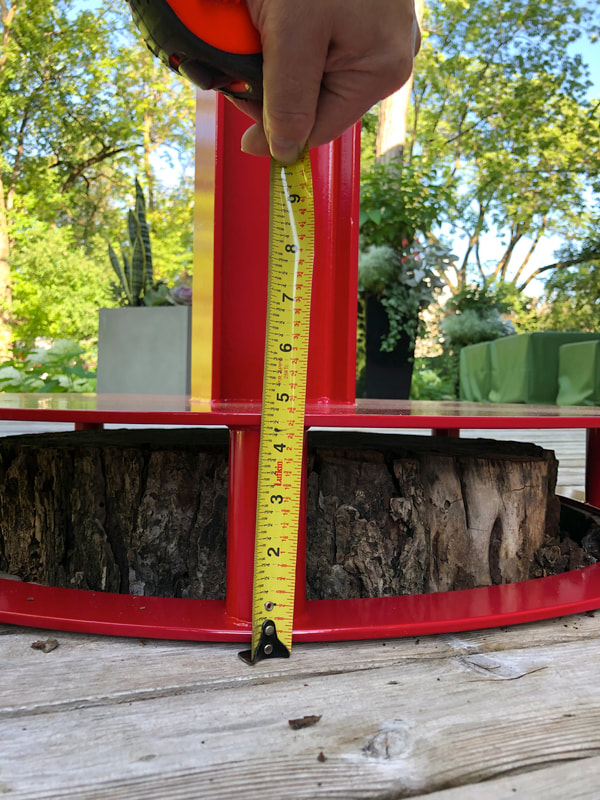
Sculptural Outdoor Table. Rendering & finished table. Table was designed to sit over a tree stump.
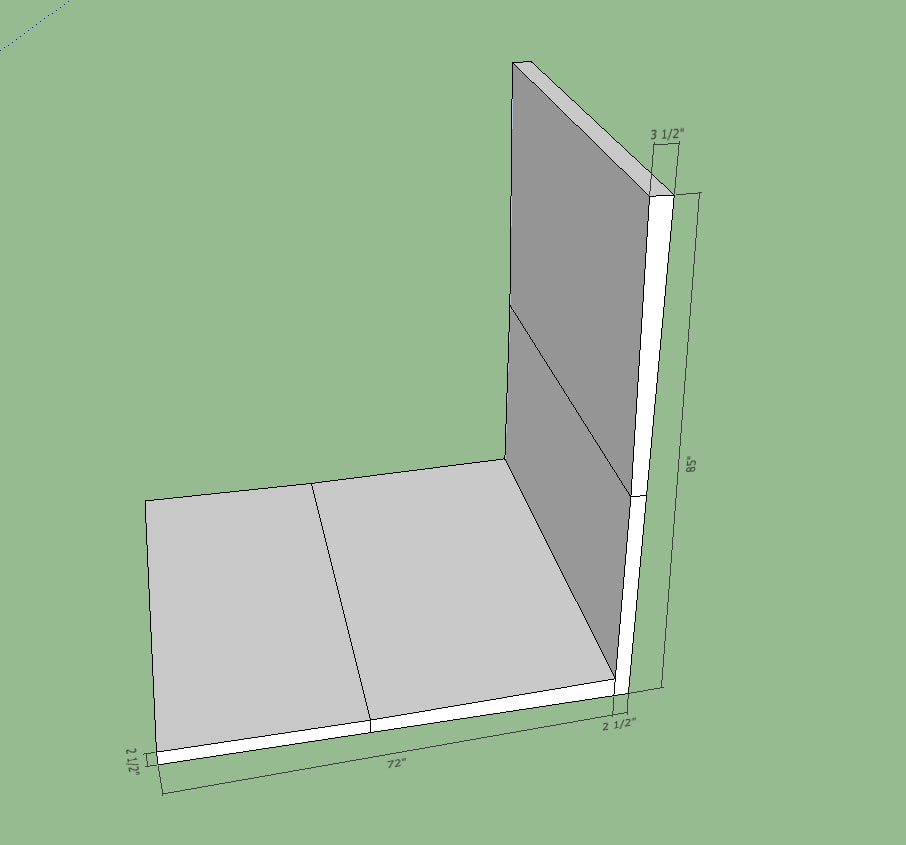
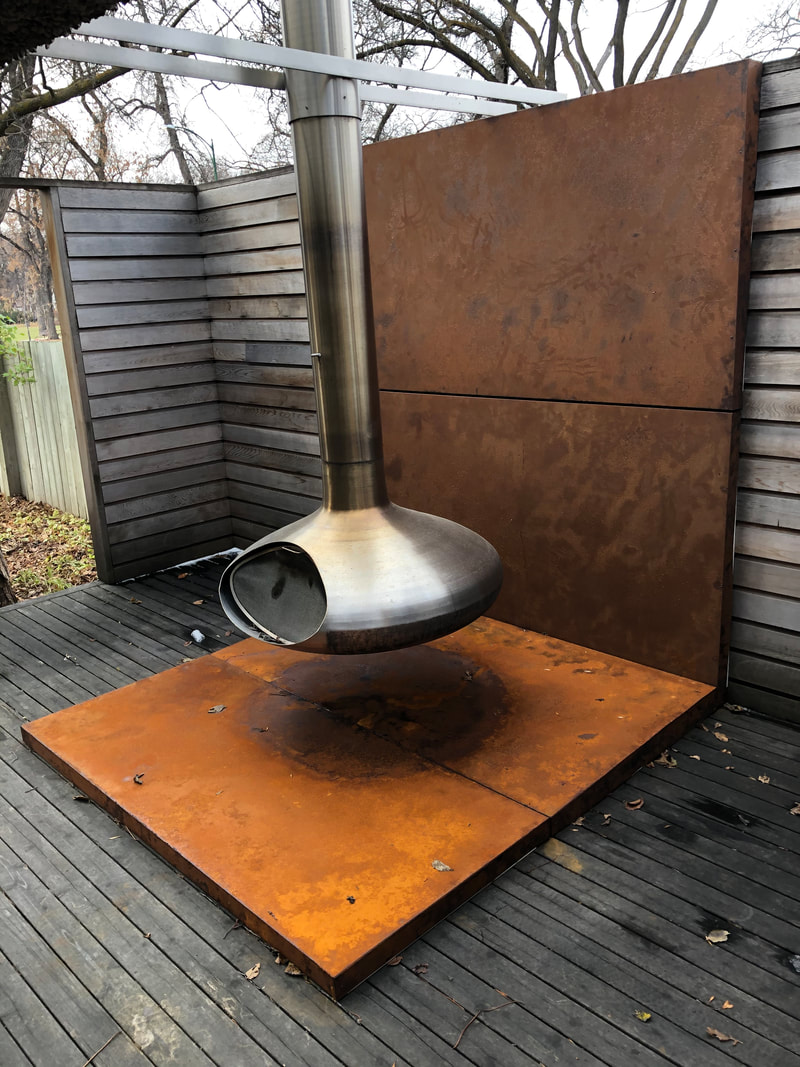
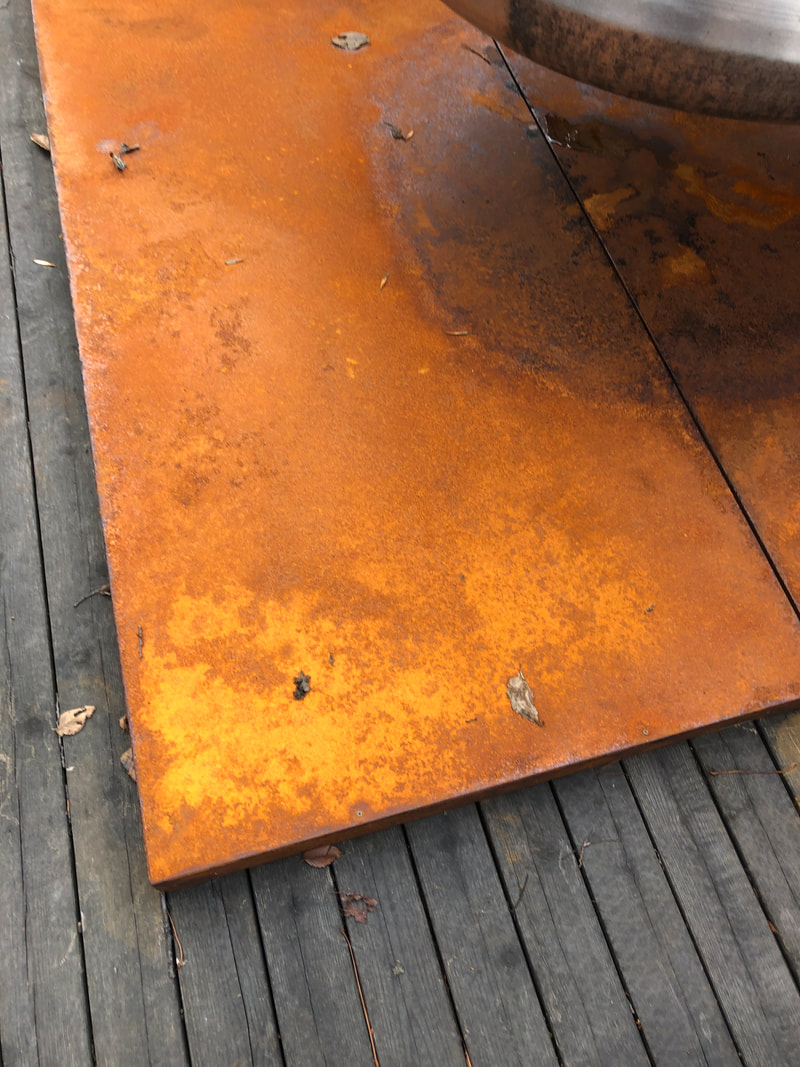
Modular Fireplace Weathered steel design. Concept & finished project.
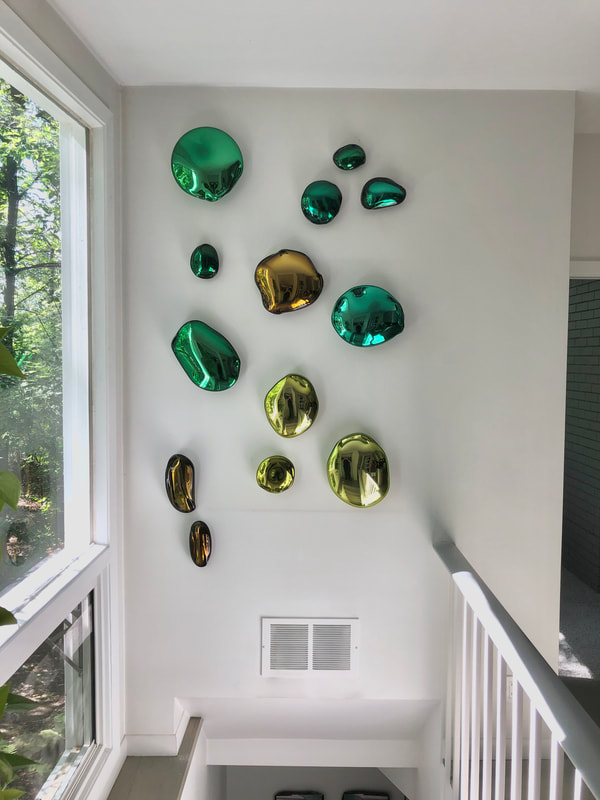
Artwork Installations & Placement that includes hard to reach areas.
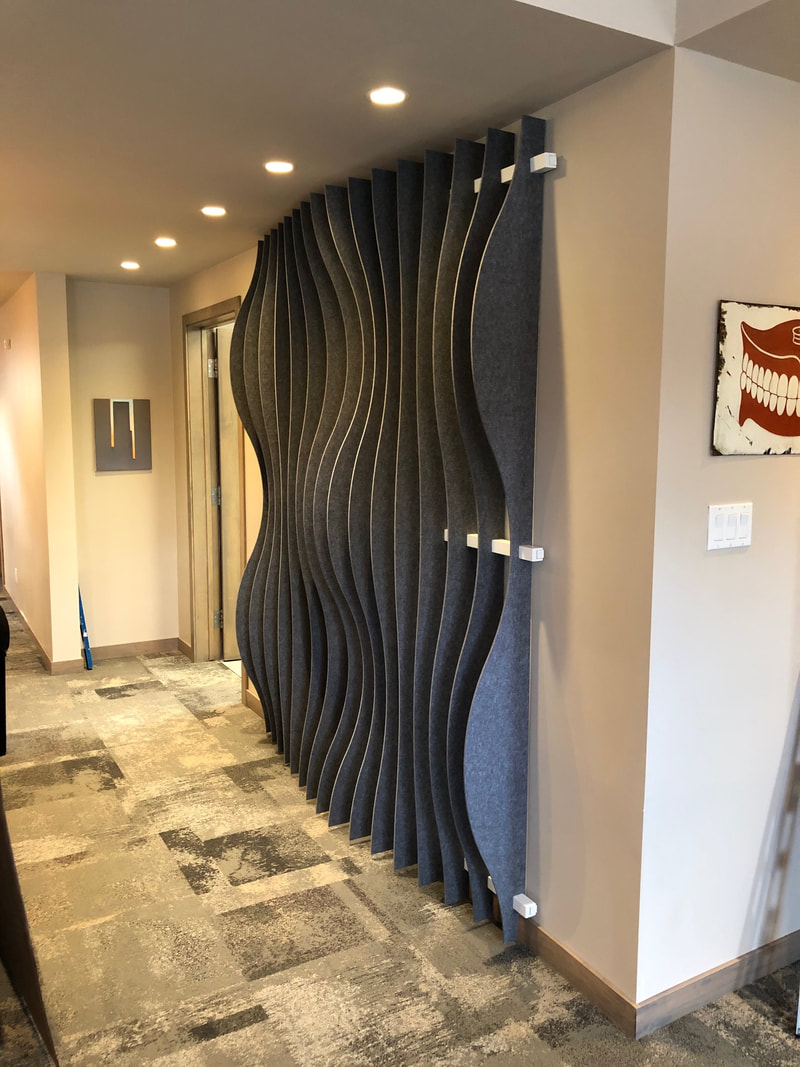
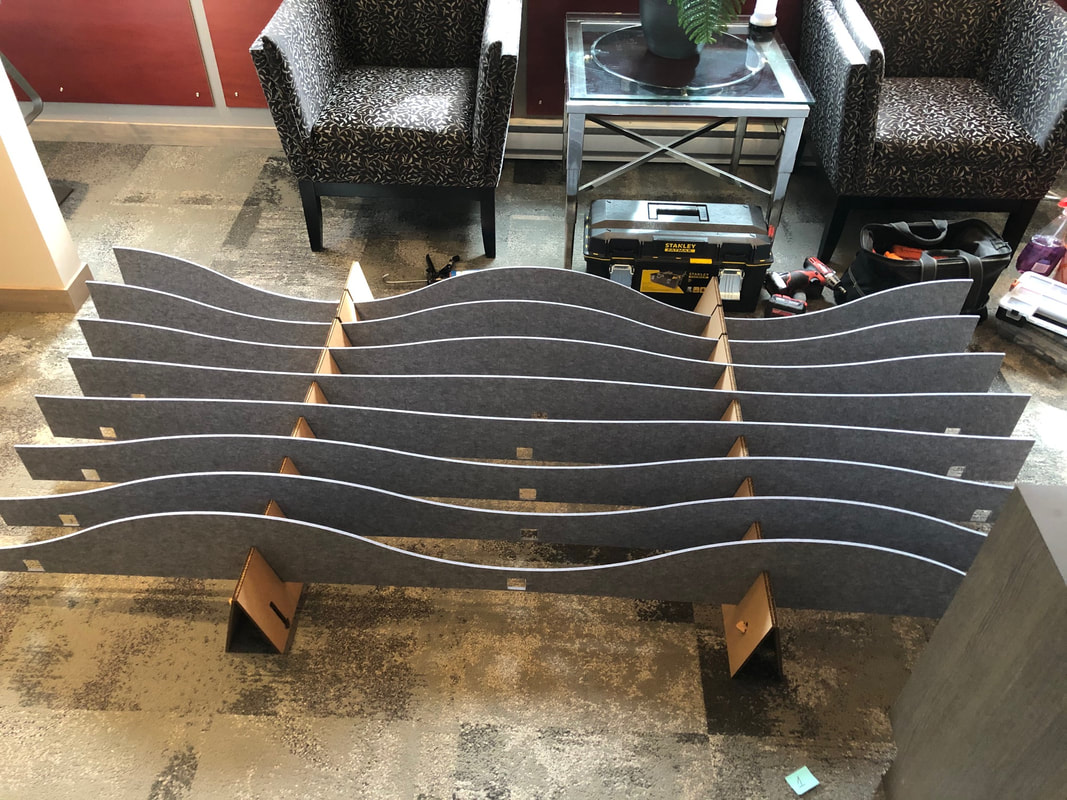
Modular Wall & Ceiling Panel system installations.
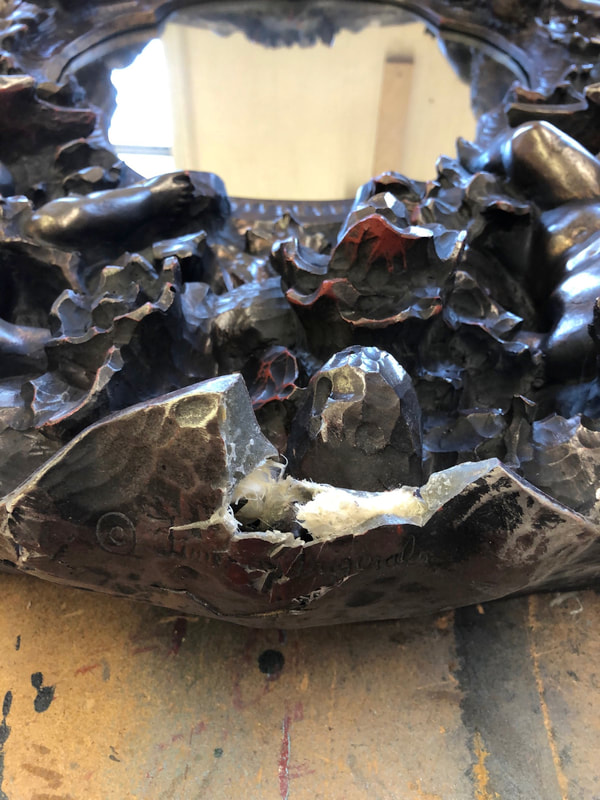
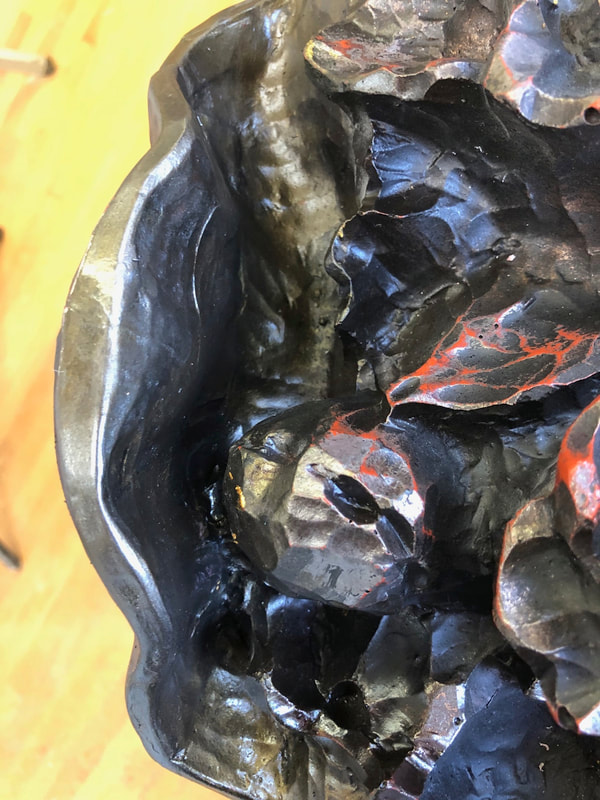
Ornate Mirror restore. Before and After. Had to fabricate missing pieces.
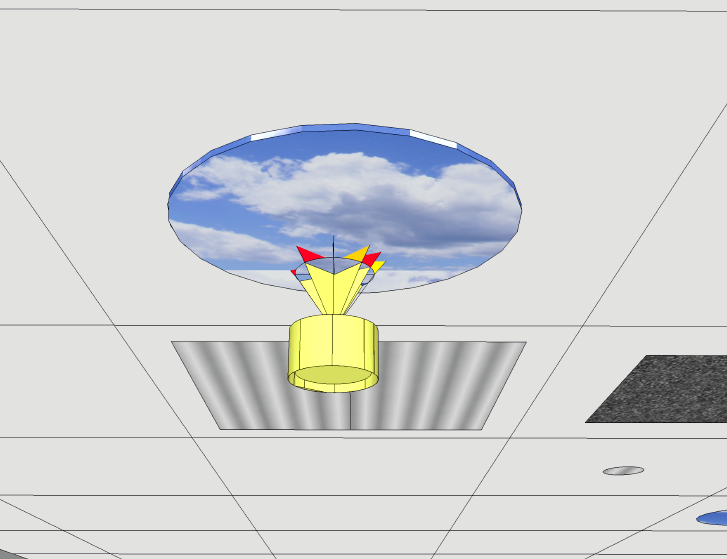
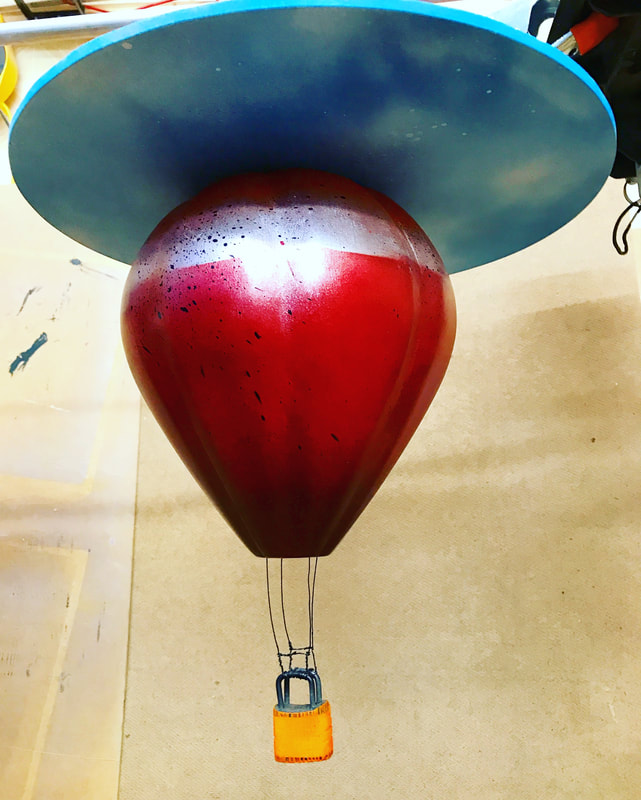
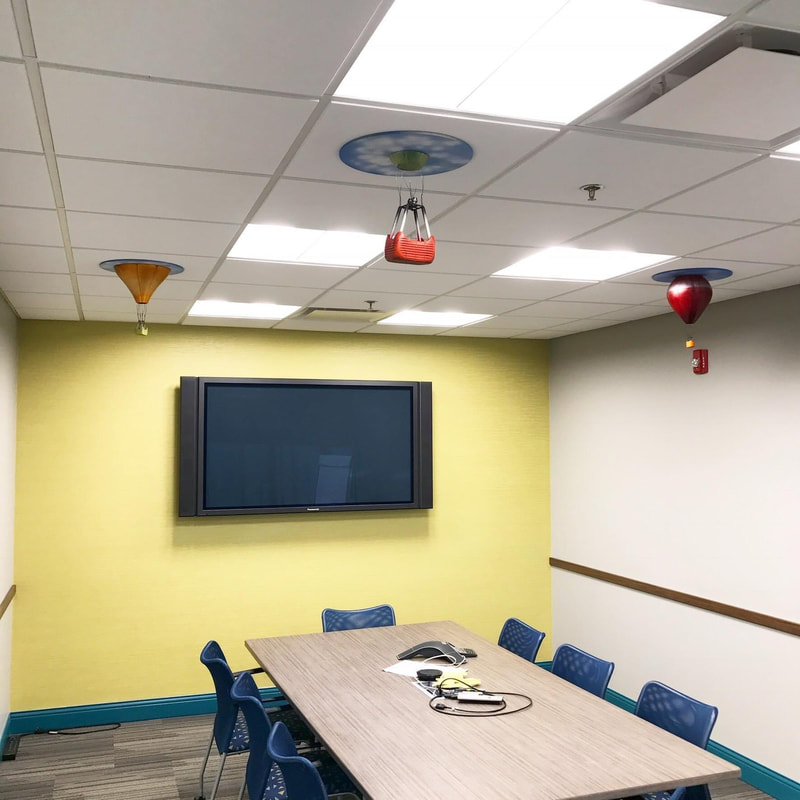
Model Hot air balloons showing various stages of ascent as they go through a sky portal.
Conceptual rendering to finished & installed models. All made from wood and industrial metallic paints and finishes. Super fun project!
Conceptual rendering to finished & installed models. All made from wood and industrial metallic paints and finishes. Super fun project!
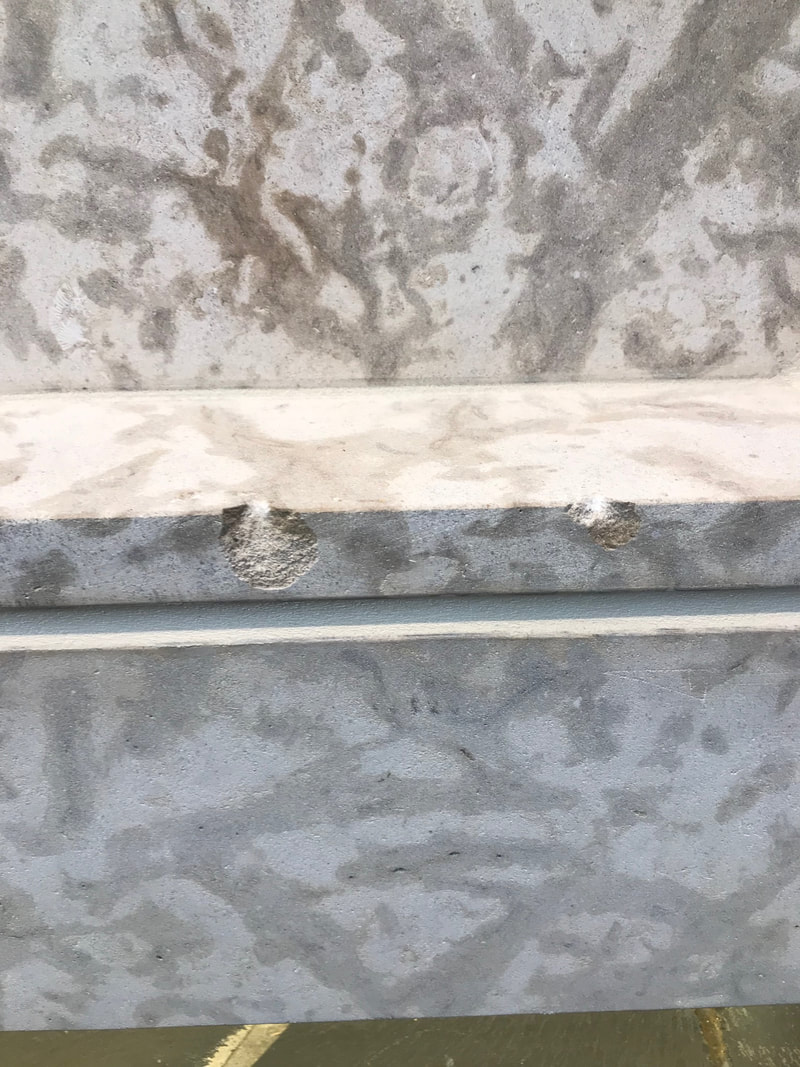
Repaired mantle chipped from renovators. Before & after.
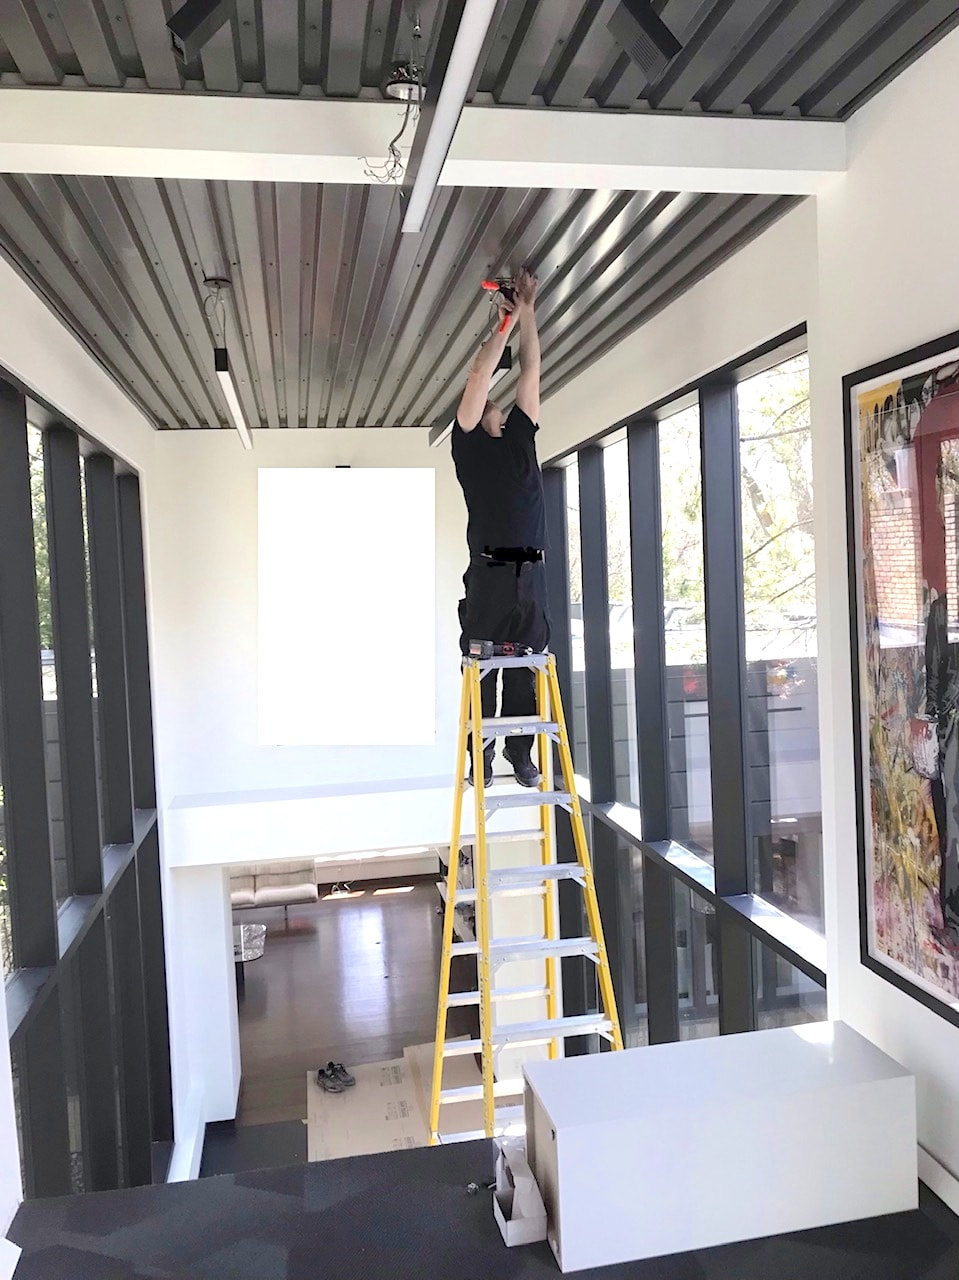
Electrician damaged the whole ceiling by installing pot lights using snips. Rather than ripping down and replacing the ceiling, I came up with a fix that the client was pleased with.
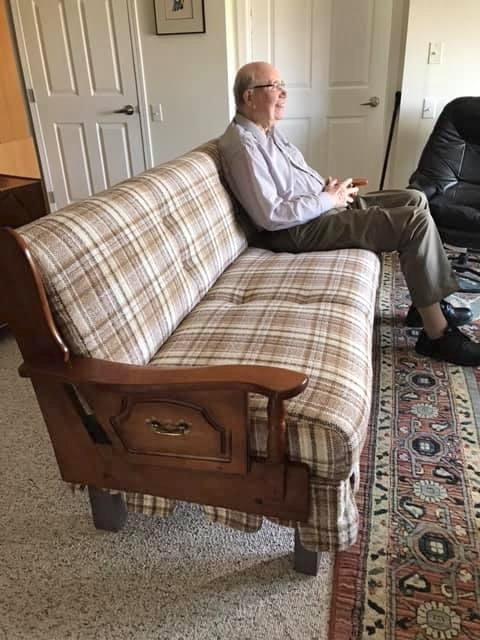
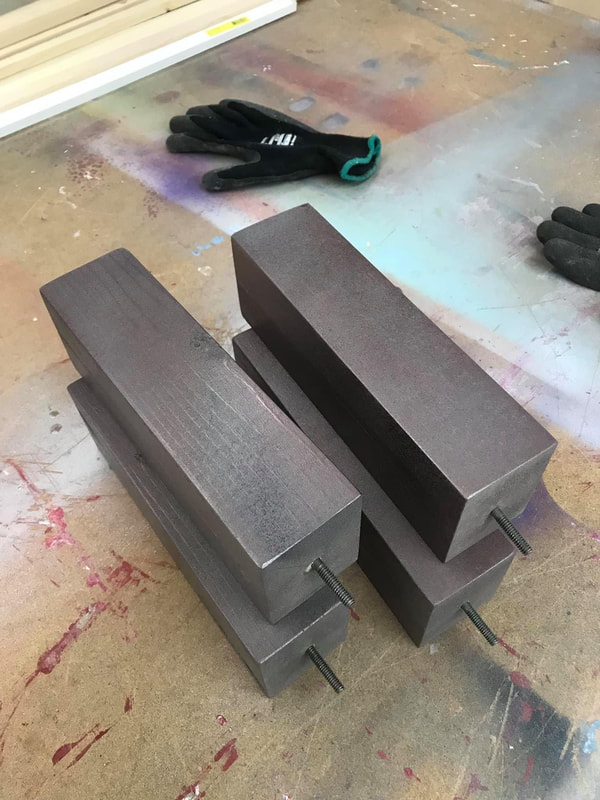
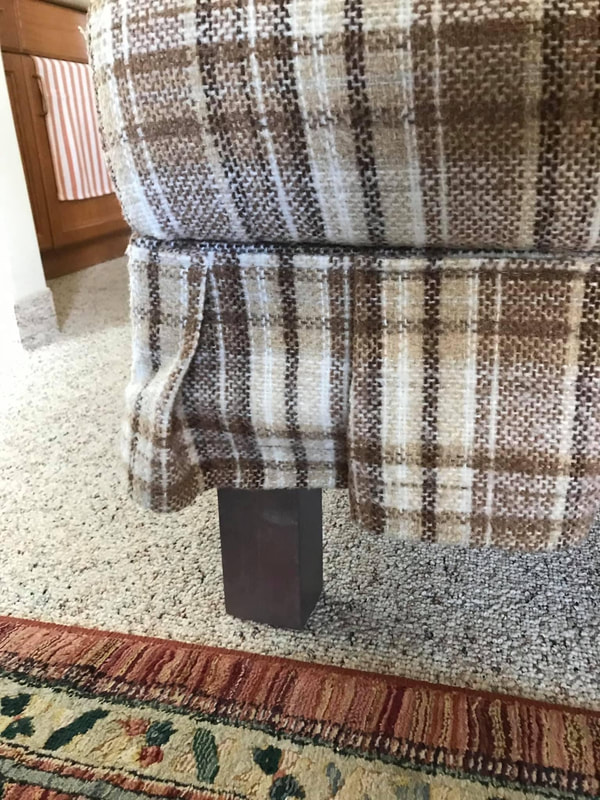
Senior assisting project. This tall elderly gent had issues that was making it difficult for him to sit on his sofa. I came up with a practical solution by building strong new legs that added stability to the increased height of the sofa.
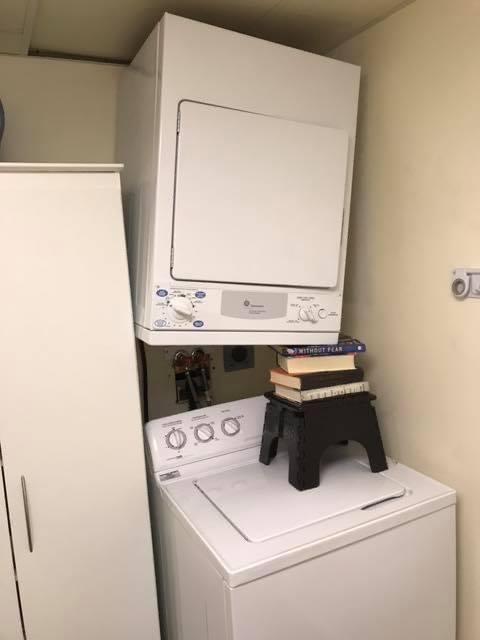
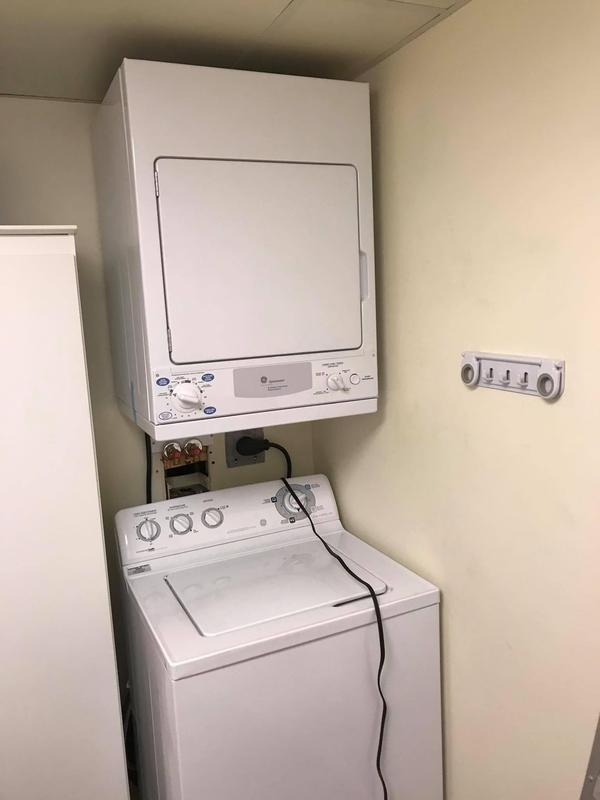
Another Senior assist. Thought this was a simple 'fix' but it turned out the thin metal skin that covers the back of the washer by hanging onto the brackets gave way and tore the slots causing the washer to fall. The other issue to take into account was the spin cycle. Glad I was able to help.
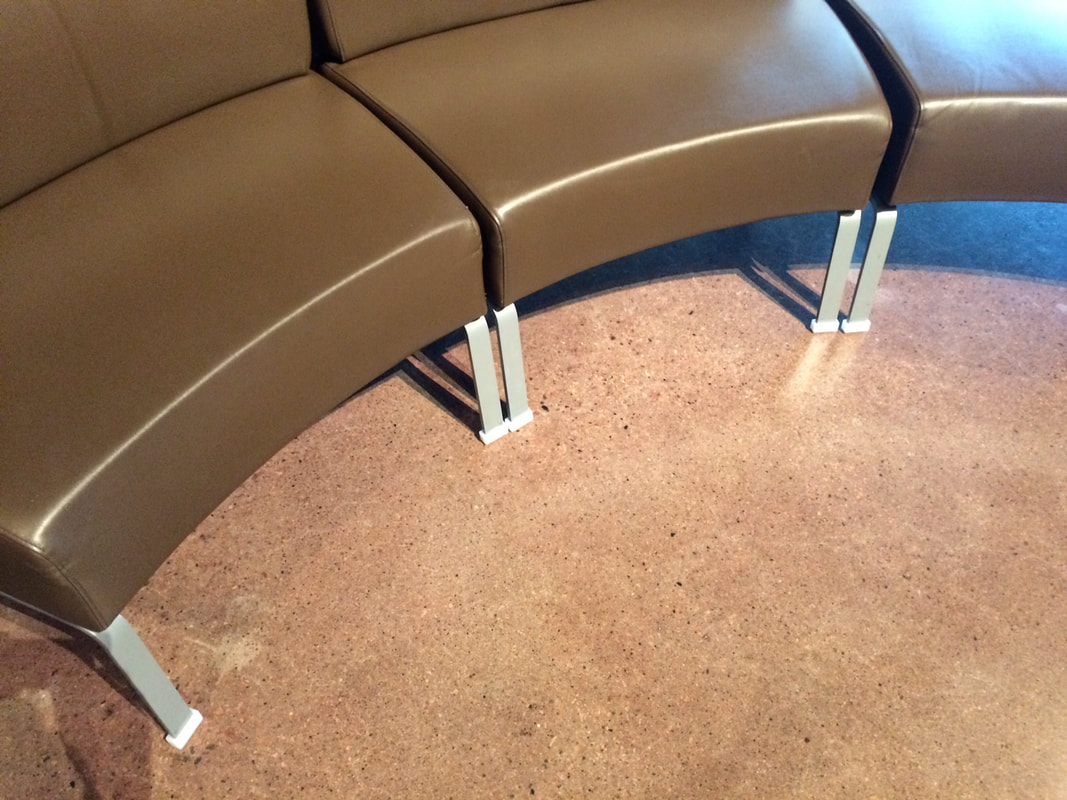
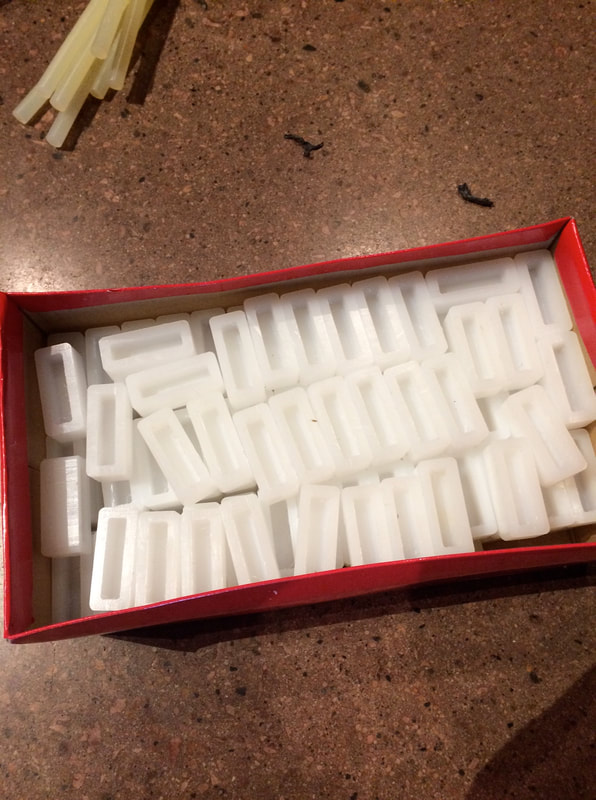
The CMHR called me with a problem. The seating they ordered was marring the polished concrete flooring. As well, the company that sold them the furniture was of no help. After researching the type of material best used on that type of flooring I designed and fabricated and installed the new glides. Worked perfectly AND no marring!
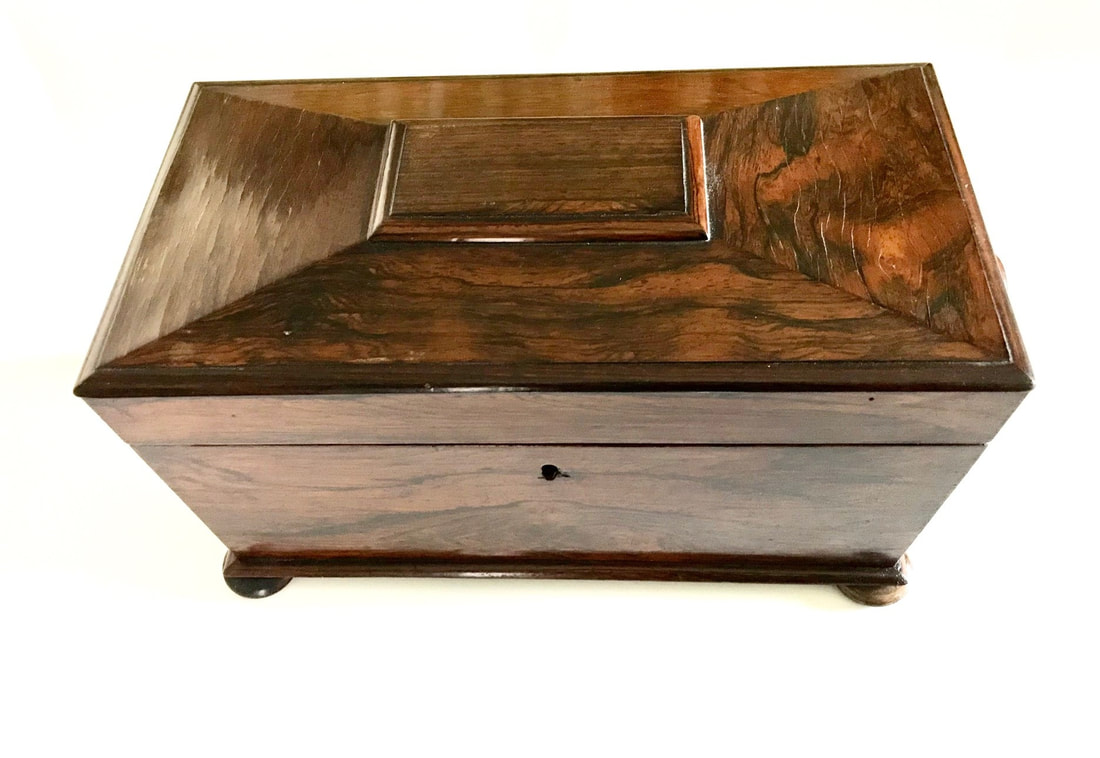
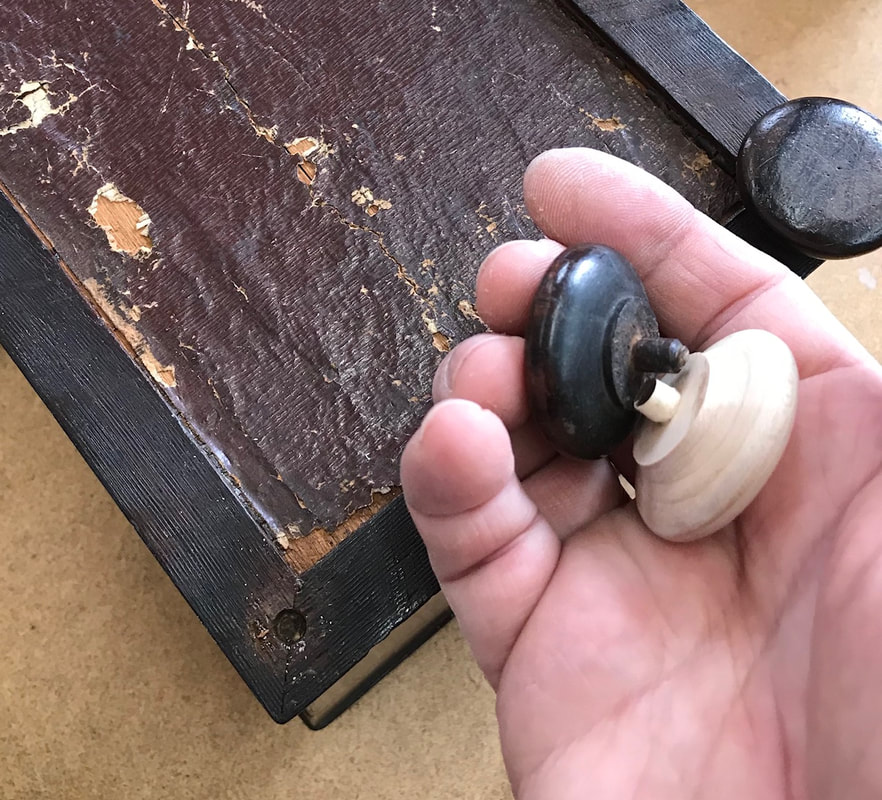
Restore/ Repair antique Tea Box. Careless movers broke the knob foot off of this tea box for which the elderly owners brought with them from England. I milled a pretty close matching foot and stain then glued it all back together.
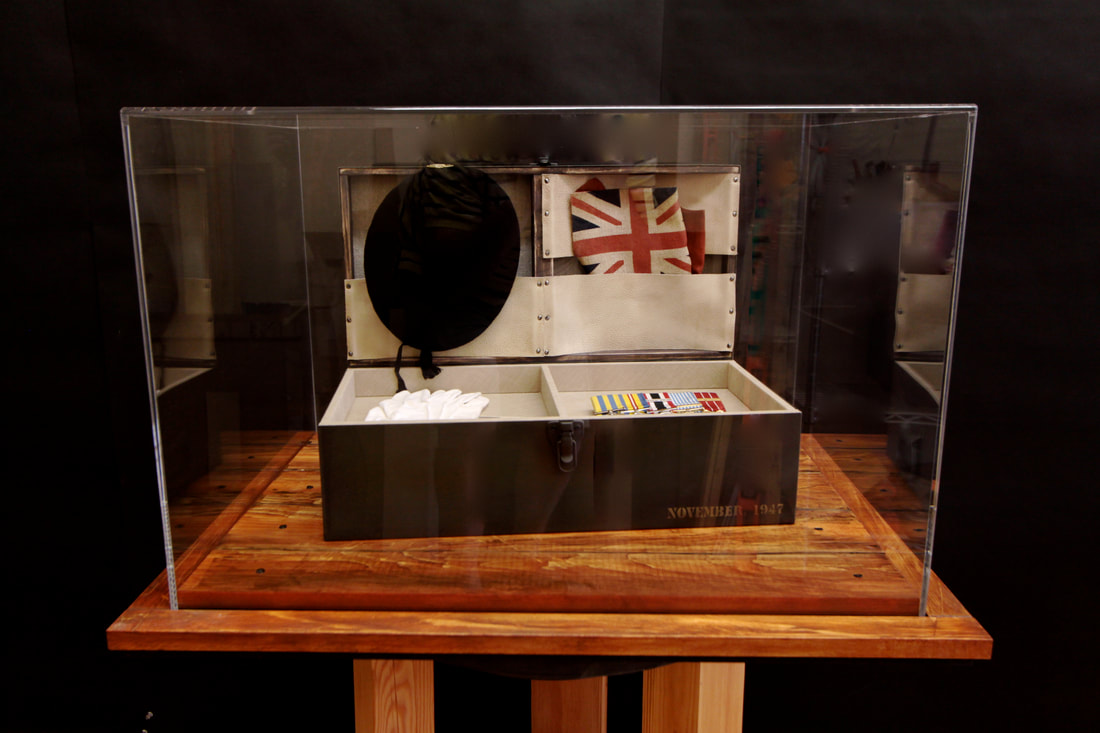
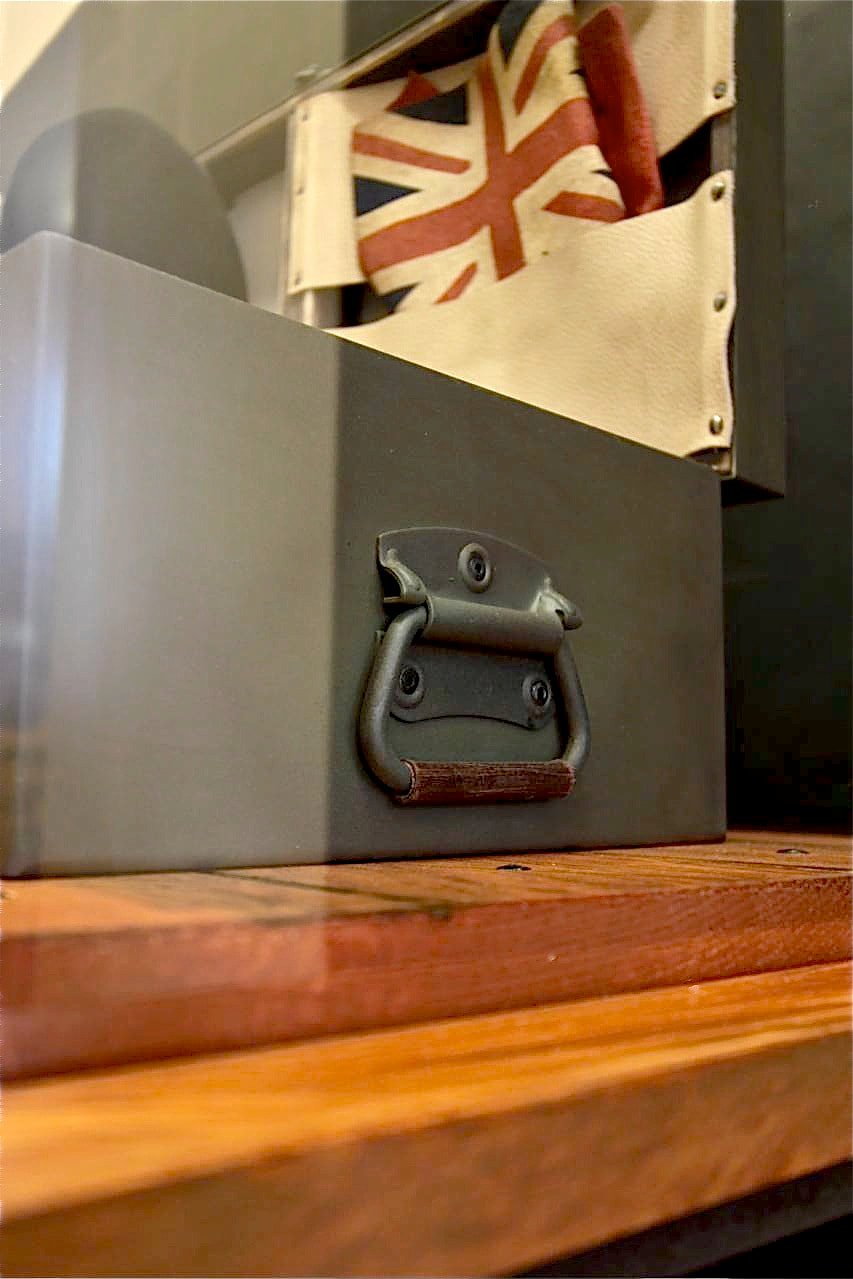
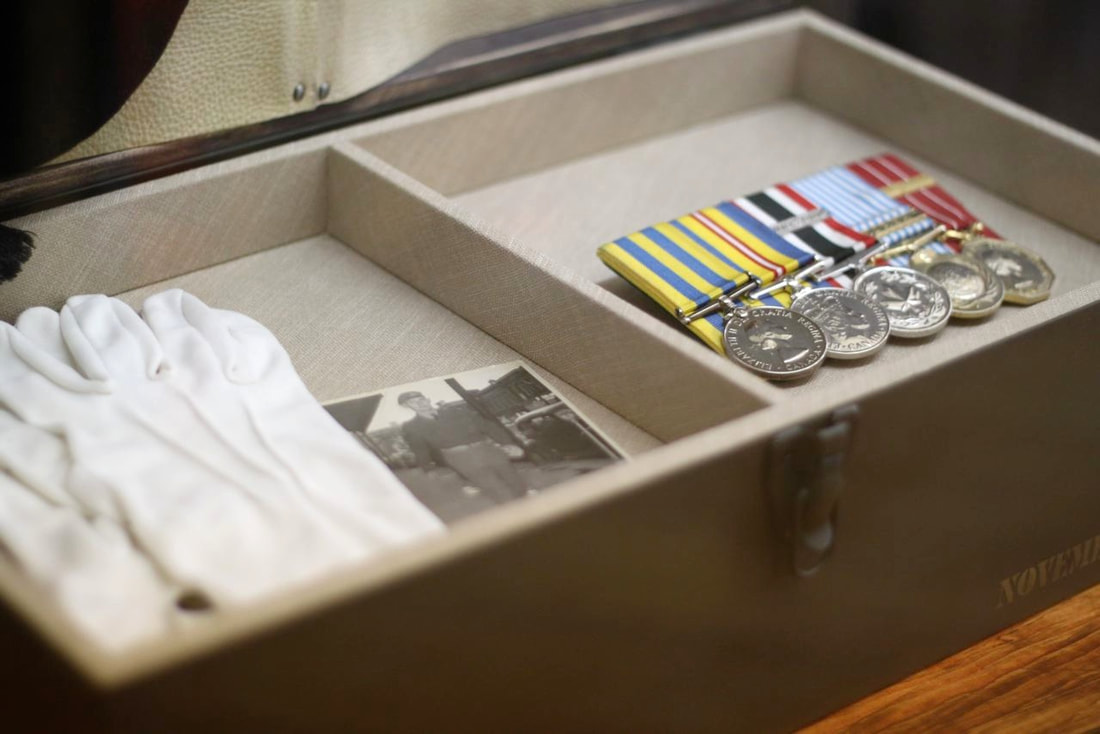
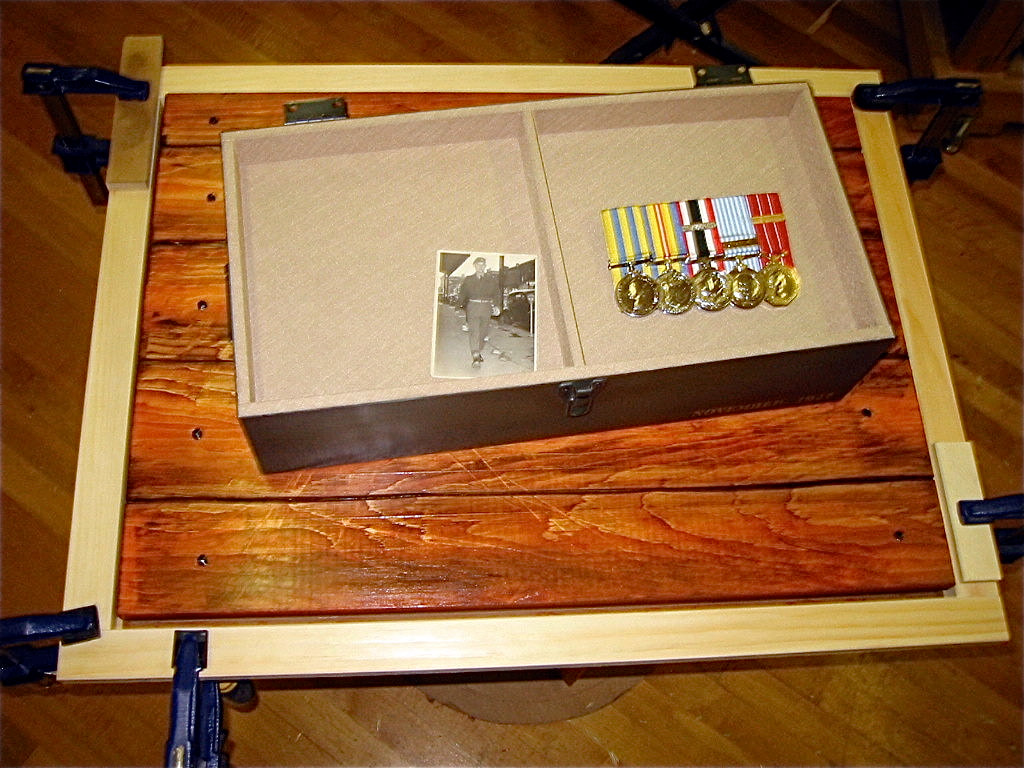
This Veteran display was built entirely from scratch to honour a clients father. The client gave me his fathers beret, medals, gloves and an original photograph of enlistment. I decided on a Soldiers foot locker as the main feature of this display.
